
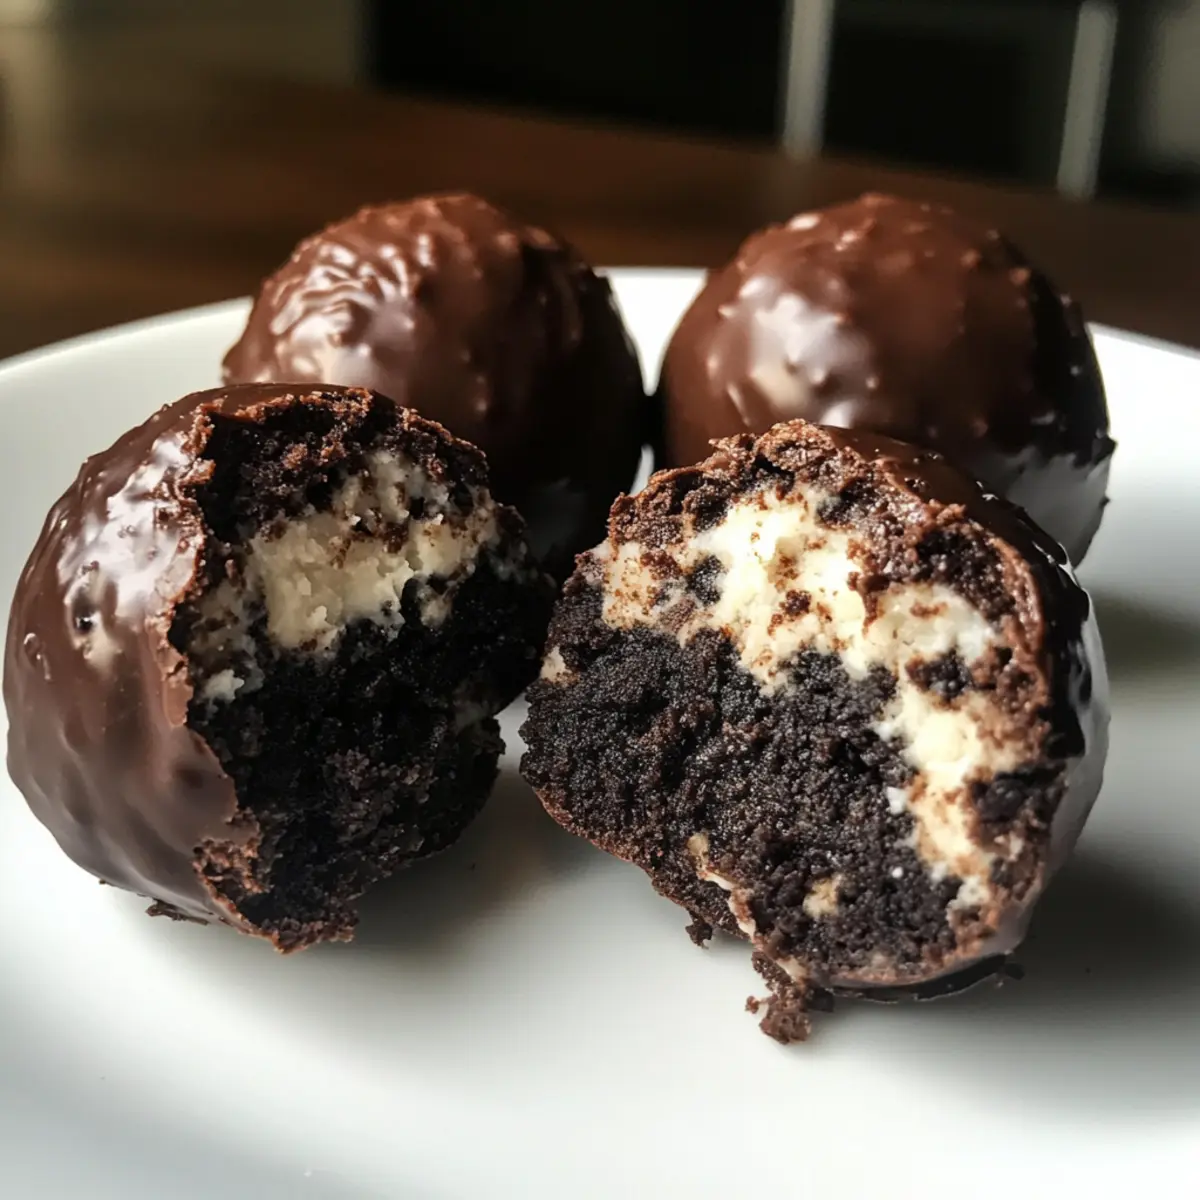
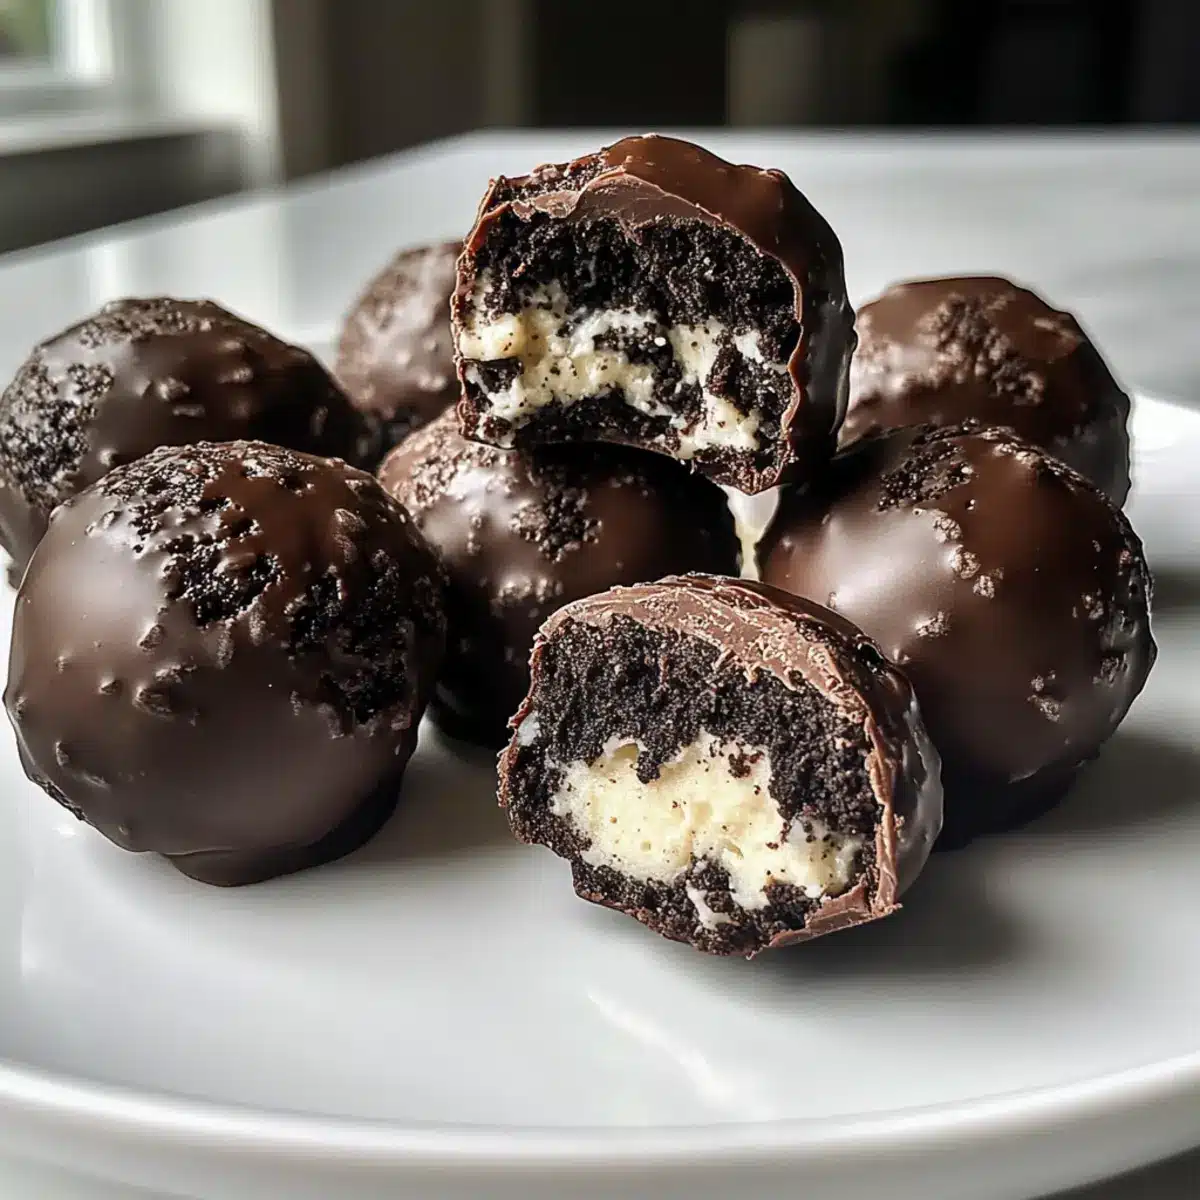
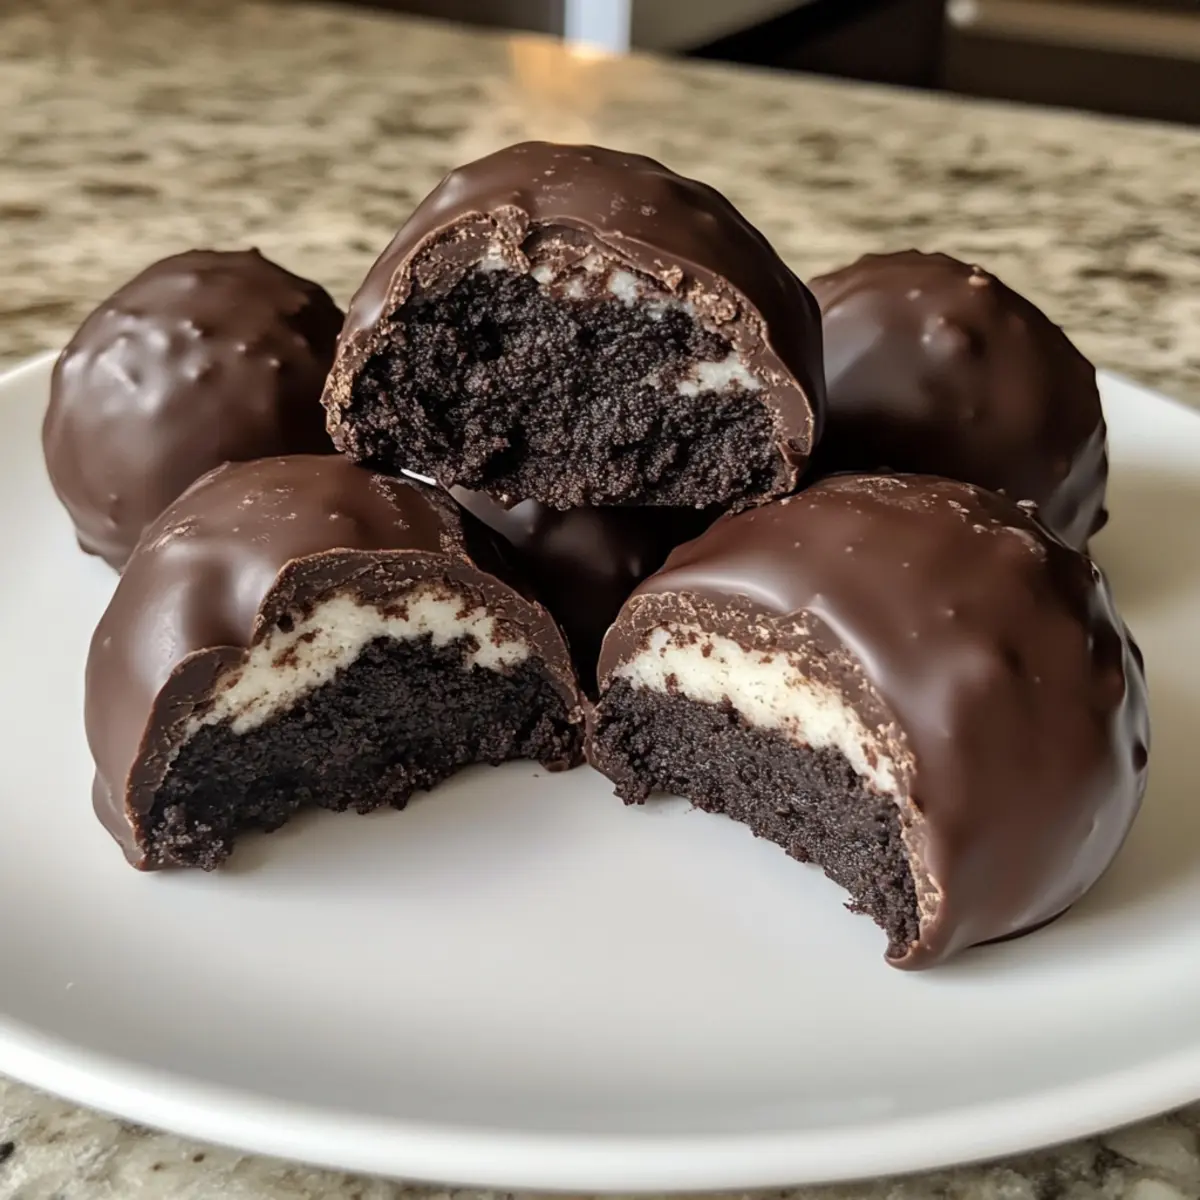
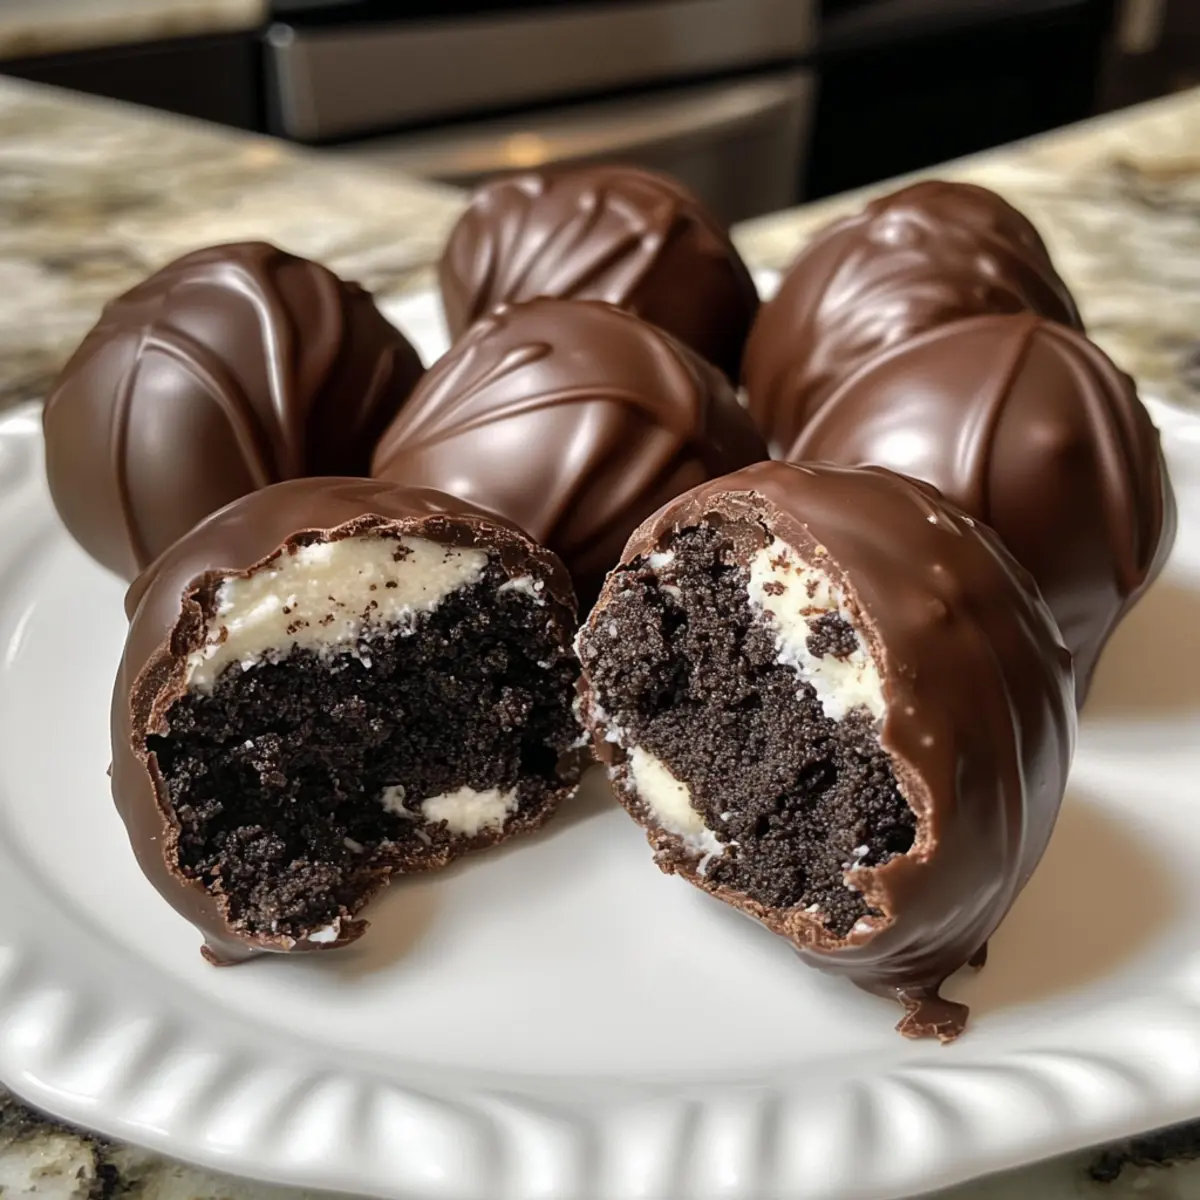
Nothing beats the satisfaction of whipping up a quick treat that both delights the taste buds and fuels your day! Enter these Easy No-Bake Oreo Protein Balls, a perfect blend of crushed Oreos, creamy cheese, and protein powder, all drizzled with silky chocolate. These little bites are not only a healthy, protein-packed snack but also require minimal effort—great for busy days when you need a quick pick-me-up or a post-workout reward. Plus, they’re fully adaptable; swap in your favorite cookies or protein flavors to make them your own. What creative twist will you add to your batch?
Why Are These Oreo Protein Balls Amazing?
No-Bake Convenience: You’ll love how effortlessly these come together without the need for an oven—perfect for busy schedules!
Protein Power: Packed with protein, they make an excellent post-workout snack or a midday energy booster.
Adaptable Delight: Change up the cookie or protein powder to suit your taste, offering endless flavor possibilities!
Decadent Flavor: Enjoy the rich cookies-and-cream experience that satisfies your sweet tooth without the guilt.
Pair them with fresh fruit or Greek yogurt for a balanced treat, and if you’re looking for other quick snacks, check out my Cranberry Meatballs Festive. You’ll be whipping up nutritious snacks in no time!
Oreo Protein Balls Ingredients
• Get ready to gather the essentials for your delightful treats!
For the Base
- Crushed Oreos – A sweet, crunchy base; feel free to swap with any chocolate sandwich cookie for a twist.
- Cream Cheese – Adds creaminess and binds everything together; use dairy-free cream cheese for a vegan option.
- Protein Powder – Boosts protein content; choose chocolate or vanilla according to your taste preferences.
- Coconut Flour – Helps with structure and absorbs moisture; almond flour is a great substitute for a nuttier flavor.
- Almond Milk – Adds moisture for binding; try oat milk or coconut milk as alternatives.
For the Topping
- Coconut Oil – Drizzled over the balls for a delicious finish; can be exchanged with any neutral oil or non-dairy butter.
Indulge in these Oreo Protein Balls guilt-free, crafted to fuel your day with ease!
Step‑by‑Step Instructions for Oreo Protein Balls
Step 1: Prepare Your Workspace
Begin by preparing a baking sheet lined with wax paper, this will be the surface for your finished Oreo protein balls. Make sure it’s spacious and ready for the delightful treats to rest on once rolled. Keeping everything organized will help streamline your process as you whip up this easy no-bake snack.
Step 2: Mix Dry Ingredients
In a large mixing bowl, combine the protein powder, coconut flour, and any sweetener you prefer. Use a whisk or fork to mix thoroughly, ensuring there are no clumps and everything is well-blended. This step is crucial as it sets the foundation for the delicious flavor and texture of your Oreo protein balls!
Step 3: Incorporate Wet Ingredients
Next, add the crushed Oreos, cream cheese, and almond milk to the dry mixture. Use a hand mixer on low speed to blend everything together until a uniform dough begins to form. This should take about 2-3 minutes. The dough should be thick but manageable, resembling a cookie dough consistency.
Step 4: Shape the Protein Balls
Once your mixture is combined, it’s time to roll the dough into heaping tablespoon-sized balls. Using your hands, carefully shape each ball and place them on the prepared wax paper. Each one should be about the size of a golf ball. This step is where the magic of Oreo protein balls really starts to take shape!
Step 5: Melt the Topping
In a microwave-safe bowl, add the white chocolate and coconut oil. Heat in 30-second intervals, stirring well after each interval until the mixture is smooth and fully melted. This should take about 1-2 minutes total. The melted chocolate will add that indulgent finish to your already delicious Oreo protein balls.
Step 6: Drizzle Chocolate Over Balls
Using a spoon or a fork, drizzle the melted chocolate mixture over each of the protein balls. Be generous, allowing the chocolate to coat the balls evenly for a delightful flavor. Take your time with this step for a beautiful presentation that adds to the overall indulgence of your Oreo protein balls.
Step 7: Set in Freezer
Place the baking sheet with the drizzled protein balls into the freezer and let them chill for about 10 minutes. This will allow the chocolate to set perfectly. You’ll know they’re ready when the chocolate coating is firm to the touch.
Step 8: Storage for Snacks
Finally, once the chocolate is set, transfer your Oreo protein balls to an airtight container. Store them in the fridge for up to a week, or in the freezer for up to three months for longer shelf life. Your delicious, healthy snack is now ready to enjoy whenever the craving strikes!
What to Serve with Easy No-Bake Oreo Protein Balls
Transform your delightful protein-packed treats into a complete meal with these perfect pairings.
- Almond Milk: A creamy accompaniment that enhances the rich flavors of the Oreo protein balls while adding a dose of nutrients.
- Fresh Berries: Juicy strawberries or blueberries provide a refreshing contrast to the sweetness, balancing the flavors beautifully.
- Greek Yogurt: Add a protein boost with creamy Greek yogurt; its tartness pairs wonderfully with the sweetness of the protein balls.
- Nut Butter Dip: A warm drizzle of almond or peanut butter elevates each bite, adding complexity and a satisfying nutty flavor.
- Dark Chocolate Dipped Bananas: The sweetness of bananas with a dark chocolate coating makes them a delicious side that echoes the Oreo theme.
- Hot Herbal Tea: A warm cup of chamomile or peppermint tea soothes the palate, creating a calming and cozy snack experience.
- Cheese Platter: Pairing with mild cheeses like mozzarella or cream cheese rounds out the sweetness, offering a savory twist.
- Protein Shake: A cold chocolate or vanilla protein shake complements the Oreo protein balls, perfect for post-workout recovery.
- Oreo Milkshake: For an indulgent treat, blend Oreos with milk for a creamy shake that mirrors the flavors in your protein balls.
Oreo Protein Balls Variations
Feel free to customize these tasty treats to satisfy your cravings and dietary needs!
- Vegan Option: Replace cream cheese with dairy-free cream cheese and choose plant-based protein powder for a completely vegan snack. These modifications keep the deliciousness intact!
- Nutty Twist: Add a scoop of almond or peanut butter to the mixture for a delightful nutty flavor and extra creaminess. The added protein and richness elevate the taste beautifully.
- Flavor Experimentation: Use chocolate or cookies-and-cream protein powder instead of vanilla for more intense flavors. Don’t be afraid to try part chocolate protein for a flavor adventure!
- Crunchy Delight: Toss in crushed nuts or seeds such as walnuts or chia seeds for an added crunch and nutritional boost. A fun texture makes them even more appealing!
- Dried Fruit Addition: Mix in some chopped dried fruit, like cranberries or cherries, for a hint of sweetness and chewy texture. This twist provides a lovely contrast to the creamy base.
- Spicy Kick: For a surprising zing, incorporate a pinch of cayenne pepper or espresso powder to intensify the flavors in your Oreo protein balls. You’ll love this unexpected twist!
- Flavored Coatings: Instead of just chilled chocolate topping, try rolling the finished protein balls in cocoa powder or shredded coconut for an eye-catching finish. This offers a delightful taste variation too!
- Holiday Version: For a seasonal twist, add a dash of pumpkin spice or peppermint extract to the mixture for a festive feel. Perfect for holiday gatherings!
For an equally delicious treat, check out my Thanksgiving Stuffing Balls. They’re another delightful way to enjoy flavorful dishes!
Make Ahead Options
These Easy No-Bake Oreo Protein Balls are perfect for meal prep enthusiasts! You can mix the dough and roll them into balls up to 24 hours in advance, simply store them in an airtight container in the fridge. If you need a longer storage solution, freeze the uncoated protein balls for up to 3 months. To maintain their delicious quality and prevent freezer burn, place parchment paper between layers if stacking. When you’re ready to indulge, simply drizzle with melted chocolate right before serving—this way, the chocolate coating remains fresh and glossy. Enjoy a guilt-free treat without any hassle on busy days!
How to Store and Freeze Oreo Protein Balls
Fridge: Store Oreo protein balls in an airtight container for up to 1 week. Perfect for quick grab-and-go snacks throughout the week!
Freezer: For long-term storage, freeze the protein balls in a single layer for 2 hours, then transfer to an airtight container for up to 3 months.
Thawing: When ready to enjoy, simply take them out and let them thaw at room temperature for about 10-15 minutes before indulging in their creamy goodness.
Reheating: There’s no need to reheat; these treats are best enjoyed chilled straight from the fridge or freezer, preserving their delightful texture!
Expert Tips for the Best Oreo Protein Balls
- Optimal Binding: Ensure your cream cheese is at room temperature for easier mixing, ensuring every ingredient blends seamlessly into the Oreo protein balls.
- Taste Test: Before rolling the mixture, take a small taste to adjust sweetness or flavor. This small step can enhance your final product delightfully!
- Rolling Dough: If the mixture feels too sticky while rolling, keep your hands lightly moistened with water to make forming the balls easier without adding extra ingredients.
- Layering for Freezing: Place parchment paper between layers of protein balls when freezing to prevent them from sticking together, making them easy to grab later.
- Flavor Variations: Don’t hesitate to mix things up! Experiment with different protein powder flavors or cookie varieties for unique Oreo protein balls that suit your taste.
Oreo Protein Balls Recipe FAQs
How do I choose the best Oreos for this recipe?
Absolutely! Opt for fresh Oreos without dark spots or cracks, as they indicate staleness. Crushing them is a breeze, and you can even swap them with chocolate sandwich cookies for a twist on flavor!
What’s the best way to store Oreo protein balls?
Store your Oreo protein balls in an airtight container in the fridge for up to 1 week. This keeps them fresh and ready for snacking at any time! For longer storage, consider freezing them as outlined below.
Can I freeze Oreo protein balls?
Definitely! Freeze the balls in a single layer on a baking sheet for about 2 hours to solidify. Once set, transfer them to an airtight container or freeze bag, and they will last up to 3 months. Just let them thaw at room temperature for 10-15 minutes before enjoying!
What should I do if my mixture is too sticky to roll?
Very! If the mixture feels sticky, moisten your hands slightly with water while rolling the balls. This technique helps shape the protein balls without needing to add more ingredients, keeping the taste intact.
Are these protein balls suitable for those with allergies?
Yes, however, be mindful of common allergens! For a nut-free version, replace almond milk with oat milk or coconut milk. If you’re using dairy-free cream cheese, double-check the label for any ingredients that could cause allergies.
Decadent Oreo Protein Balls: Indulge Guilt-Free Today
Ingredients
Equipment
Method
- Prepare a baking sheet lined with wax paper for the finished Oreo protein balls.
- In a large mixing bowl, combine the protein powder, coconut flour, and sweetener.
- Add crushed Oreos, cream cheese, and almond milk to the dry mixture and blend until uniform.
- Roll the mixture into heaping tablespoon-sized balls and place them on the wax paper.
- In a microwave-safe bowl, melt white chocolate and coconut oil, stirring until smooth.
- Drizzle the melted chocolate mixture over each of the protein balls.
- Freeze the baking sheet with the protein balls for about 10 minutes to set the chocolate.
- Transfer the set protein balls to an airtight container for storage.
Leave a Reply