
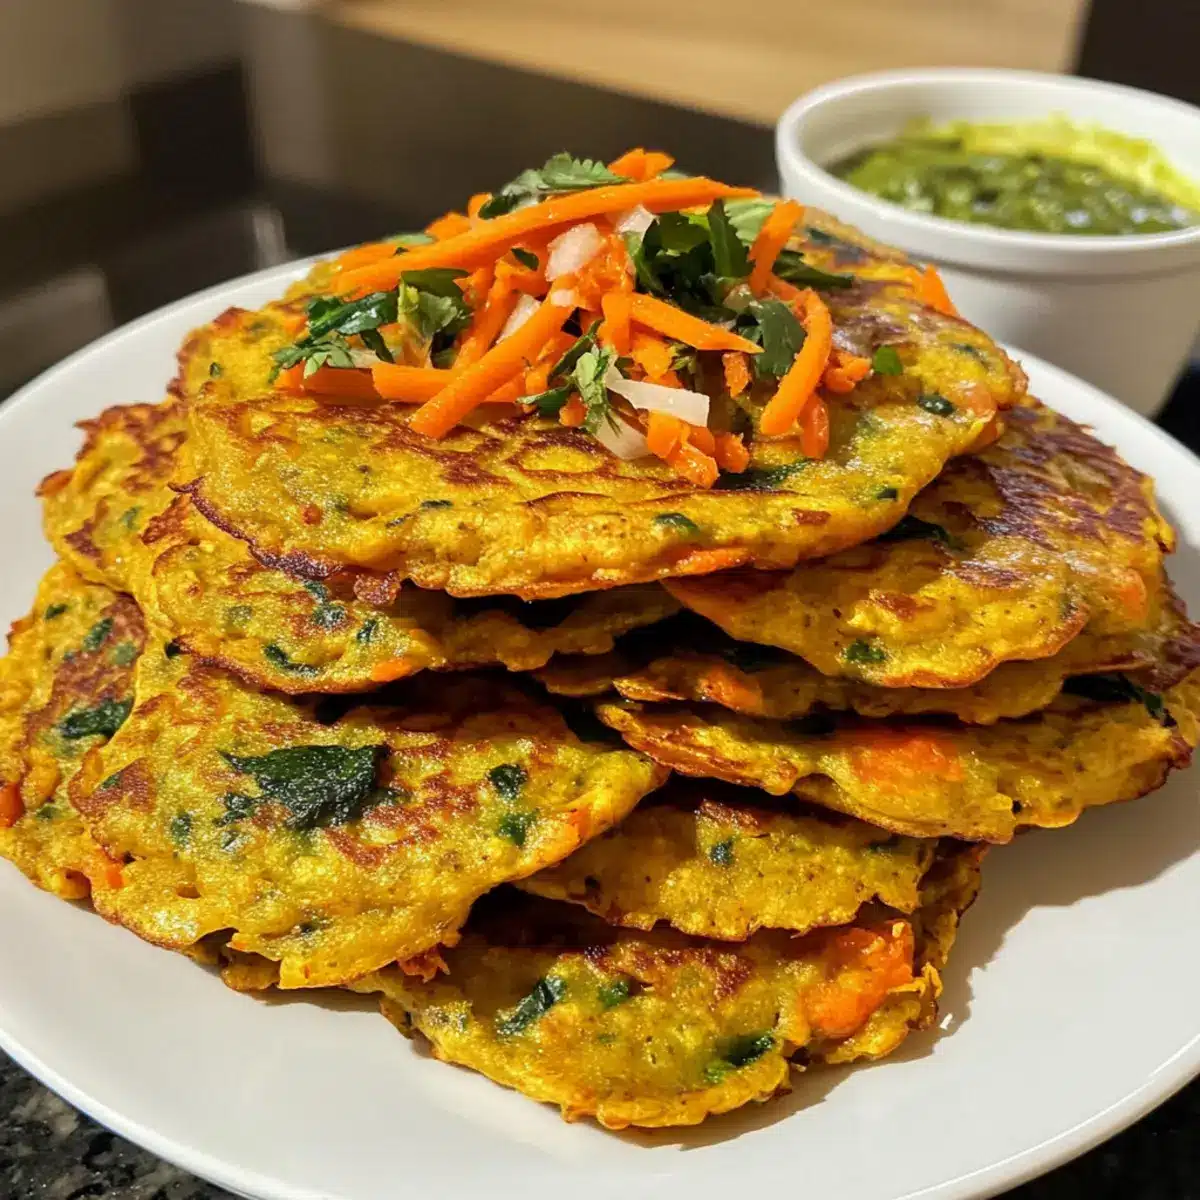
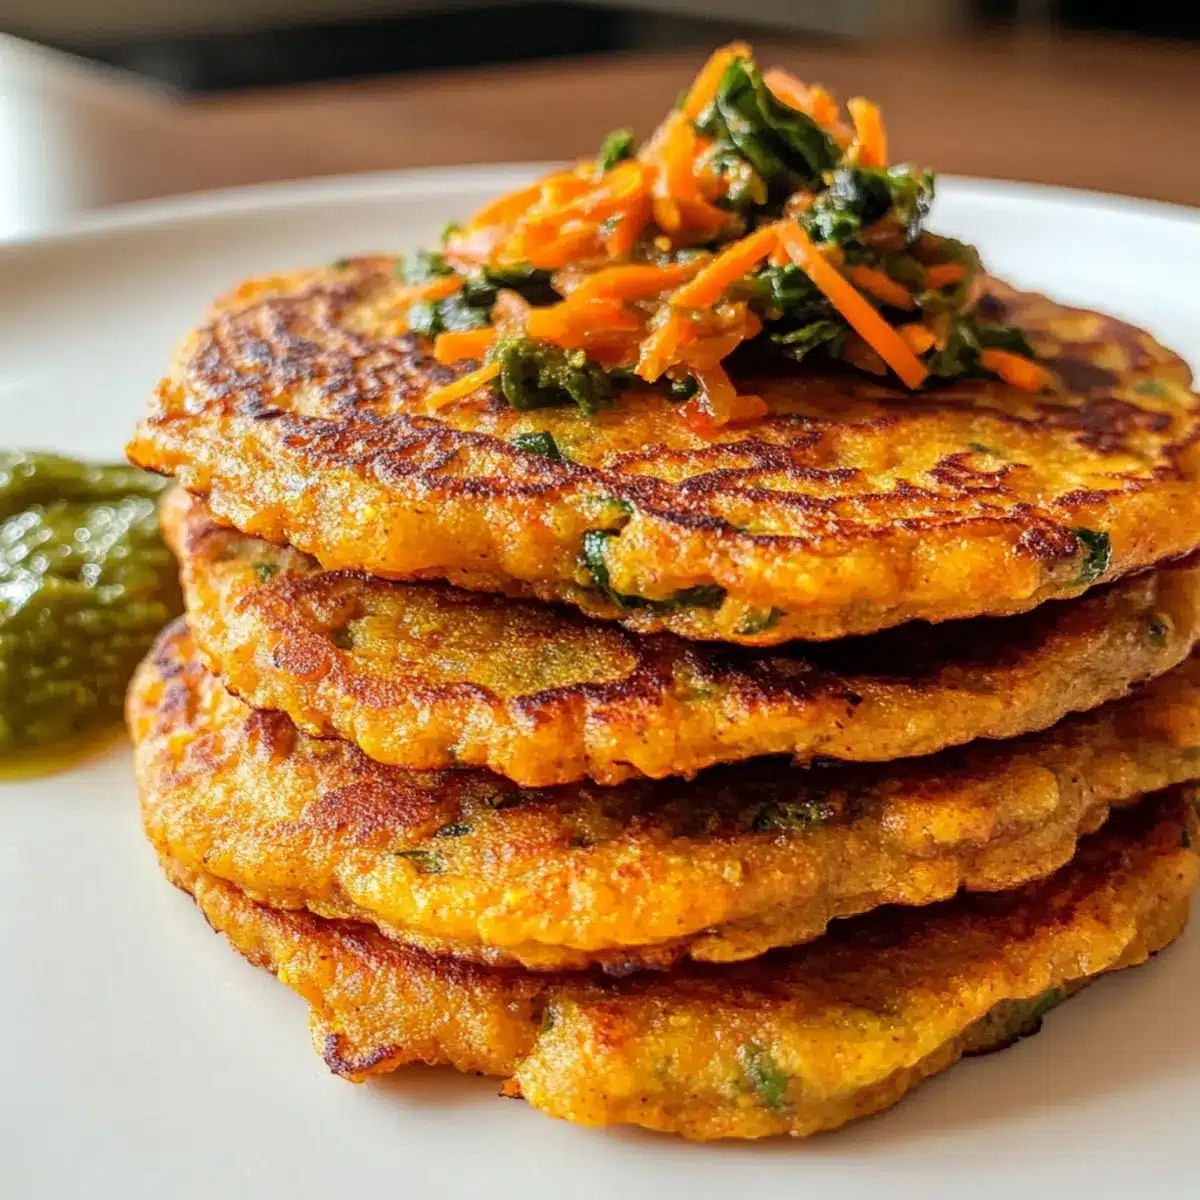
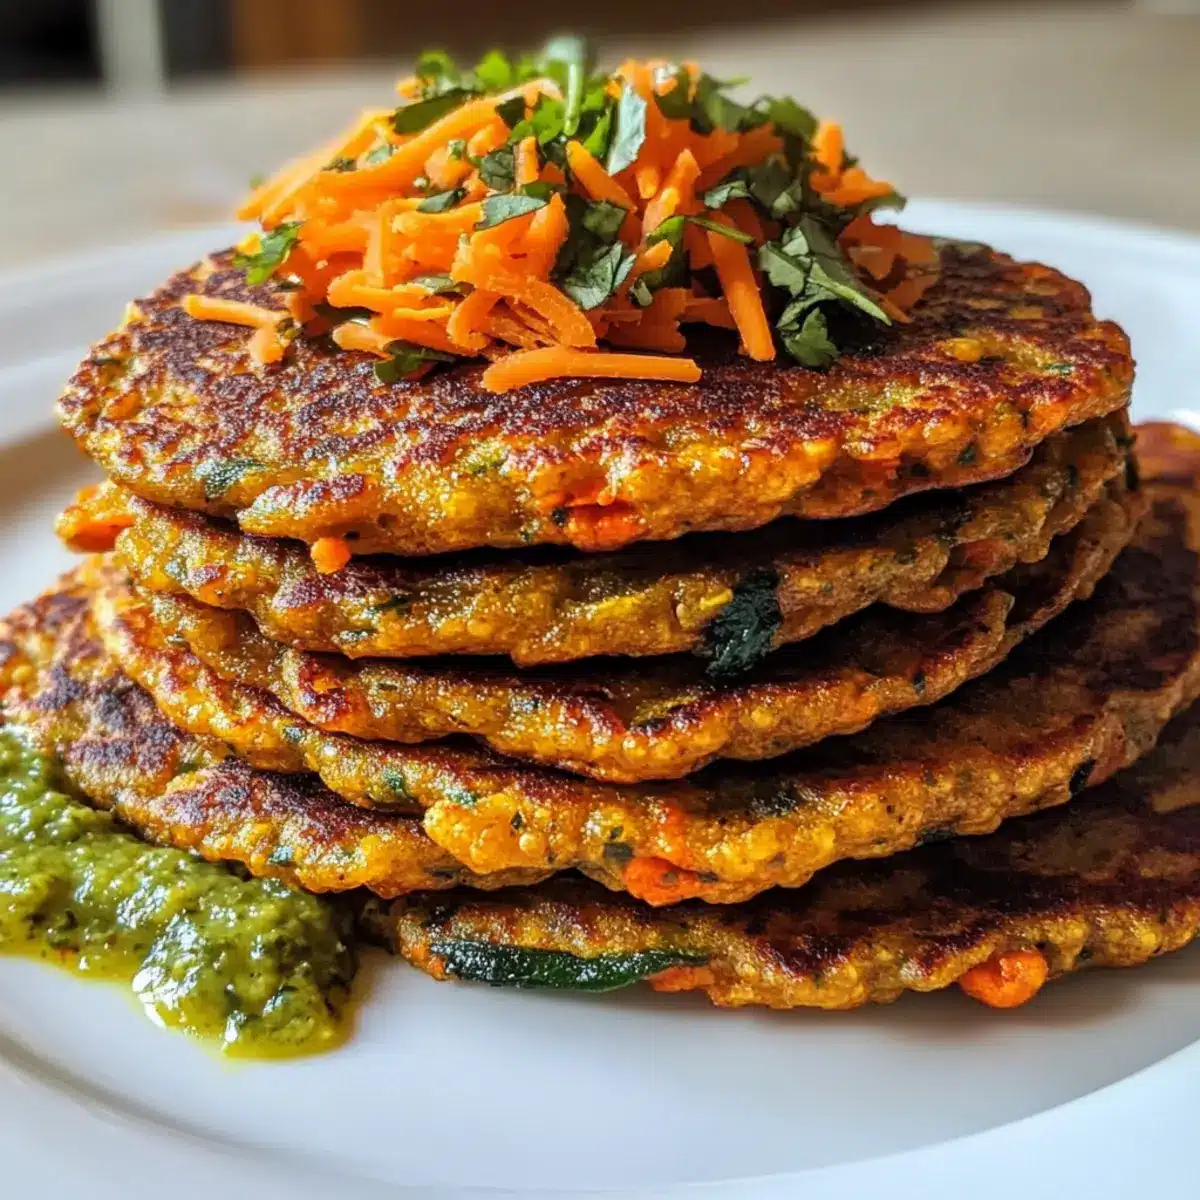
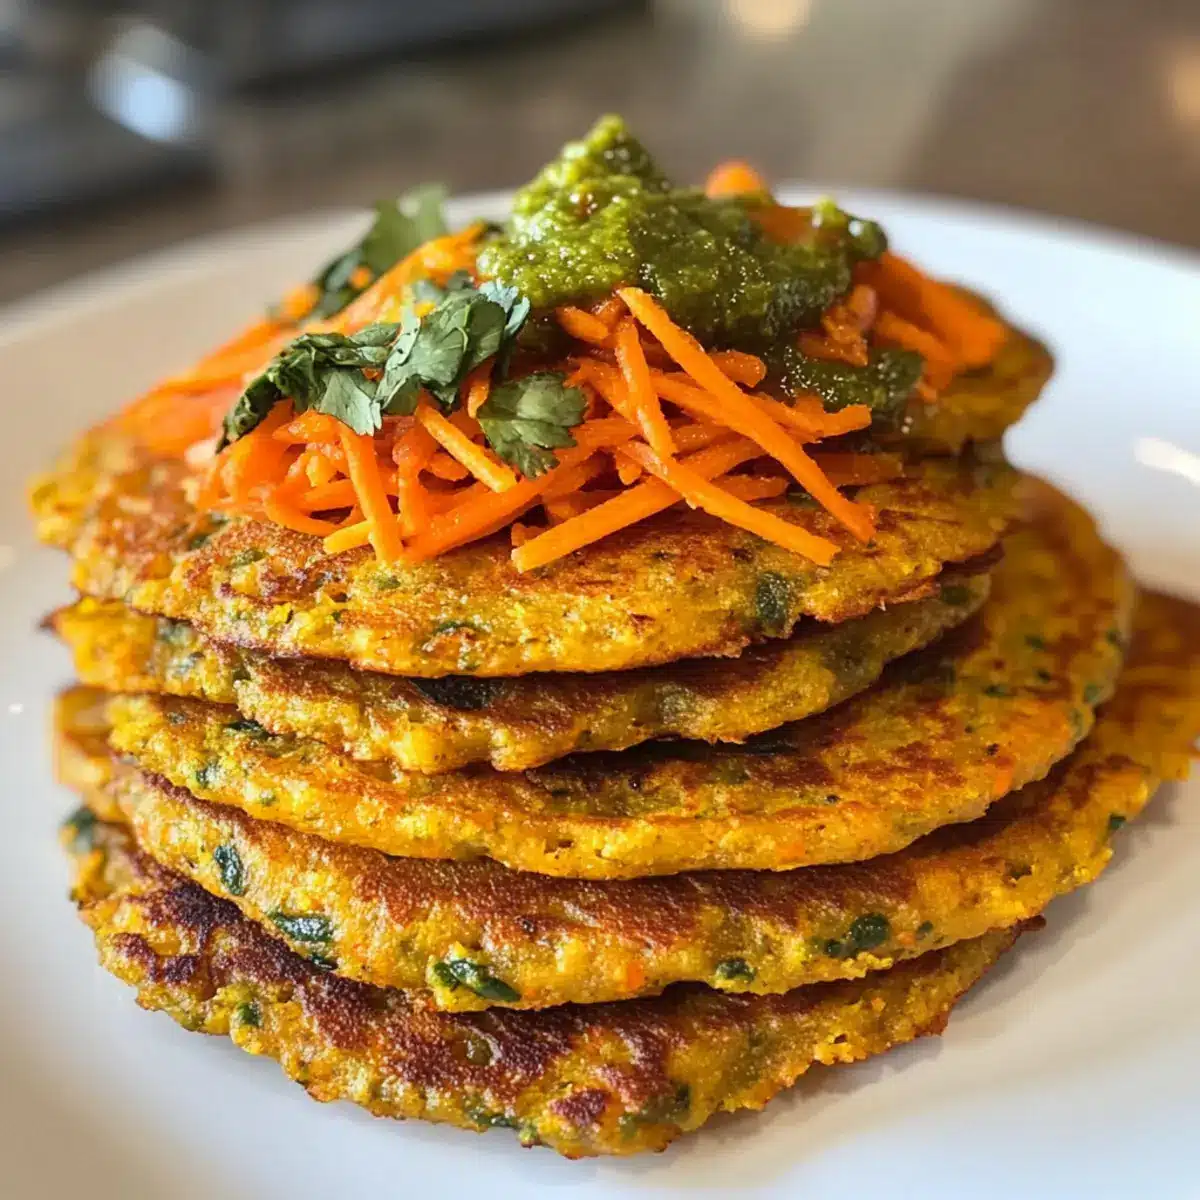
As I flipped my first Masoor Dal Chilla, the aroma of spices filled the kitchen, reminding me of sun-drenched markets in India where savory street foods danced on the breeze. These crispy red lentil pancakes have fast become my go-to recipe—perfect for breakfast, lunch, or a satisfying snack. Easy to whip up in just 30 minutes, they’re not only gluten-free and vegan but also packed with protein and veggies, making them a wholesome choice any time of day. Whether you enjoy them topped with creamy avocado, zesty chutneys, or a sprinkle of cheese, these Masoor Dal Chillas are sure to impress! What topping will you choose to elevate your own pancake creation?
Why are Masoor Dal Chillas a Must-Try?
Flavorful and Aromatic: The blend of spices like cumin and turmeric makes every bite of these chillas a fragrant delight.
Nutritious Powerhouse: Packed with protein and fiber from red lentils, this dish is not just tasty but also health-conscious.
Versatile Toppings: Customize your chilla—whether you prefer a cheesy twist, a fresh avocado topping, or a sweet mango chutney, the options are endless.
Quick and Easy: Ready in just 30 minutes, these pancakes are perfect for busy mornings or spontaneous gatherings.
Crowd-Pleasing Dish: Whether it’s breakfast, lunch, or a snack, everyone will love the crispy texture and delicious flavors of Masoor Dal Chilla!
Masoor Dal Chilla Ingredients
• Create your own savory treat with these core ingredients!
For the Batter
- Red Lentils – Soaked and blended, these are the heart of your Masoor Dal Chilla; you can also use yellow lentils for a different flavor.
- Spices (e.g., cumin, turmeric, chili powder) – These bring warmth and depth to your pancakes; feel free to adjust based on your spice tolerance.
- Vegetables (e.g., grated carrots, spinach) – Add color and nutrition; choose your favorites or whatever you have on hand.
- Water – Adjust for ideal batter consistency; add more for thinner pancakes or less for thicker ones.
For Cooking
- Oil (for frying) – Ensures a crispy finish; consider using cooking spray for a lighter touch.
Get ready to whip up a delicious batch of Masoor Dal Chilla that will leave everyone wanting more!
Step‑by‑Step Instructions for Masoor Dal Chilla
Step 1: Prepare the Lentils
Begin by soaking 1 cup of red lentils in fresh water for at least 2 hours to soften them. Once soaked, drain and rinse the lentils thoroughly under cold water until the water runs clear. This preparation helps in achieving a smooth batter for your Masoor Dal Chilla, ensuring a delightful texture.
Step 2: Blend the Batter
Transfer the soaked lentils to a blender and add 1 teaspoon of cumin, 1/2 teaspoon of turmeric, and a pinch of chili powder for flavor. Gradually add about 1/2 cup of water, blending until you achieve a smooth batter. The consistency should be pourable but thick enough to hold its shape. Transfer the blended mixture to a bowl and let it rest for a few minutes while you prepare the vegetables.
Step 3: Mix in the Vegetables
Optionally, grate 1 medium carrot and a handful of spinach, and fold them into the prepared batter. This adds nutrients and a colorful touch to your Masoor Dal Chilla. Ensure the vegetables are evenly distributed throughout the batter for a delightful bite in every pancake. If the batter feels too thick, add a touch more water to loosen it slightly.
Step 4: Heat the Pan
Place a non-stick skillet over medium heat and drizzle a small amount of oil (about 1 tablespoon) to coat the surface evenly. Allow the pan to heat up for about 2 minutes; a drop of water should sizzle when it hits the skillet. The right temperature ensures your Masoor Dal Chilla cooks beautifully and achieves that delightful golden-brown crust.
Step 5: Cook the Chilla
Once the pan is hot, pour a ladleful of batter onto the skillet, spreading it into a round pancake shape. Cook for about 3-4 minutes, or until the edges begin to lift and the bottom turns golden-brown. Keep an eye on it to avoid burning; the right color should be a warm, golden hue, signaling it’s time to flip.
Step 6: Flip and Finish Cooking
Gently flip the chilla using a spatula, pressing down lightly to ensure it’s evenly cooked. Allow it to cook on the other side for an additional 3-4 minutes until it also achieves a golden-brown color. The Masoor Dal Chilla should be crispy on the outside and soft on the inside when done.
Step 7: Serve Warm
Once cooked, transfer the chilla to a plate and continue the process with the remaining batter, adding more oil as needed in the pan. Serve the Masoor Dal Chilla warm with a side of yogurt or your favorite chutney, and enjoy a delicious, homemade meal that’s perfect for any time of day!
Make Ahead Options
These Masoor Dal Chillas are perfect for home cooks who want to save time during busy weeknights! You can prepare the batter up to 24 hours in advance by soaking the red lentils, blending them with spices, and mixing in vegetables before refrigerating. To maintain their quality, store the batter in an airtight container to prevent browning. When you’re ready to enjoy your Masoor Dal Chilla, simply heat a non-stick pan, pour in the batter, and cook as usual for a quick and delightful meal. This way, you’ll have homemade pancakes with minimal effort, ensuring every bite is just as delicious as if made fresh!
Expert Tips for Masoor Dal Chilla
-
Smooth Batter: Ensure your batter is smooth for the best texture. Undermixed lentils can result in a gritty chilla.
-
Avoid Overcrowding: Don’t overcrowd the pan when cooking; give each chilla enough space to crisp up perfectly without steaming.
-
Watch the Temperature: Keep the skillet at medium heat. Too high a temperature can burn the chilla before it’s fully cooked through.
-
Customize Wisely: Feel free to customize your Masoor Dal Chilla with various vegetables. Just ensure they’re grated or finely chopped for even cooking.
-
Serve Immediately: Serve your chillas warm for the best taste. They can become less crispy as they sit, so enjoy them right off the pan!
What to Serve with Masoor Dal Chilla
Elevate your meal experience with delightful pairings that bring out the best in these savory pancakes.
-
Creamy Yogurt: A cool and refreshing side that balances the spices in your chilla, adding a lovely creaminess to each bite. Topped with herbs, it makes a perfect complementary dip.
-
Mint Chutney: This vibrant, zesty chutney adds a burst of freshness. Its herby notes beautifully contrast the rich flavors of the Masoor Dal Chilla.
-
Spicy Mango Chutney: A sweet and tangy mango chutney brings a delightful kick, perfect for those who love sweet and savory combinations. It adds a fun twist to the traditional serving style.
-
Shredded Veggie Salad: A crunchy salad of shredded carrots, cucumber, and radish mixed with a squeeze of lemon juice adds brightness and texture to your meal. The freshness enhances the flavors of the chilla.
-
Avocado Slices: Creamy, ripe avocado slices provide a rich texture that complements the crispness of the chilla. A sprinkle of lime juice takes this pairing to the next level.
-
Masala Chai: A cup of warm masala chai infuses your meal with a spiced aroma, making it a perfect complementary beverage. The warmth of the chai pairs harmoniously with the savory pancakes.
-
Cucumber Raita: This cooling yogurt side with diced cucumber and spices creates a soothing balance to the spices in your chilla, enhancing your taste experience.
-
Pickled Vegetables: Tangy pickled vegetables add a zing that contrasts delightfully with the Masoor Dal Chilla. Their crunchiness provides an exciting textural element too.
These delightful pairings not only enhance the taste of your Masoor Dal Chilla but also create a vibrant, colorful meal that’s sure to impress!
Masoor Dal Chilla Variations
Feel free to get creative with your Masoor Dal Chilla—there are countless ways to customize this dish for your taste buds!
-
Avocado Topper: Slather on creamy mashed avocado with a squeeze of lemon for a fresh twist. It tastes heavenly with the crispy chilla beneath!
-
Cheesy Delight: Sprinkle some shredded vegan or regular cheese on top just before flipping for a gooey surprise. The melted cheese pairs beautifully with the spices in the batter.
-
Sweet & Savory Fusion: Spread a layer of mango chutney for an exciting sweet contrast. This combo creates a dynamic explosion of flavors with every bite.
-
Loaded Veggies: Add grated zucchini, spinach, or bell peppers right into the batter for more goodness. The extra veggies enhance both flavor and nutrition seamlessly.
-
Spicy Kick: Mix in finely chopped green chilies for a delicious heat that will awaken your senses. Adjust the amount depending on your spice tolerance!
-
Herb Infusion: Fresh herbs like cilantro or parsley can elevate the flavors of your chilla. Chopped finely, they add a burst of freshness that’s simply irresistible.
-
Nutty Crunch: Add crushed nuts or seeds to your batter for an extra crunchy texture. Almonds or sunflower seeds can provide a delightful contrast to the softness of chilla.
-
Savory Spice Bomb: Try experimenting with different spices like garam masala or smoked paprika to give your chilla a unique twist and an explosion of flavor!
If you’re interested in exploring more topping ideas, check out this cheesy twist recipe that complements the savory flavors perfectly. Remember, the sky’s the limit with Masoor Dal Chilla!
How to Store and Freeze Masoor Dal Chilla
Fridge: Store leftover Masoor Dal Chilla in an airtight container for up to 3 days to maintain freshness and avoid spoilage.
Freezer: For longer storage, freeze individual chillas wrapped in plastic wrap and then in a freezer bag for up to 2 months.
Reheating: Reheat in a pan over medium heat with a little oil to restore crispness, or microwave for 30 seconds to 1 minute for a quicker option.
Room Temperature: If serving immediately, Masoor Dal Chilla can be left out at room temperature for up to 2 hours, making it perfect for gatherings!
Masoor Dal Chilla Recipe FAQs
What type of red lentils should I use for Masoor Dal Chilla?
Absolutely! Use split red lentils, which are ideal because they blend smoothly to create the batter. You can also substitute with yellow lentils if you prefer a different flavor, but the texture may vary slightly.
How should I store leftover Masoor Dal Chilla?
Store your leftover Masoor Dal Chilla in an airtight container in the refrigerator for up to 3 days. To maintain their crispiness, ensure they are completely cool before sealing them in. Reheat in a pan for a delightful crunch!
Can I freeze Masoor Dal Chilla?
Yes, you can freeze Masoor Dal Chilla for up to 2 months! To do this, place each cooled chilla on a sheet of parchment paper, stack them with layers of parchment between each, wrap tightly in plastic wrap, and then put them in a freezer bag. When you’re ready to enjoy, simply thaw in the refrigerator and reheat in a pan.
What can I do if my chilla batter is too thick?
No worries! If your batter feels too thick, gradually add a little more water (1 tablespoon at a time) and mix until the desired pourable consistency is reached. A thicker batter may lead to denser pancakes, so adjusting will help you achieve that lovely crispy texture.
Is Masoor Dal Chilla suitable for those with nut allergies?
Yes, you’re in luck! Masoor Dal Chilla is naturally nut-free, making it suitable for most with nut allergies. However, always double-check ingredient labels on any additional toppings or sides—like chutneys or yogurt—just to be safe.
How long does it take to prepare and cook Masoor Dal Chilla?
If you soak the lentils for about 2 hours beforehand, the actual cooking process takes roughly 30 minutes! This includes blending the batter and cooking the pancakes to golden perfection, making it a quick and satisfying meal option.
Crispy Masoor Dal Chilla: The Ultimate Vegan Pancake Delight
Ingredients
Equipment
Method
- Soak 1 cup of red lentils in fresh water for at least 2 hours. Drain and rinse under cold water.
- Blend soaked lentils with 1 teaspoon of cumin, 1/2 teaspoon of turmeric, a pinch of chili powder, and 1/2 cup of water until smooth.
- Optionally, mix in grated carrot and chopped spinach into the batter.
- Heat a non-stick skillet over medium heat and drizzle with 1 tablespoon of oil.
- Pour a ladleful of batter onto the skillet, spreading it into a round shape. Cook for 3-4 minutes until golden-brown.
- Flip the chilla using a spatula and cook for another 3-4 minutes until both sides are crispy.
- Serve warm with yogurt or chutney.
Leave a Reply