
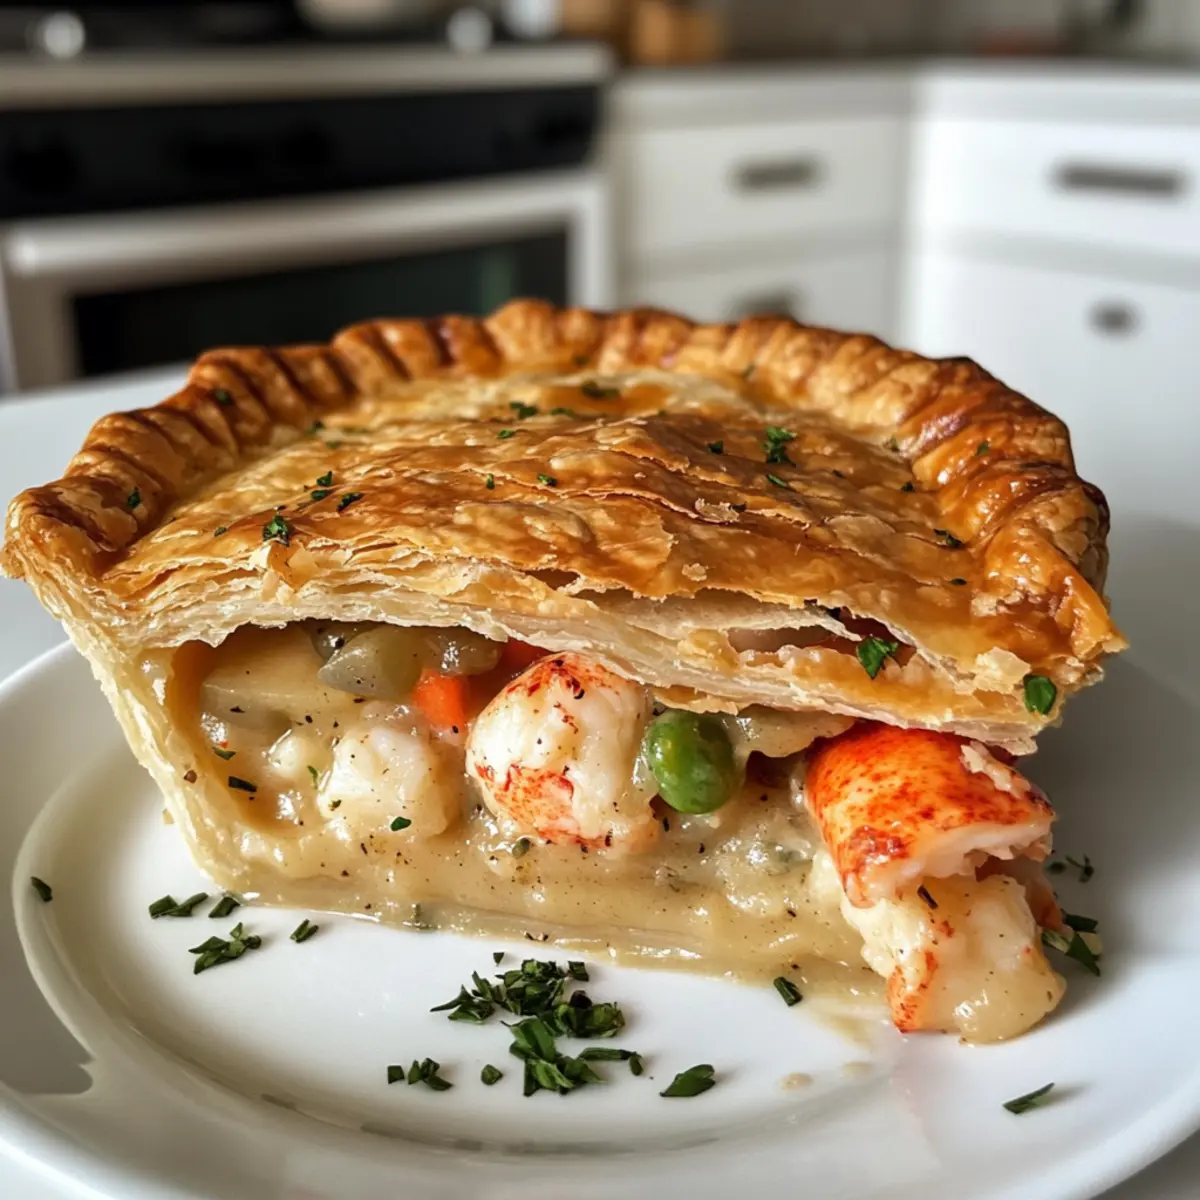
As I stirred the bubbling pot on my stove, a warm wave of nostalgia washed over me, transporting me to a quaint seaside cottage in New England. Today, I’m excited to share my ultimate comfort food: Lobster Pot Pie. This recipe features tender lobster meat enveloped in a creamy sauce and cocooned in a flaky, buttery crust—perfect for those cozy evenings at home. Not only does it deliver a rich, satisfying taste, but it’s also incredibly versatile! You can easily swap in shrimp or even your favorite seafood for a delightful twist. With the added perk of being a make-ahead meal, you’ll find this dish is perfect for both family gatherings and intimate dinners with loved ones. Are you ready to recreate a bit of coastal magic in your kitchen? Let’s dive in!

Why is Lobster Pot Pie a Must-Try?
Ultimate Comfort: Elevate your dinner experience with this deliciously rich Lobster Pot Pie that brings warmth and nostalgia to every bite.
Versatile Ingredients: Easily customize the recipe by substituting with shrimp or other seafood, ensuring it suits your taste preferences.
Make-Ahead Magic: Prepare this dish without stress; it can be stored unbaked in the fridge or freezer, ready to impress at a moment’s notice.
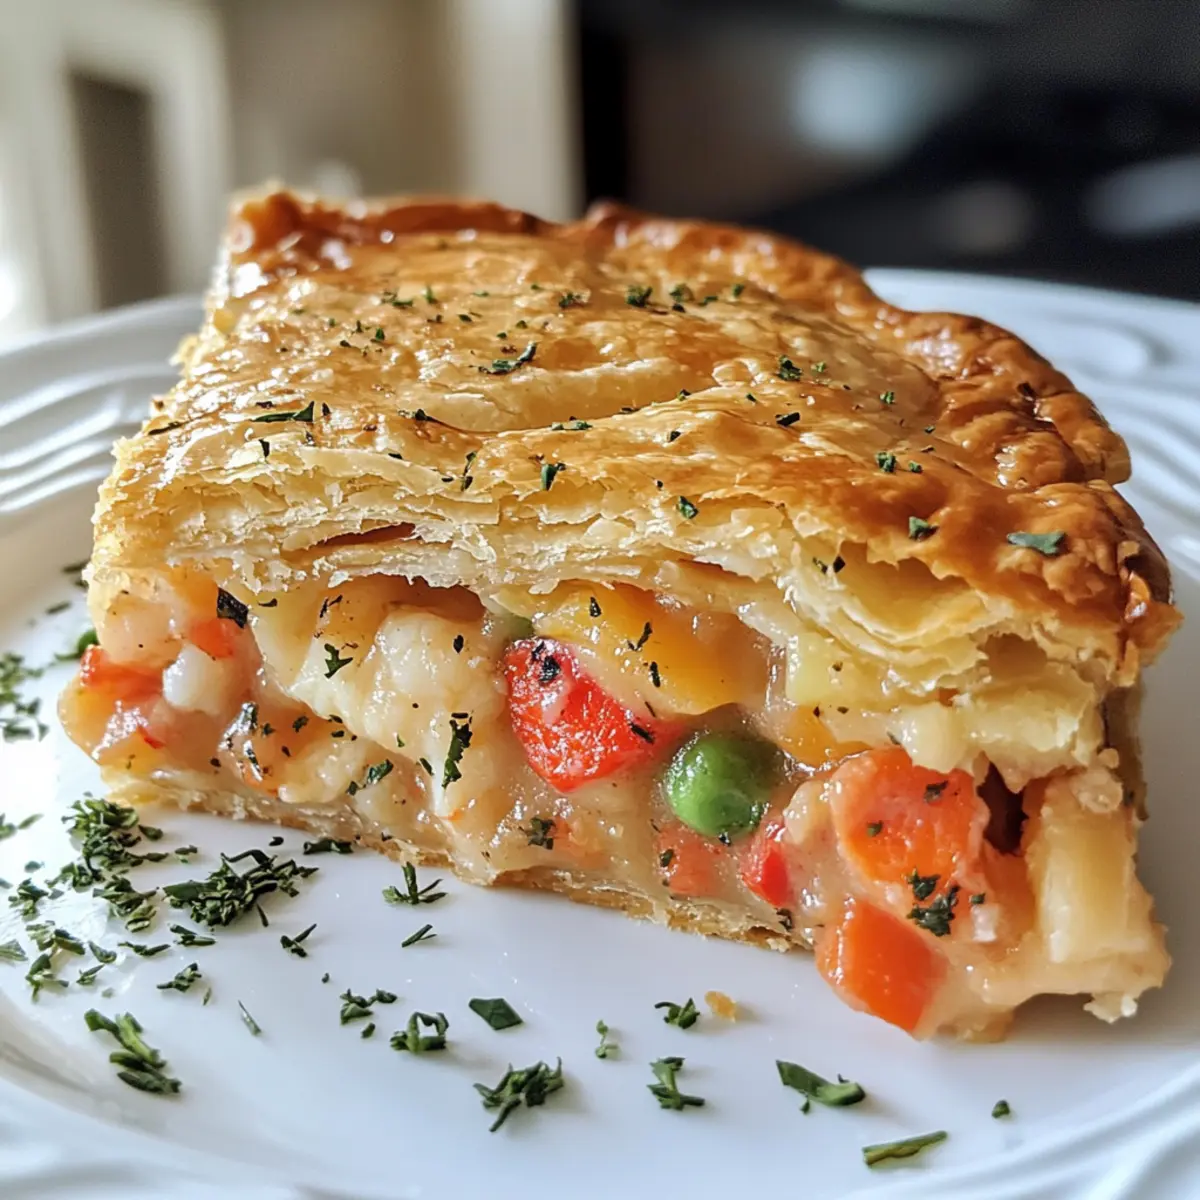
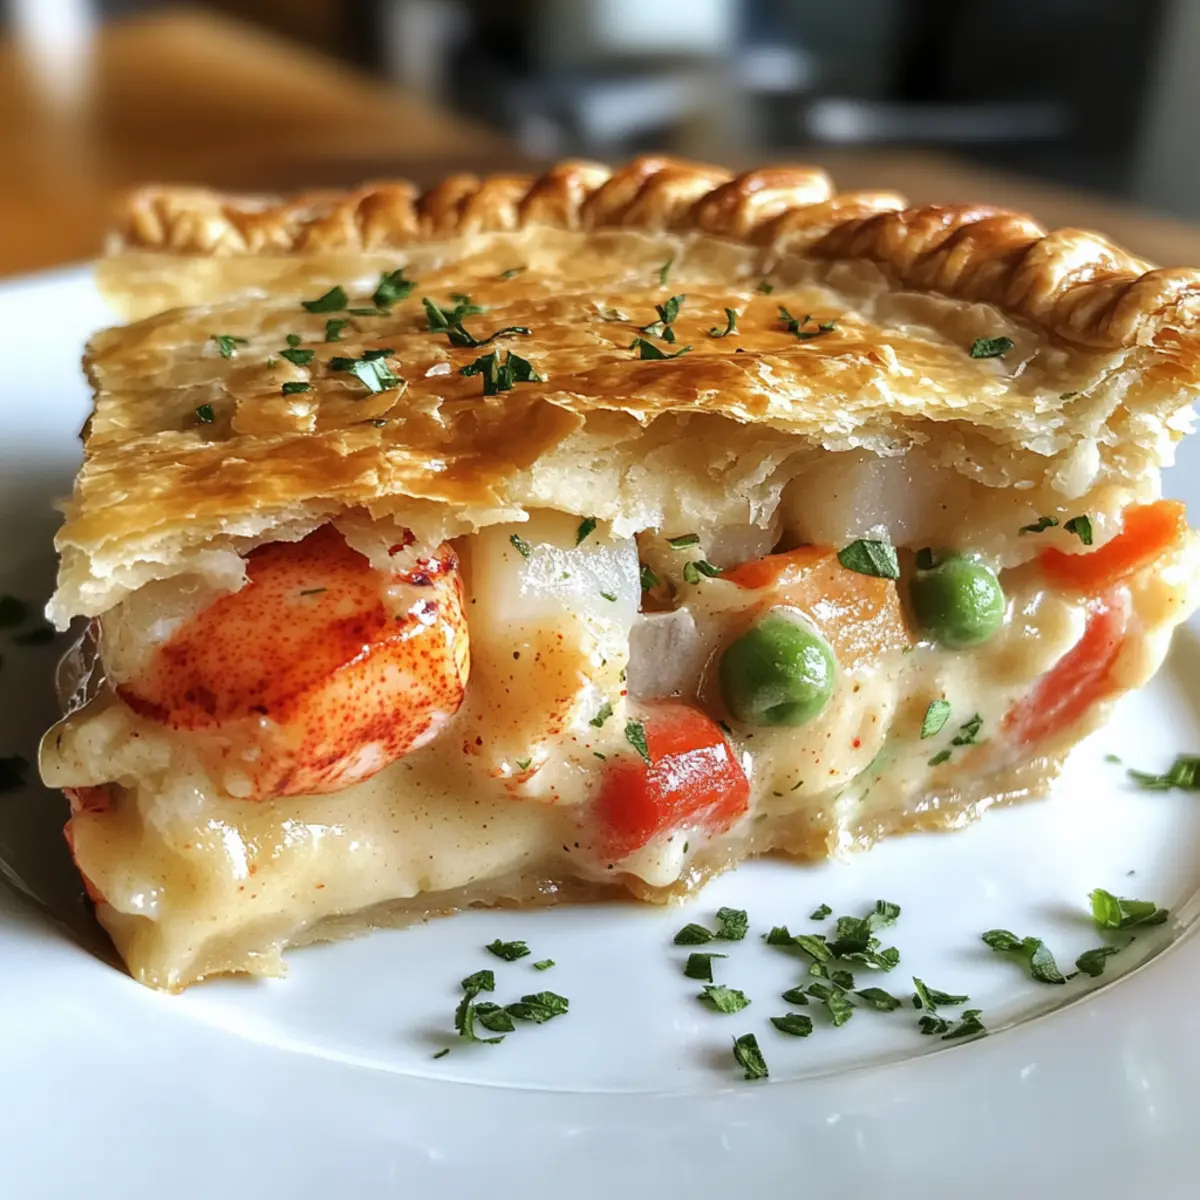
Impressive Presentation: The golden, flaky crust paired with a bubbling, creamy filling looks stunning on any table, making it perfect for family gatherings or special occasions.
Crowd Pleaser: This dish combines comforting flavors with a touch of sophistication that will leave your guests raving, just like with my Mini Pecan Pie or a classic Apple Pie.
Lobster Pot Pie Ingredients
For the Filling
• Lobster Meat – Use fresh, cooked lobster from claws or tails for the richest flavor, or opt for frozen if needed.
• Heavy Cream – Essential for creating that creamy, decadent filling that makes this lobster pot pie irresistible.
• Chicken or Seafood Stock – Elevates the overall flavor profile, adding depth and richness to the pot pie filling.
• Onion – Diced to provide a sweet and aromatic base; cook until translucent for best results.
• Garlic – Minced to infuse the dish with its fragrant essence, enhancing all the flavors in the cream.
• Carrots – Diced to add a touch of sweetness and vibrant color to the filling for visual appeal.
• Celery – Diced to match the other vegetables, contributing crunchy texture and flavor to the pie.
• Frozen Peas – No prep necessary, these add a sweet burst and beautiful color to your filling.
• Fresh Thyme – Adds an earthy aroma; feel free to double the amount for a more robust flavor.
• Lemon Juice – Brightens up the dish with a zesty kick that enhances the overall taste.
• Salt – A must for balancing all the flavors in the filling.
• Black Pepper – Adds a subtle depth of heat to the dish.
• Olive Oil – Used for sautéing the vegetables, it enriches their flavor beautifully.
For the Crust
• Pre-made Pie Crusts – Saves time while delivering a flaky texture; homemade crusts can offer an extra touch of flavor.
• Egg (Beaten) – For brushing on top of the crust, ensuring a beautifully golden finish as it bakes.
This Lobster Pot Pie promises to steal the spotlight at any dinner!
Step‑by‑Step Instructions for Lobster Pot Pie
Step 1: Preheat the Oven
Begin by preheating your oven to 400°F (204°C), ensuring it reaches this temperature before you bake your Lobster Pot Pie. This step is crucial for achieving that perfectly golden crust that is both flaky and irresistible.
Step 2: Sauté the Aromatics
In a large skillet, heat 2 tablespoons of olive oil over medium heat. Add the diced onion and minced garlic, sautéing them for 4-5 minutes until the onion turns translucent and fragrant. This aromatic base will set the stage for the rich flavors to come.
Step 3: Add the Vegetables
Stir in the diced carrots and celery, cooking for an additional 5 minutes. You want the vegetables to soften slightly while maintaining their vibrant colors and textures, building the foundation of your delectable lobster pot pie filling.
Step 4: Create the Creamy Sauce
Pour in 1 cup of heavy cream and 1 cup of chicken or seafood stock into the skillet. Gently bring the mixture to a simmer for about 5-7 minutes, allowing it to thicken slightly while stirring continuously. Look for a sauce that coats the back of a spoon.
Step 5: Fold in the Lobster
Once the sauce has thickened, fold in 2 cups of lobster meat and 1 cup of frozen peas. Stir for an additional 5 minutes to heat everything through, ensuring the lobster is evenly distributed within the creamy filling. It’s the heart of your Lobster Pot Pie!
Step 6: Season the Filling
Remove the skillet from heat, and mix in 1 tablespoon of fresh thyme, 1 tablespoon of lemon juice, and season generously with salt and black pepper to taste. The seasoning will brighten up the filling, enhancing the luscious flavor of your lobster pot pie.
Step 7: Prepare the Base Crust
Roll out one of the pre-made pie crusts into a 9-inch pie dish, pressing it gently against the sides. Carefully pour in the warm lobster filling, making sure it’s evenly distributed; this will create a base for your golden, flaky crust.
Step 8: Cover with Top Crust
Place the second pie crust over the filling, crimping the edges to seal in the hearty mixture. Cut a few vents on top to allow steam to escape during baking. This ensures a crispy crust without sogginess in your Lobster Pot Pie.
Step 9: Brush the Crust
Using a pastry brush, lightly brush the top crust with the beaten egg to promote a golden-brown finish. This small step makes a big difference in both appearance and flavor, giving your pot pie a beautiful shine as it bakes.
Step 10: Bake to Golden Perfection
Bake the Lobster Pot Pie in your preheated oven for 30-35 minutes, or until the crust is golden brown and the filling is bubbling up through the vents. Keep an eye on it towards the end to prevent overbaking.
Step 11: Let it Rest
Once baked, remove the lobster pot pie from the oven and let it rest for 10-15 minutes before serving. This resting period allows the filling to set, making slicing easier and enhancing the overall flavor as everything melds beautifully.
Make Ahead Options
These Lobster Pot Pie creations are ideal for meal prep enthusiasts wanting to save time during busy weeknights! You can prepare the filling up to 24 hours in advance by cooking the lobster meat and sautéing the vegetables as directed, then allowing it to cool before storing in an airtight container in the refrigerator. Additionally, the assembled but unbaked pie can be refrigerated for also up to 24 hours or frozen for up to 3 months. When ready to cook, just bake it straight from the refrigerator or freezer, adjusting the baking time as needed. By prepping ahead, you maintain the dish’s delightful flavors, ensuring this comfort food is just as delicious when you serve it!
Expert Tips for Lobster Pot Pie
-
Perfectly Simmer: Aim to gently simmer the filling—not boil—to prevent it from becoming runny and ensure a creamy texture in your Lobster Pot Pie.
-
Blind Bake Crust: Pre-bake the bottom crust for 5-7 minutes before adding the filling. This simple step helps prevent sogginess and guarantees a crisp base.
-
Let it Rest: Allow the pot pie to rest for 10-15 minutes post-baking. This waiting time lets the filling set, so slicing is easier and flavors meld beautifully.
-
Thaw Frozen Lobster: If using frozen lobster, make sure it’s fully thawed and well-drained before cooking to retain the perfect texture in your lobster pot pie.
-
Season to Taste: Don’t skip seasoning; taste the filling before baking and adjust with more salt and pepper if needed. Each bite should burst with flavor!
What to Serve with Lobster Pot Pie
Indulging in a warm, creamy Lobster Pot Pie creates a perfect opportunity to elevate your meal with delightful accompaniments.
-
Crisp Green Salad: A refreshing salad with mixed greens, cucumbers, and a light vinaigrette balances the richness of the pot pie. Adding seasonal toppings like berries or nuts can elevate its flavor.
-
Garlic Bread: Crunchy, buttery garlic bread complements the savory filling, allowing you to savor every drop of the rich sauce. Each bite of bread with the pot pie absorbs delightful flavors, making it truly irresistible.
-
Roasted Asparagus: Tender-crisp asparagus tossed in olive oil and lemon juice provides a fresh, bright contrast to the hearty pie. The vibrant green adds visual appeal while enhancing the meal with its aromatic flavors.
-
Mashed Potatoes: Creamy mashed potatoes seasoned with garlic and butter harmonize beautifully with the lobster filling, providing a comforting texture that is hard to resist.
-
Chilled White Wine: A glass of chilled Chardonnay or Sauvignon Blanc complements the seafood’s richness while enhancing the overall dining experience with its crisp acidity.
-
Lemon Tart: End on a sweet note with a zesty lemon tart that cleanses the palate after the savory pot pie. The tartness beautifully contrasts the dish’s creamy texture, leaving your guests delighted.
-
Steamed Broccoli: Lightly steamed broccoli drizzled with lemon butter adds a pop of color and a crunchy texture that contrasts well with the pie’s creaminess.
-
Coleslaw: A tangy coleslaw can add a delightful crunch while providing a refreshing bite that cuts through the richness of the lobster pot pie.
-
Sparkling Water: For a light, refreshing drink option, serve sparkling water with a slice of lemon to cleanse the palate as you enjoy each layer of flavor.
How to Store and Freeze Lobster Pot Pie
Fridge: Store any leftover Lobster Pot Pie in an airtight container for up to 3 days. This ensures the flavors remain fresh while keeping the crust from getting soggy.
Freezer: You can freeze the unbaked lobster pot pie for up to 3 months. Wrap it tightly in plastic wrap and aluminum foil to prevent freezer burn, making it a perfect make-ahead meal.
Reheating: To reheat, bake straight from the freezer at 400°F (204°C) for 45-50 minutes, adding extra time if needed. If refrigerated, heat at the same temperature for about 25-30 minutes until heated through.
Make-Ahead: Preparing the lobster pot pie unbaked in advance is great for busy days. Simply pop it in the fridge for up to 24 hours before baking—perfect for last-minute gatherings!
Lobster Pot Pie Variations & Substitutions
Feel free to let your creativity shine as you customize this comforting dish with delightful twists and swaps!
-
Seafood Swap: Use shrimp or mixed seafood for a different twist; both options create a deliciously unique flavor profile.
-
Dairy-Free Delight: Substitute unsweetened coconut milk instead of heavy cream for a creamy, dairy-free version that still satisfies.
-
Seasonal Veggies: Toss in seasonal favorites like parsnips or leeks to enhance the filling’s flavors and bring a fresh touch to every bite.
-
Fresh Herb Infusion: Mix in fresh dill or parsley for a fragrant boost that brightens up the rich, creamy filling and adds a pop of color.
-
Spicy Kick: Add red pepper flakes or a dash of hot sauce for those who like a little heat; this brings an exciting contrast to the creamy richness.
-
Crunchy Topping: Before baking, sprinkle panko breadcrumbs on top for an extra crispy texture that pairs wonderfully with the soft filling.
-
Umami Boost: Incorporate a splash of soy sauce or Worcestershire sauce to deepen the savory undertones of your filling; it’s an unexpected treat!
-
Herbed Crust: Mix chopped herbs, such as thyme or rosemary, into your pie crust for an aromatic enhancement that will surprise and delight.
Looking for more delicious comfort food ideas? Consider pairing your lobster pot pie with a refreshing green salad or some toasted garlic bread. If you enjoy sweet treats, don’t miss out on my Pecan Pie Cheesecake—it’s simply divine!
Lobster Pot Pie Recipe FAQs
What type of lobster meat should I use?
Absolutely, for the best flavor and texture in your Lobster Pot Pie, use fresh, cooked lobster from claws or tails. If fresh isn’t available, frozen lobster is a great substitute—just ensure it’s fully thawed and well-drained before use to retain that delightful texture.
How do I store leftover Lobster Pot Pie?
You can store leftover Lobster Pot Pie in an airtight container in the fridge for up to 3 days. Be sure to keep it covered to maintain its delicious flavors and prevent the crust from getting soggy. If you want to enjoy it later, consider freezing it!
Can I freeze Lobster Pot Pie?
Very! You can freeze the unbaked lobster pot pie for up to 3 months. Wrap it tightly in plastic wrap and then aluminum foil to prevent freezer burn. When you’re ready to bake, simply place it straight from the freezer into a preheated oven at 400°F (204°C). It will take about 45-50 minutes to bake through, so all you need to do is adjust your timing accordingly!
What if my filling is too runny?
If your pot pie filling turns out runny, it can often be resolved by gently simmering it longer before adding the lobster. Aim to achieve a creamy sauce that nicely coats the back of a spoon. If you’re facing this issue post-baking, you can serve the pot pie with a sprinkle of panko breadcrumbs on the bottom crust for added texture and help absorb excess moisture.
Is this recipe suitable for dietary restrictions?
The Lobster Pot Pie can be quite versatile regarding dietary considerations! If you’re cooking for someone with a seafood allergy, you can easily swap the lobster for shrimp or mixed seafood, or make it dairy-free by using unsweetened coconut milk in place of heavy cream. Just be sure to adjust the other ingredients accordingly to balance flavors!
Lobster Pot Pie That Takes Comfort Food to New Depths
Ingredients
Equipment
Method
- Preheat your oven to 400°F (204°C).
- Heat 2 tablespoons of olive oil in a skillet over medium heat. Add the diced onion and garlic, sautéing for 4-5 minutes until translucent.
- Stir in diced carrots and celery, cooking for an additional 5 minutes.
- Pour in 1 cup of heavy cream and 1 cup of stock. Simmer for 5-7 minutes until slightly thickened.
- Fold in 2 cups of lobster meat and 1 cup of frozen peas, stir for 5 minutes to heat through.
- Remove from heat, mix in 1 tablespoon of thyme, 1 tablespoon of lemon juice, salt, and black pepper to taste.
- Roll out one pie crust in a 9-inch pie dish. Pour in the warm lobster filling.
- Cover with the second pie crust, crimp edges, and cut vents.
- Brush the top crust with beaten egg.
- Bake for 30-35 minutes until golden brown and bubbling.
- Let it rest for 10-15 minutes before serving.
Leave a Reply