
Every weekend, I find myself torn between sleeping in and whipping up something delicious to share with family over brunch. This is where Bakery Style Chocolate Chip Muffins come into play—soft, fluffy, and filled with gooey chocolate goodness, these muffins are the perfect solution for a cozy morning. Not only are they incredibly easy to make, but they also can be prepared ahead of time, making them a stress-free addition to your brunch table or a delightful grab-and-go breakfast. Imagine the smiles when everyone bites into these warm, fresh muffins, each one a sweet start to the day. So, what’s your favorite way to enjoy a chocolate chip muffin—paired with coffee or perhaps a dash of fruit on the side? Let’s dive in and explore!
Why Bake Chocolate Chip Muffins?
Irresistible Comfort: These Bakery Style Chocolate Chip Muffins bring warmth and joy to your breakfast table, making them perfect for any cozy morning.
Easy Preparation: With just a few simple steps, you can whip up a batch in no time!
Make-Ahead Friendly: Bake a dozen and store them in an airtight container for quick breakfasts all week long.
Customization Galore: Feel free to play with mix-ins, like nuts or dried fruit, for a personal twist.
Crowd Pleaser: From kids to adults, everyone at brunch will come back for seconds—who can resist that gooey chocolate goodness?
These muffins might just become a staple at your gatherings, much like our White Chocolate Cranberry treats, bringing smiles to all!
Bakery Style Chocolate Chip Muffin Ingredients
For the Muffin Batter
• All-Purpose Flour – The foundation of your muffins; for a lighter texture, consider using cake flour.
• Granulated Sugar – Adds sweetness; you can substitute with coconut sugar for a more caramel flavor.
• Baking Powder – Provides lift; always check expiry for best results.
• Salt – Enhances flavors; don’t skip this crucial ingredient.
• Milk – Keeps muffins moist; use almond or oat milk for a dairy-free version.
• Vegetable Oil – Ensures a tender crumb; melted butter can be a delicious alternative.
• Vanilla Extract – Infuses a delightful aroma; for added depth, try using bourbon vanilla.
• Eggs – Binds ingredients and adds fluffiness; flax eggs can be used for a vegan option.
• Semi-Sweet Chocolate Chips – The star of the show; feel free to swap with dark chocolate for a richer flavor.
For the Topping
• Turbinado Sugar – A sprinkle for added crunch on top; brown sugar can also work in a pinch.
Whether it’s a cozy brunch or a quick breakfast on the go, these Bakery Style Chocolate Chip Muffins will melt in your mouth, bringing joy to every bite!
Step‑by‑Step Instructions for Bakery Style Chocolate Chip Muffins
Step 1: Preheat and Prepare
Begin by preheating your oven to 350°F (175°C). While the oven warms up, gather your ingredients and line a muffin tin with paper liners. This step is crucial for ensuring your Bakery Style Chocolate Chip Muffins bake evenly and have that perfect golden top, so take a moment to lay everything out.
Step 2: Mix Dry Ingredients
In a large mixing bowl, whisk together 2 cups of all-purpose flour, 1 cup of granulated sugar, 2 teaspoons of baking powder, and a pinch of salt. Mixing the dry ingredients first ensures even distribution of the leavening agent and flavors. Visualize a light, fluffy mixture ready to transform into delicious muffins.
Step 3: Combine Wet Ingredients
In a separate bowl, mix 1 cup of milk, ½ cup of vegetable oil, 2 eggs, and 2 teaspoons of vanilla extract until well blended. This adds moisture and flavor to your Bakery Style Chocolate Chip Muffins. The mixture should be smooth and slightly frothy, signaling that it’s ready to be incorporated with the dry ingredients.
Step 4: Combine Mixtures
Pour the wet mixture into the bowl of dry ingredients and gently fold using a spatula or wooden spoon. Be careful not to overmix; a few lumps are okay! You’re aiming for a thick, batter-like consistency. As you fold, the scents should start to mingle, hinting at the sweet muffins to come.
Step 5: Add Chocolate Chips
Now comes the fun part! Fold in 1 cup of semi-sweet chocolate chips, ensuring they’re evenly distributed throughout the batter. This step is crucial, as the melty chocolate will be the star of your Bakery Style Chocolate Chip Muffins. The batter should be studded with chocolatey goodness, ready to go into the oven.
Step 6: Fill Muffin Tins
Using a large spoon or ice cream scoop, fill each muffin liner about three-quarters full with batter. This gives room for the muffins to rise beautifully without overflowing. Ideally, you want them to be uniform in height for a lovely bakery-style finish, making your brunch spread even more inviting.
Step 7: Bake to Perfection
Place the muffin tin in the preheated oven and bake for 18–22 minutes or until the tops are golden brown and a toothpick inserted comes out clean. Keep an eye on them towards the end of the baking time; the muffins should spring back gently when touched. This visual cue lets you know they’re perfectly baked.
Step 8: Cool and Serve
Once baked, remove the tray from the oven and let the muffins cool in the tin for about 5 minutes. Then, carefully transfer them to a wire rack to cool completely. This helps maintain their soft, fluffy texture vital for the ultimate Bakery Style Chocolate Chip Muffins experience. Enjoy them warm or at room temperature, and savor every bite!
Expert Tips for Bakery Style Chocolate Chip Muffins
• Perfect Temperature: Always start with room temperature ingredients, especially eggs and milk, for a smooth batter and even baking results.
• Don’t Overmix: Gently fold your wet and dry ingredients together. Overmixing can lead to tough muffins—an undesirable texture for your delicious Bakery Style Chocolate Chip Muffins.
• Chocolate Chip Placement: For a bakery-style look, sprinkle extra chocolate chips on top before baking. This gives a gorgeous, gooey finish that’s visually enticing.
• Keep an Eye on Time: Ovens can vary; check your muffins a few minutes before the suggested baking time to ensure they don’t overbake and dry out.
• Cooling Matters: Allow muffins to cool slightly in the pan before transferring to a wire rack. This helps maintain the desired fluffy texture while preventing sogginess.
• Storage Help: If making ahead, store in an airtight container to keep your Bakery Style Chocolate Chip Muffins fresh and moist throughout the week.
What to Serve with Bakery Style Chocolate Chip Muffins?
Indulging in soft, fluffy chocolate chip muffins can elevate any breakfast or brunch experience, making it a joy to explore delightful pairings.
-
Fresh Berries: A medley of strawberries and blueberries adds a burst of fresh flavor and vibrant color to your brunch spread.
-
Creamy Yogurt: Smooth, tangy yogurt, whether plain or flavored, provides a refreshing contrast to the sweet muffins. This pairing is perfect for adding a bit of protein to your meal.
-
Nut Butter: Spread almond or peanut butter on your muffin for a nutty twist that’s both rich and satisfying. The added creaminess balances the sweetness perfectly.
-
Coffee or Tea: A warm cup of freshly brewed coffee or herbal tea complements the chocolate flavors, creating a cozy atmosphere. Whether you prefer a strong espresso or a delicate chamomile, it enhances the overall experience.
-
Citrus Salad: A bright salad with oranges and grapefruits cleanses the palate, offering a zingy refreshment to balance the muffins’ richness. Each bite is an invigorating contrast to the savory and sweet.
-
Maple Syrup Drizzle: A light drizzle of real maple syrup adds a sweet touch, complementing the chocolaty deliciousness while enhancing flavor depth. This can transform your muffins into a delightful dessert as well!
Elevate your brunch table by mixing and matching these delightful pairings to create an inviting, colorful, and flavorful experience everyone will adore.
Make Ahead Options
These Bakery Style Chocolate Chip Muffins are perfect for meal prep, allowing you to save time during busy mornings! You can prepare the batter up to 24 hours in advance by mixing together the dry and wet ingredients separately and refrigerating them. To maintain the muffins’ fluffy texture, store the batter in an airtight container. When you’re ready to bake, simply combine the two mixtures and follow the baking instructions. Alternatively, you can bake a batch and store the muffins in an airtight container for up to 3 days at room temperature or freeze them for up to 3 months. Just reheat the muffins in the oven for a few minutes and enjoy the same deliciousness as when they were first baked!
Easy Breakfast Finger Foods Variations
Feel free to let your creativity shine and customize your breakfast finger foods experience!
- Dairy-Free: Swap regular cheese for dairy-free varieties to cater to lactose sensitivities without sacrificing flavor.
- Gluten-Free: Use gluten-free pancake mix in your muffins for a delicious, inclusive treat everyone can enjoy. This simple swap keeps the texture light and fluffy, ensuring no one feels left out at brunch.
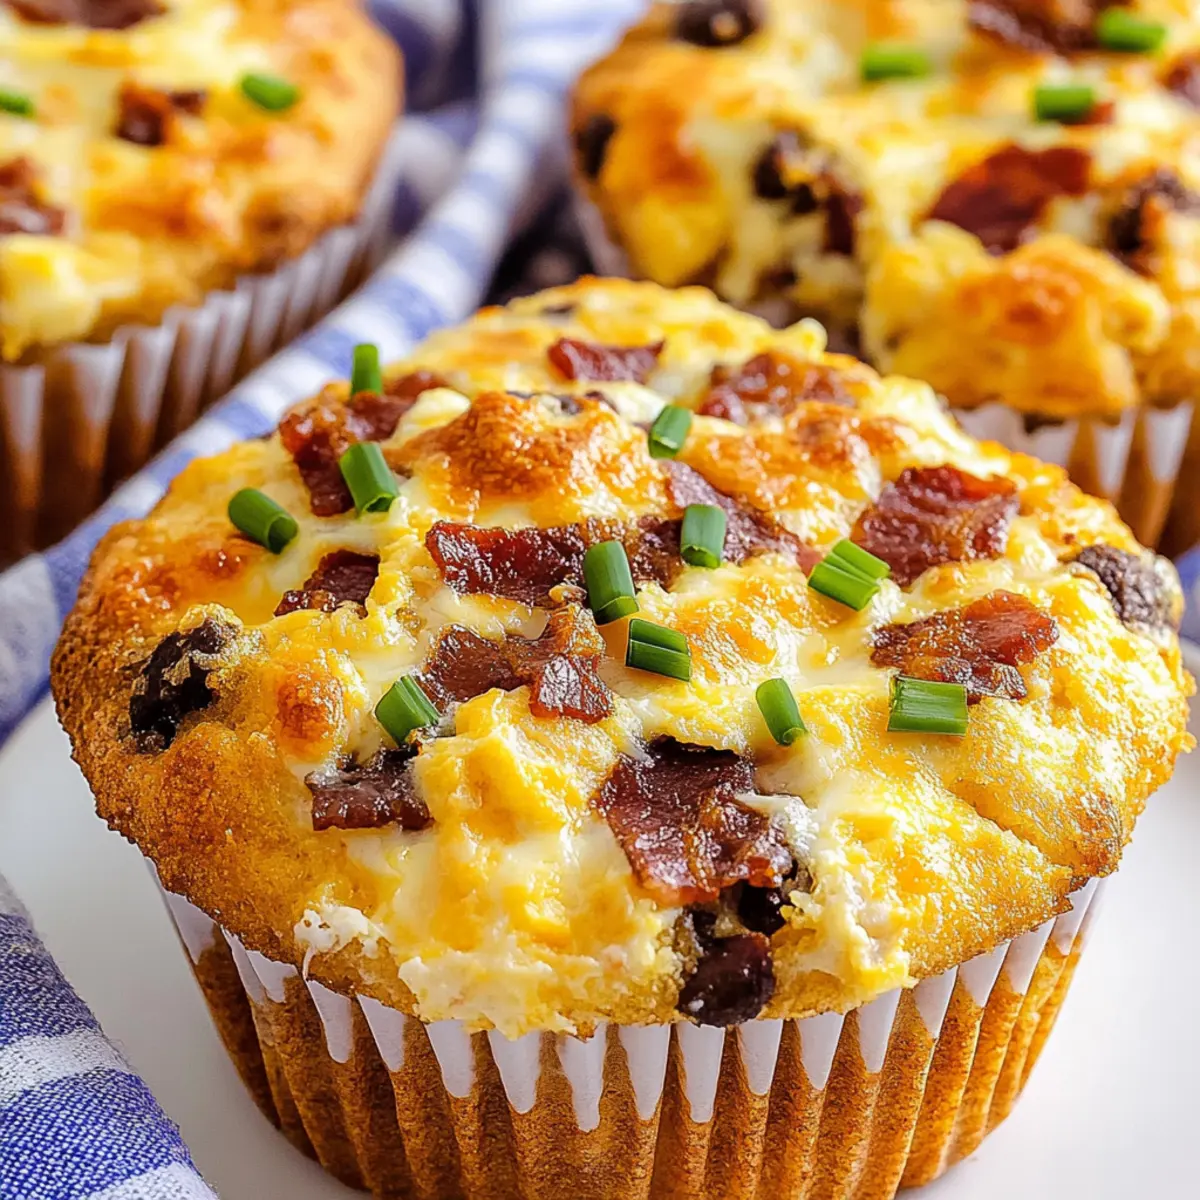
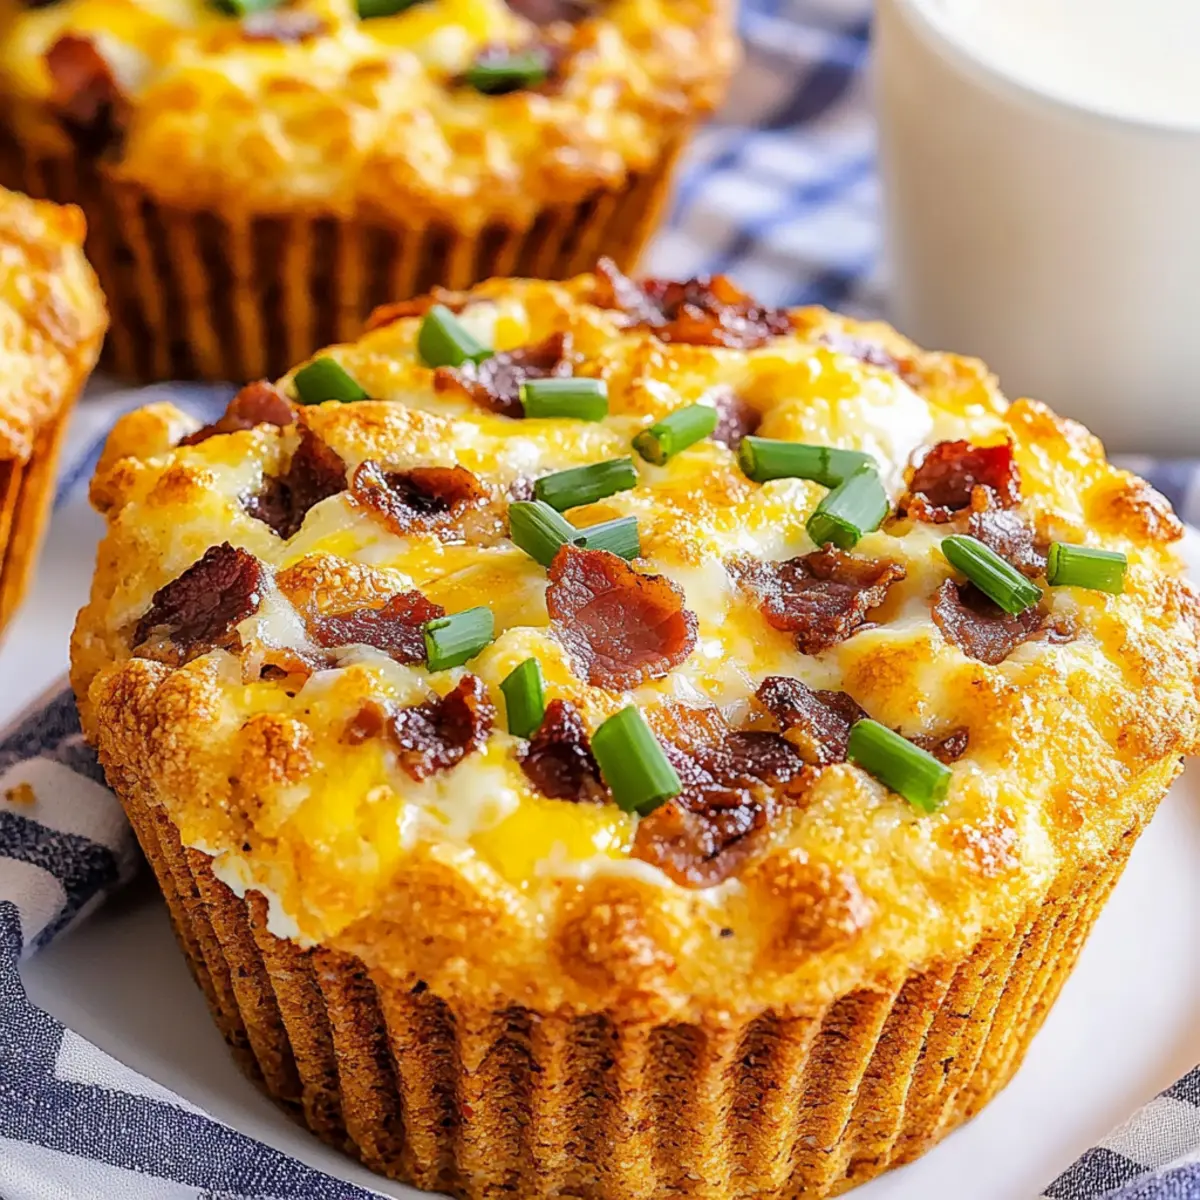
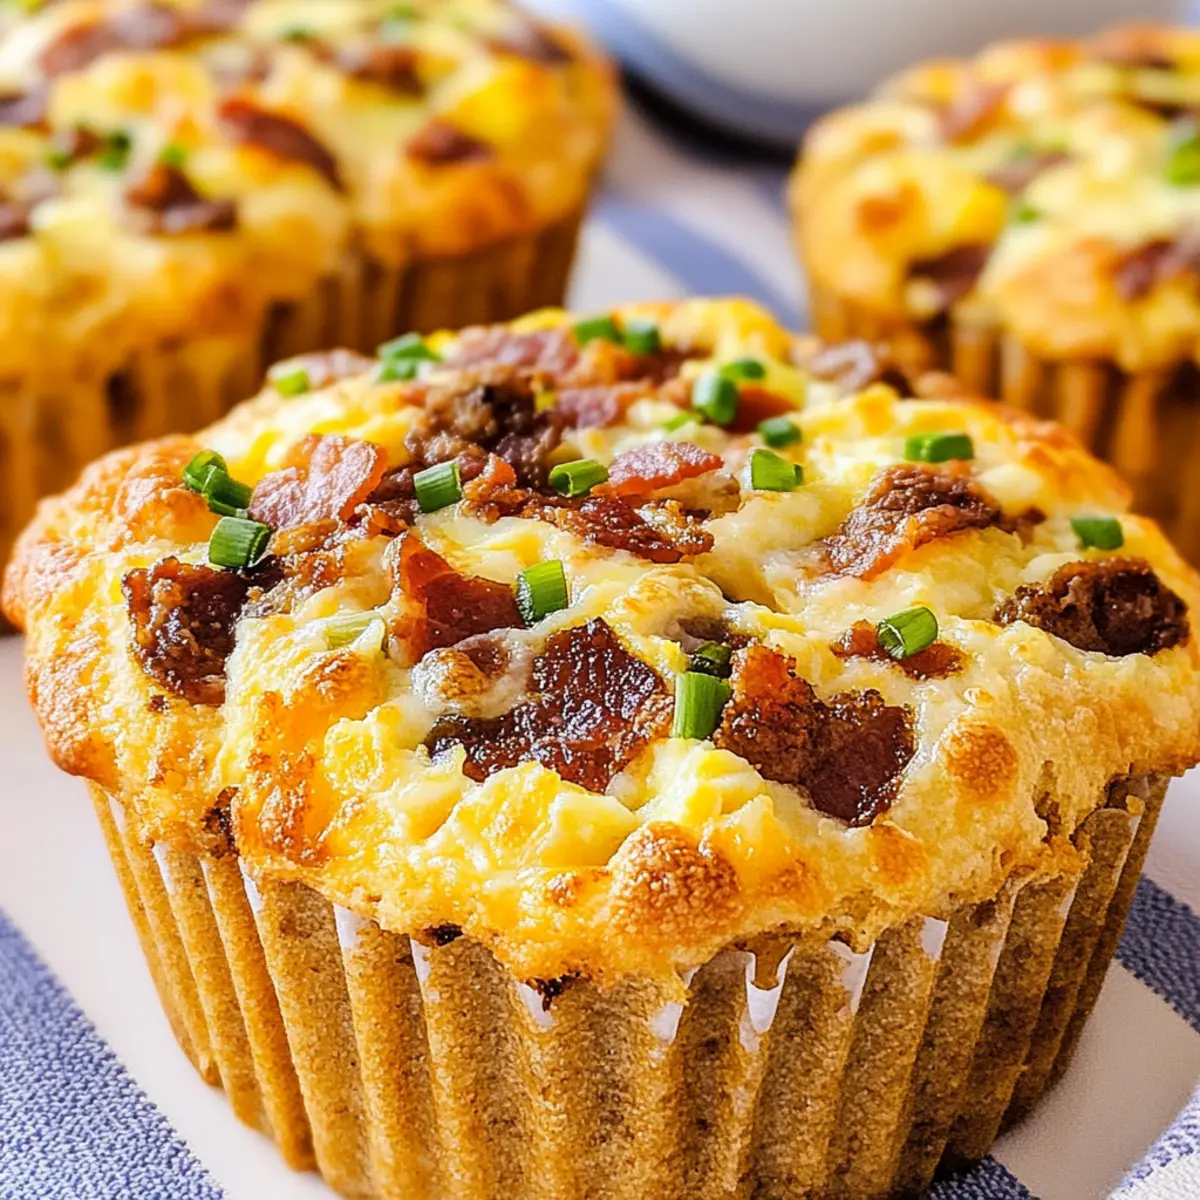
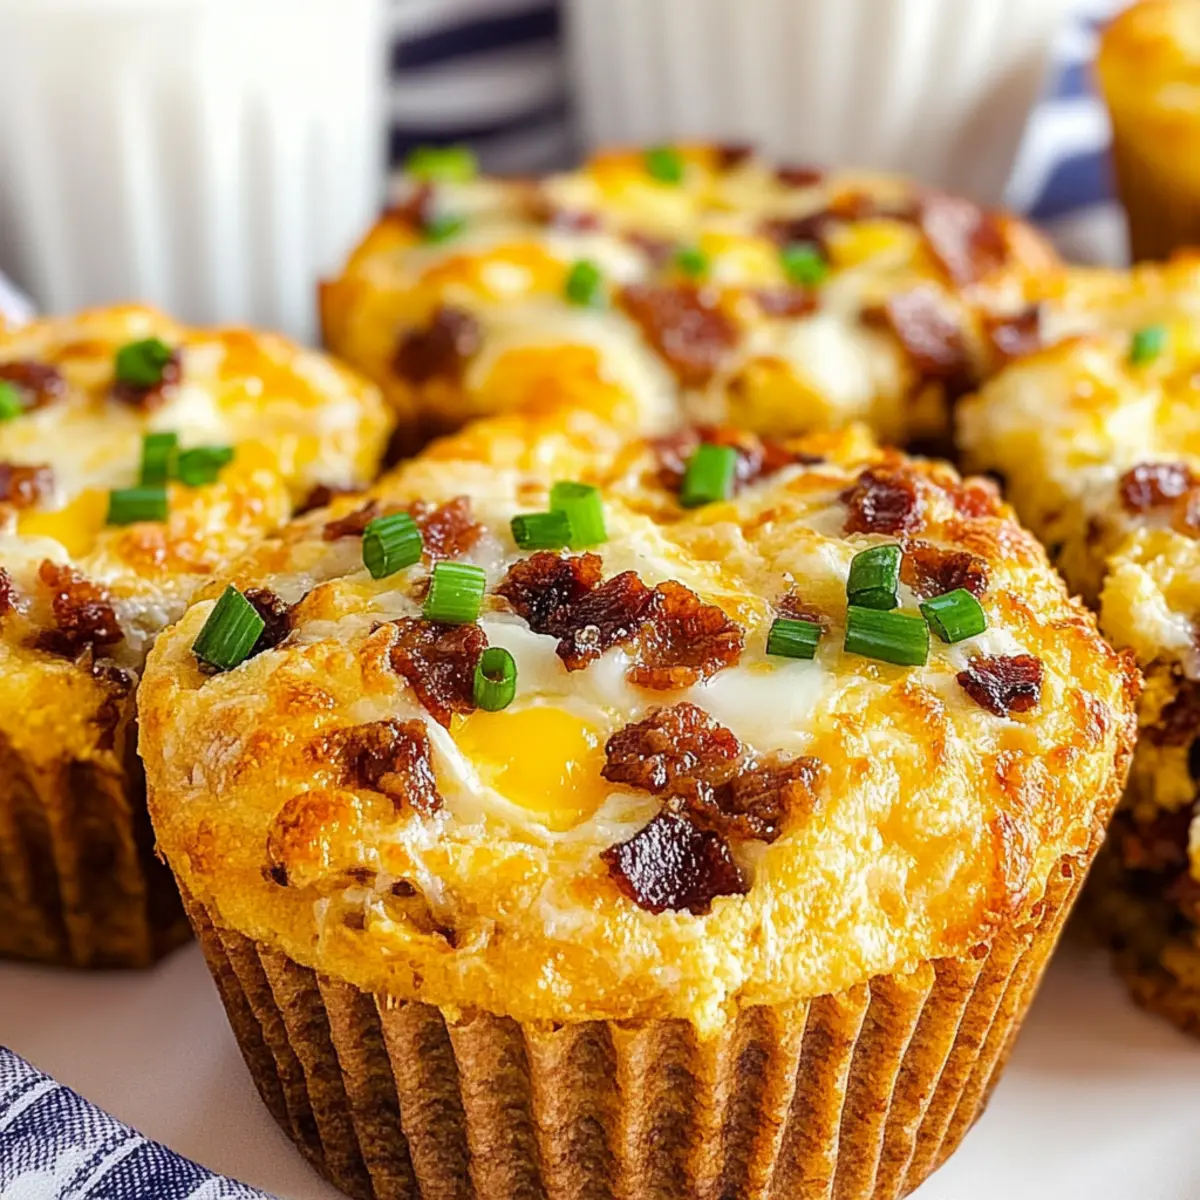
- Savory Add-Ins: Add cooked bacon or sautéed spinach to your muffins for a hearty twist. This savory addition packs a flavor punch and transforms a sweet treat into a satisfying meal.
- Different Fruits: Instead of strawberries, experiment with raspberries or blueberries for a different flavor profile in your muffins and scones. Each fruit brings its own delightful sweetness, perfect for a fresh bite.
- Nutty Crunch: Toss in some chopped nuts, like walnuts or pecans, to add an exciting crunch to your baked goods. This will introduce a delightful texture contrast, making every bite an adventure!
- Spicy Twist: For those who cherish heat, add diced jalapeños or pepper jack cheese to your breakfast calzones. This twist elevates your meal, bringing a fun kick to traditional flavors.
- Herbs and Spices: Infuse your muffin batter with cinnamon or nutmeg for a warm, comforting taste. Just a pinch can transform your breakfast into a cozy, aromatic experience reminiscent of bakery-style treats.
Feel free to mix and match with these variations, or for more enticing flavor combinations, check out our refreshing White Chocolate Cranberry delights! There’s no wrong way to enjoy breakfast finger foods, so have fun in the kitchen!
Storage Tips for Bakery Style Chocolate Chip Muffins
Room Temperature: Store muffins in a covered container for up to 2 days. Enjoy them fresh for a delightful snack or breakfast!
Fridge: For extended freshness, you can keep muffins in the refrigerator for up to 5 days. Wrap them tightly in plastic wrap to prevent drying out.
Freezer: Freeze muffins individually in airtight bags for up to 3 months. Thaw them at room temperature, or warm them in the oven for that just-baked taste.
Reheating: To reheat, preheat the oven to 350°F (175°C) and warm the muffins for about 5–10 minutes. They’ll be soft and gooey, just like when they first came out—perfect for an indulgent breakfast!
Bakery Style Chocolate Chip Muffins Recipe FAQs
What type of chocolate chips should I use for Bakery Style Chocolate Chip Muffins?
I recommend using semi-sweet chocolate chips for that classic sweet and slightly bitter flavor that pairs beautifully with the muffin’s fluffiness. However, feel free to swap them for milk chocolate for a sweeter bite or dark chocolate for a richer profile. If you’re feeling adventurous, try different varieties like white chocolate or even chunks for a gourmet touch!
How should I store Bakery Style Chocolate Chip Muffins?
To keep your muffins fresh, store them in a covered container at room temperature for up to 2 days. For longer storage, wrap them tightly in plastic wrap and place them in the refrigerator for up to 5 days. If you want to save them for later, freeze them individually in airtight bags for up to 3 months. Just thaw at room temperature or give them a quick warm-up in the oven for that freshly baked taste!
Can I freeze the Bakery Style Chocolate Chip Muffins?
Absolutely! Freezing is a great way to enjoy your muffins later. Start by allowing them to cool completely, then wrap each muffin tightly in plastic wrap. Place the wrapped muffins in an airtight freezer bag or container, and they can last for up to 3 months. When you’re ready to enjoy, simply thaw them at room temperature or heat in the oven at 350°F for about 5-10 minutes for that warm, melt-in-your-mouth experience.
How can I tell if my Bakery Style Chocolate Chip Muffins are done baking?
Great question! To check if your muffins are properly baked, insert a toothpick into the center of one muffin. If it comes out clean or with just a few moist crumbs, they’re good to go! They should also feel springy to the touch and have a lovely golden-brown top—this is a sure sign that you’ve achieved that perfect bakery-style finish.
Can I make Bakery Style Chocolate Chip Muffins dairy-free?
Absolutely! Making them dairy-free is quite simple. To substitute milk, try using almond milk, oat milk, or any other non-dairy milk you prefer. For the eggs, consider using flax eggs—just mix 1 tablespoon of ground flaxseed with 2.5 tablespoons of water for each egg and let it sit for 5 minutes. These swaps will keep your muffins delicious while accommodating dairy-free diets!
What if my muffin batter is too thick?
If you find your muffin batter is too thick, it might be due to measuring or overmixing. Don’t worry! Just add a tiny splash of milk or water—about 1 tablespoon at a time—until you reach your desired consistency. The batter should be thick but easily scoopable. Remember, a few lumps are okay; you’re aiming for fluffy muffins, not dense bricks!
Bakery Style Chocolate Chip Muffins That Melt in Your Mouth
Ingredients
Equipment
Method
- Preheat your oven to 350°F (175°C) and line a muffin tin with paper liners.
- In a large bowl, whisk together flour, sugar, baking powder, and salt.
- In another bowl, mix milk, vegetable oil, eggs, and vanilla extract until combined.
- Pour the wet mixture into the dry ingredients and fold gently until combined.
- Fold in the chocolate chips until evenly distributed.
- Fill each muffin liner about three-quarters full with the batter.
- Bake for 18–22 minutes or until golden and a toothpick comes out clean.
- Let the muffins cool in the tin for 5 minutes before transferring to a wire rack.
Leave a Reply