
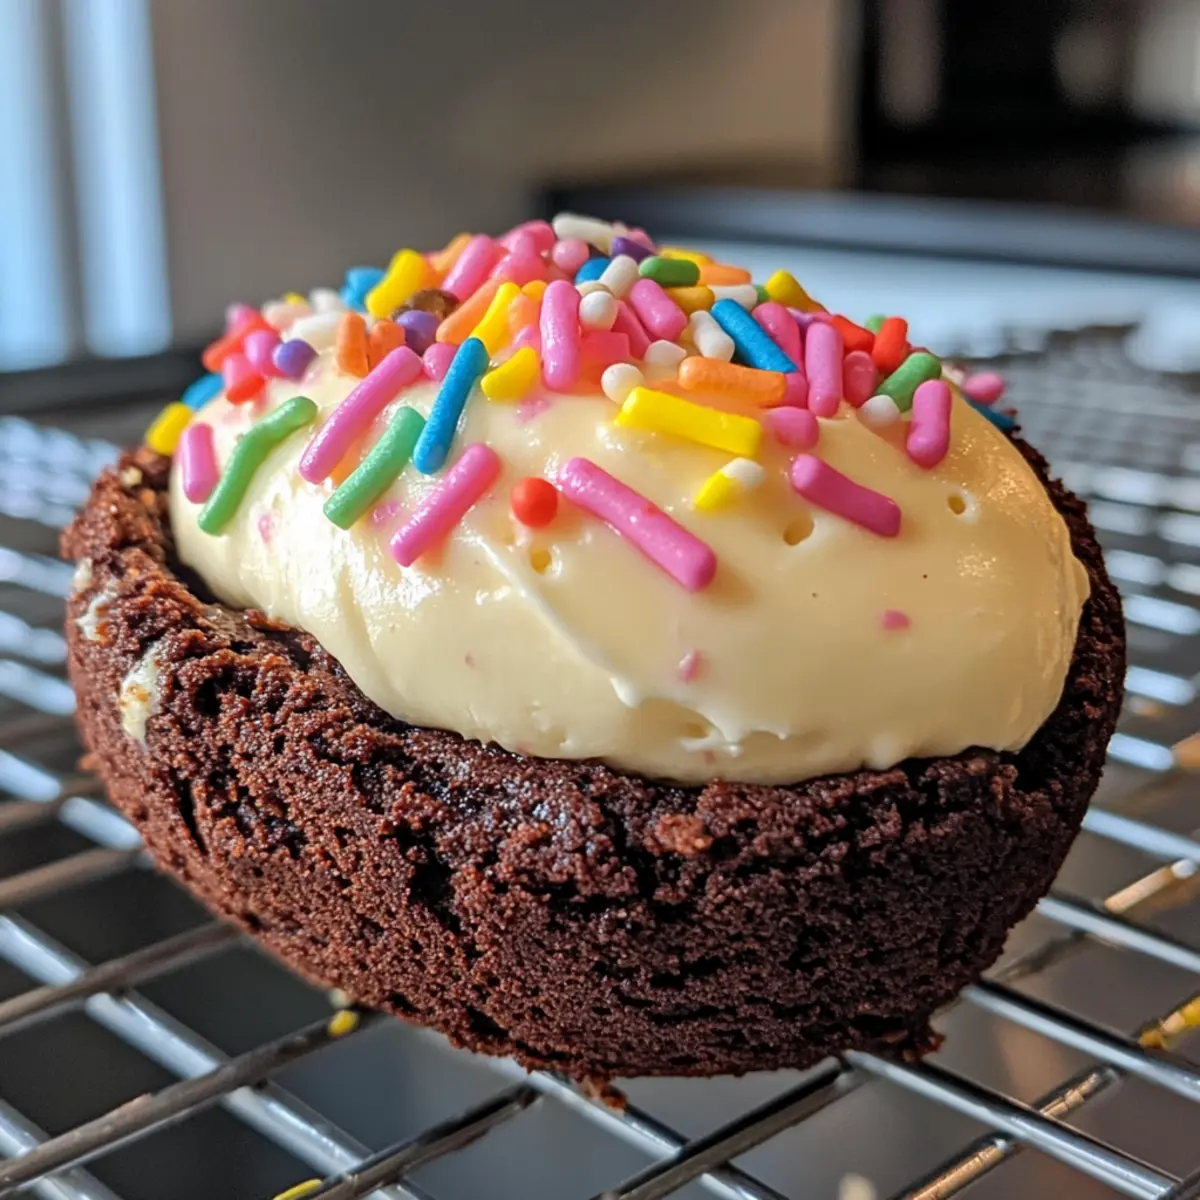
Spring whispers through the air, and with it comes the urge to create something delightful in the kitchen. As I pulled out my egg-shaped molds, I couldn’t help but smile at the thought of whipping up these cherished Easy Easter Deviled Brownies. Featuring a creamy, tangy filling of cream cheese marshmallow, this recipe strikes the perfect balance between rich chocolate and light sweetness. Not only are these delectable treats quick and easy to make, but they also add a festive touch to any gathering, leaving your friends and family craving more. Whether you’re planning an Easter celebration or just looking for a sweet escape, these deviled brownies are sure to charm your guests. Curious about how to make these irresistible goodies and maybe even a few fun variations? Let’s dive into the recipe!
Why Are These Deviled Brownies a Must-Try?
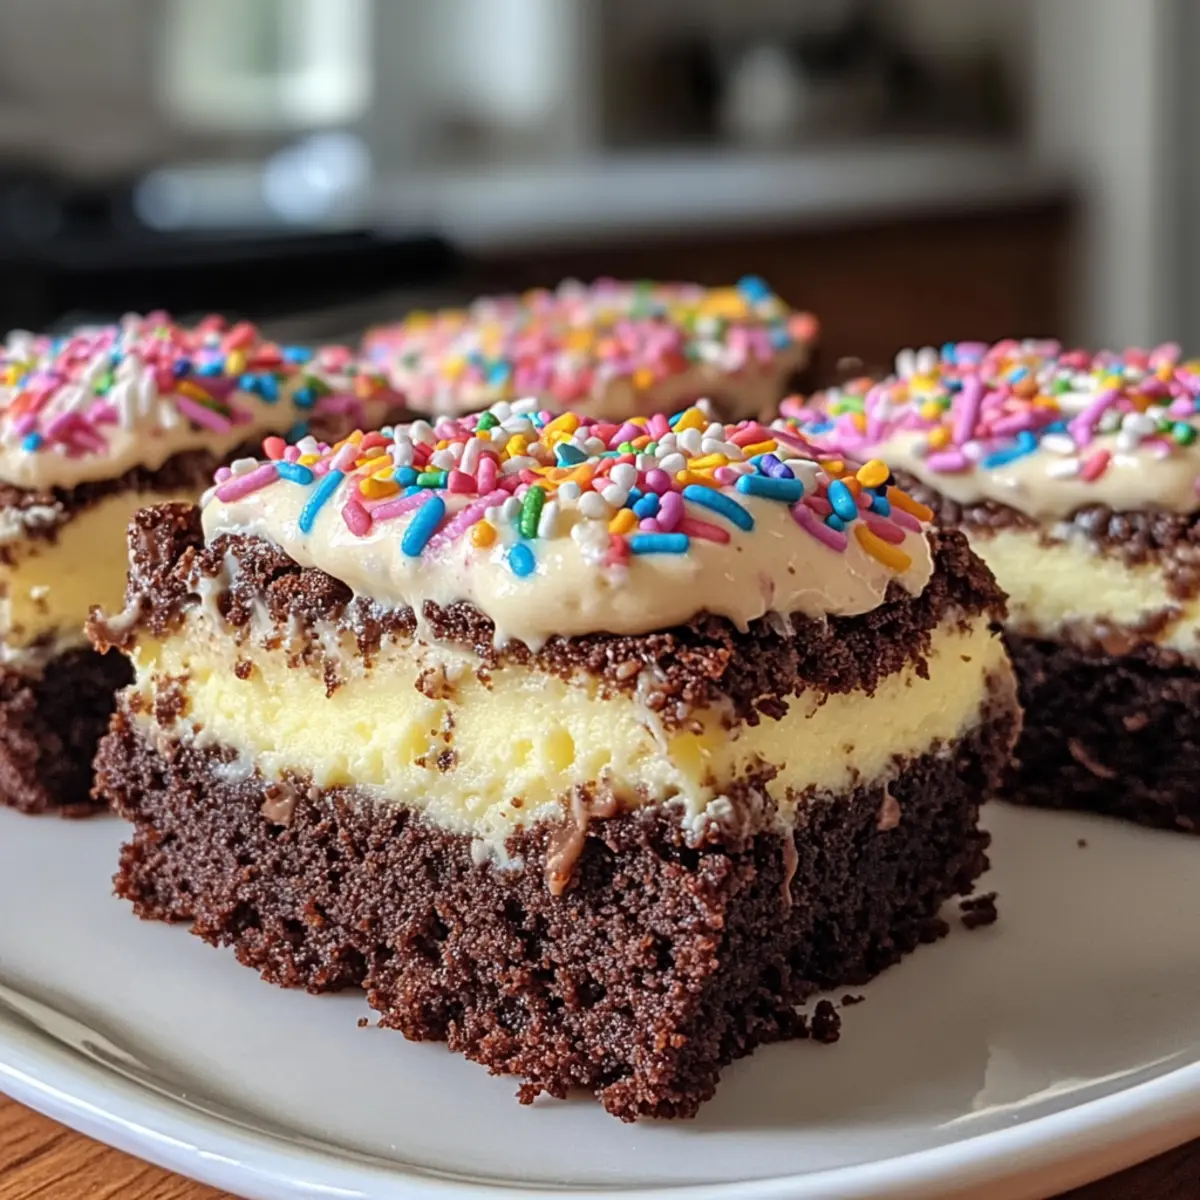
Indulgent, these deviled brownies are a rich chocolate lover’s dream, perfectly countered by a creamy filling that elevates each bite. Versatile, whether you stick to the classic cream cheese marshmallow filling or mix it up with cookie butter, there’s a flavor to satisfy everyone. Quick and Easy, this recipe utilizes a simple brownie mix, making it approachable for bakers of all skill levels. Festive and fun, their egg shape adds a playful touch, ideal for spring celebrations like Easter. Serve them at your next gathering, and they’ll surely steal the spotlight—trust me, they’re as easy to make as my delightful Christmas Deviled Eggs!
Deviled Brownies Ingredients
Here’s everything you need to whip up these joyful treats!
For the Brownies
• Brownie Mix – an 18.3 oz box of your favorite mix serves as the delicious foundation for these deviled brownies.
For the Filling
• Cream Cheese – enhances the rich, tangy flavor of the filling; be sure to soften it for easier mixing.
• Marshmallow Cream – gives the filling its delightful fluffiness; you can swap it with cookie butter for a unique twist.
For the Decoration
• Sprinkles – optional but highly recommended for a cheerful finish, adding festive flair to your deviled brownies.
Now that we have our ingredients lined up, let’s move on to bringing this sweet vision to life!
Step‑by‑Step Instructions for Easy Easter Deviled Brownies
Step 1: Preheat and Prepare
Begin by preheating your oven to 350°F (175°C). While it warms, prepare your brownie mix according to the package directions, mixing until smooth. Grease your egg-shaped silicone molds thoroughly with nonstick cooking spray to ensure the brownies release easily after baking.
Step 2: Fill the Molds
Using a 2-tablespoon scoop, carefully fill each cavity of the molds with the brownie batter. Aim for a level filling to ensure even baking. Once filled, gently tap the molds on the counter to remove any air bubbles, which prevents uneven rising during baking.
Step 3: Bake the Brownies
Place the filled molds in the preheated oven and bake for 24-26 minutes. Keep an eye on them; the brownies are done when a toothpick inserted into the center comes out clean. The tops will be set, but still soft, giving a slight bounce when touched.
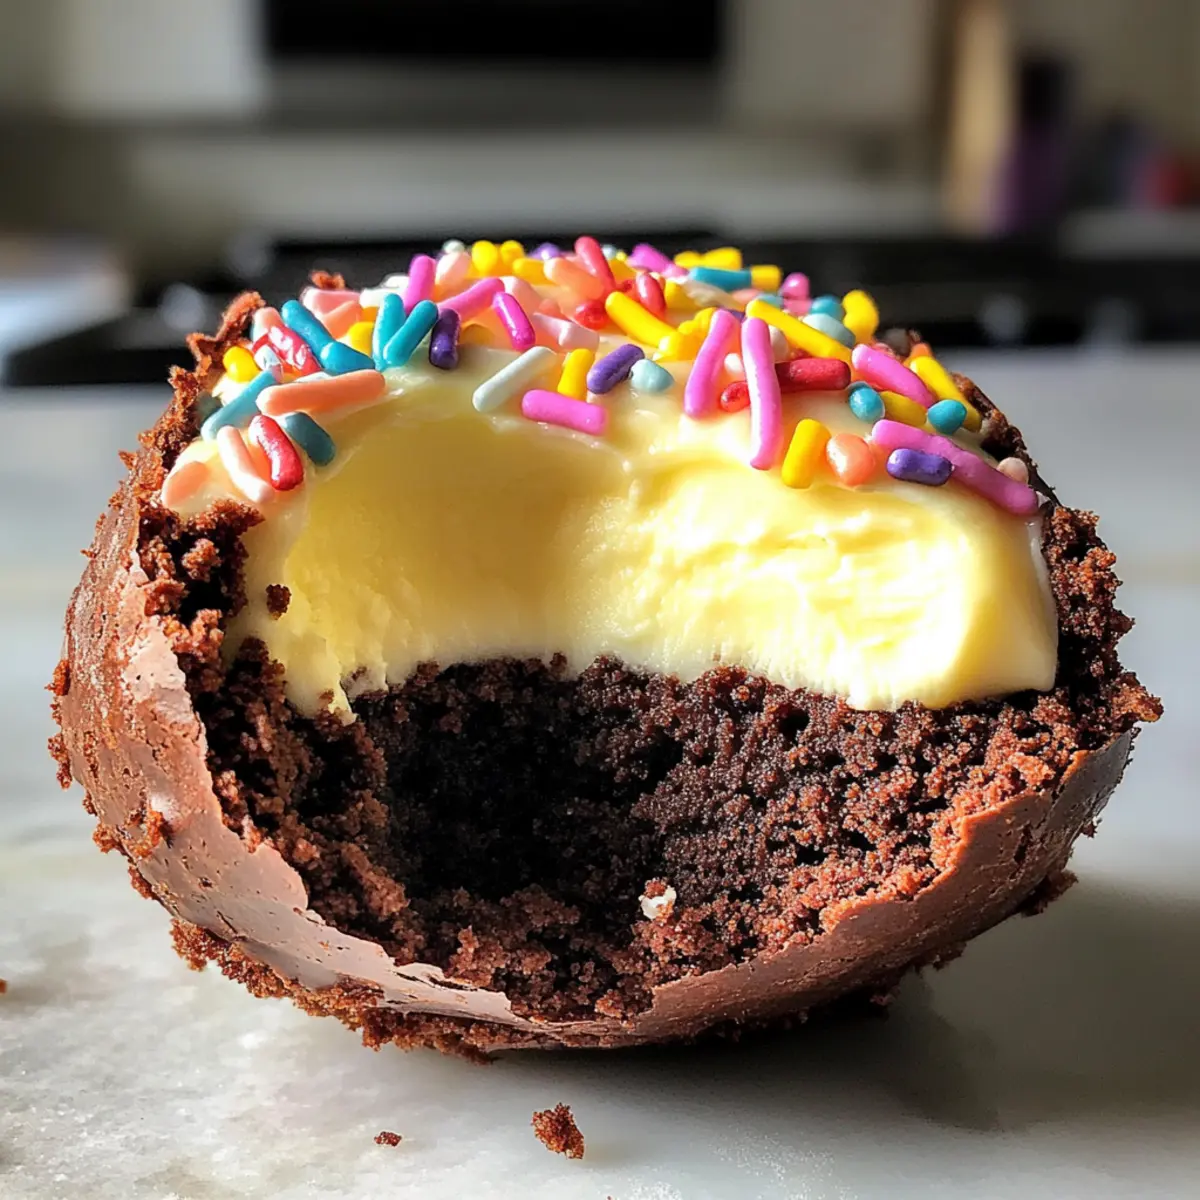
Step 4: Create Divots
As soon as the brownies are finished baking, remove them from the oven. While they are still warm, use a teaspoon to gently press a divot into the center of each brownie, creating space for the cream cheese filling. Let them cool in the molds for better structure.
Step 5: Cool Completely
Allow the brownies to cool completely in the silicone molds. This step is crucial as it prevents crumbling when you remove them later. Once cool, gently squeeze the molds to release the brownies and set them aside on a wire rack.
Step 6: Make the Filling
In a mixing bowl, beat together the softened cream cheese and marshmallow cream using a hand mixer or stand mixer until the mixture is smooth and creamy. This should take about 2-3 minutes. The filling should be fluffy and spreadable, perfect for your deviled brownies.
Step 7: Pipe the Creamy Filling
Transfer the cream cheese filling into a piping bag or a zip-top bag with the corner snipped off. Carefully pipe the filling into each divot you made in the brownies, filling them generously but without overflowing.
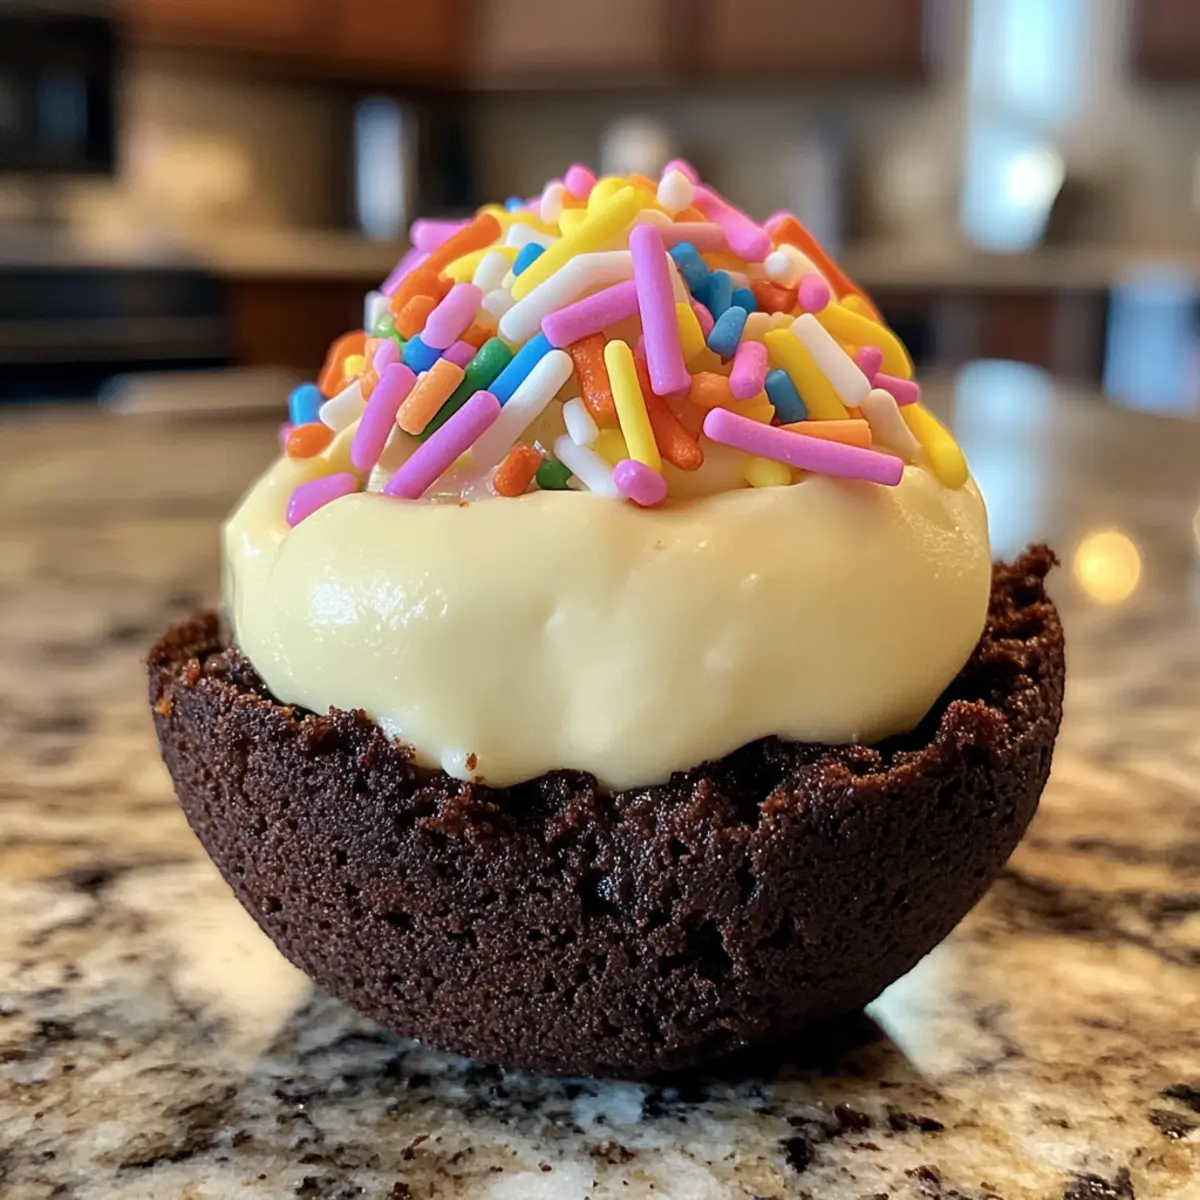
Step 8: Add Decorative Sprinkles
If you desire, top each filled brownie with festive sprinkles for a cheerful finish. This not only enhances the aesthetic but adds a delightful crunch to each bite. Just add them right before serving to maintain their brightness.
Step 9: Chill and Serve
Transfer the finished deviled brownies to the refrigerator and chill until you’re ready to serve. Chilling enhances the flavors and helps set the creamy filling. Once ready, serve them on a platter and watch as they delight your family and friends!
Make Ahead Options
These Easy Easter Deviled Brownies are perfect for meal prep, saving you time on busy days! You can prepare the brownie base and bake it up to 24 hours in advance. Allow the brownies to cool completely before storing them in an airtight container at room temperature. You can also mix the cream cheese and marshmallow filling up to 3 days ahead, keeping it refrigerated in an airtight container to maintain its creamy texture. When you’re ready to serve, simply pipe the filling into the divots and add sprinkles right before presentation for a fresh, festive touch. This way, you can enjoy the rich, delightful flavors with minimal effort at your gathering!
Expert Tips for Deviled Brownies
-
Cool Completely: Make sure to let the brownies cool entirely in the molds; this prevents them from crumbling when you remove them.
-
Filling Variations: Don’t hesitate to experiment with up to 3 tablespoons of peanut butter in the filling for a richer flavor and more depth.
-
Sprinkle Timing: Add sprinkles just before serving to keep them vibrant and prevent any bleeding into the cream cheese filling.
-
Mix Well: Beat the cream cheese and marshmallow cream together until smooth to ensure a light, fluffy mixture perfect for piping.
-
Egg Shape Precision: When filling the molds, tap them gently after filling to remove air bubbles and ensure even baking of your deviled brownies.
How to Store and Freeze Deviled Brownies
Fridge: Keep your deviled brownies in a covered container for up to 3-4 days. This will keep the creamy filling fresh while maintaining their moist texture.
Freezer: For longer storage, place the brownies in an airtight container or freezer bag, and freeze for up to 2 months. Thaw in the fridge before serving.
Reheating: If you prefer them warm, microwave individual brownies for about 10-15 seconds. Be careful not to overheat, as the filling can become too soft.
Transport: If bringing brownies to a gathering, use a sturdy container to avoid damage during transit, ensuring the delightful filling remains intact.
Deviled Brownies Variations & Substitutions
Feel free to get creative with these deviled brownies and put your own spin on them!
-
Peanut Butter: Mix in up to 3 tablespoons of creamy peanut butter for a nutty twist that complements the chocolate beautifully. The richness of peanut butter adds an indulgent layer of flavor to each bite.
-
Cookie Butter: Swap out marshmallow cream for cookie butter for a delightful twist that introduces spiced sweetness. This variation will transport you straight to cookie heaven with every fudgy mouthful!
-
Dairy-Free: Use a non-dairy cream cheese alternative along with marshmallow fluff that’s dairy-free to suit your dietary needs. This way, everyone can enjoy the creamy deliciousness without compromise!
-
Chocolate Ganache: Instead of sprinkles, drizzle melted chocolate ganache over the top for an extra layer of decadence. The rich and glossy finish will elevate your brownies to a whole new level of fancy!
-
Tinted Filling: Add a few drops of food coloring to the cream cheese filling for a cheerful pastel look, perfect for festive occasions. Your brownies will look like a spring celebration on a platter, bringing smiles all around.
-
Spicy Kick: For those who love a bit of heat, add a pinch of cayenne pepper to the filling for a surprising twist. The spice cuts through the sweetness, creating an exciting taste experience.
-
Nutty Crunch: Incorporate chopped nuts like walnuts or pecans into the brownie batter for an added textural surprise. They not only enhance flavor but also contribute crunch that contrasts wonderfully with the creamy filling.
-
Coconut Flakes: Stir in some shredded coconut into the filling or sprinkle over the top to add a tropical flair. This will harmonize beautifully with the chocolate and create a delightful chewiness.
Explore these variations to make your deviled brownies uniquely yours! If you’re interested in other fun and festive recipes, be sure to check out my delightful Christmas Deviled Eggs for another crowd favorite that’s sure to impress!
What to Serve with Easy Easter Deviled Brownies?
Spring celebrations call for sweet treats and delightful pairings that elevate your dessert experience.
-
Vanilla Ice Cream: The creamy, cool texture balances the rich chocolate flavors of the deviled brownies, creating a delightful contrast.
-
Fresh Berries: Juicy strawberries, raspberries, or blueberries add a fresh burst of flavor that cuts through the richness and enhances festive appeal.
-
Chocolate Covered Pretzels: These offer a satisfying crunch combined with a hint of saltiness, perfectly complementing the sweet, indulgent nature of the brownies.
-
Minty Iced Tea: A refreshing drink option that adds a hint of herbal brightness, making it an ideal choice for a spring gathering.
-
Whipped Cream: A dollop of freshly whipped cream adds a light and fluffy element, enhancing the overall dessert experience with its creamy softness.
-
Lemonade Spritzers: Bright and bubbly, these drinks bring a zesty twist that contrasts beautifully with the decadent flavors of the deviled brownies.
-
Chocolate Drizzled Strawberries: These can serve as fun finger food that echoes the chocolate theme while adding a fruity flair to your dessert spread.
-
Cream Cheese Frosted Cupcakes: The pairing creates a cohesive dessert table, with each bite providing that familiar rich flavor complemented by the creamy topping.
-
Espresso: A strong, aromatic finish that cuts through the sweetness and highlights the chocolate notes of the brownies.
Each of these pairings adds a delightful layer to your celebration, making your Easy Easter Deviled Brownies an unforgettable highlight!
Deviled Brownies Recipe FAQs
How do I choose the right brownie mix for my deviled brownies?
Absolutely! Look for a brownie mix that you enjoy, preferably one that has a reputation for producing rich, moist brownies. Brands that specify ‘fudgy’ often work best for deviled brownies. Check the ingredients for minimal additives to ensure a delicious flavor.
What’s the best way to store leftover deviled brownies?
Very simple! Store your deviled brownies in a covered container in the refrigerator for up to 3-4 days. This keeps the cream cheese filling fresh and flavorful, while maintaining the brownies’ moist texture. If you notice the filling becoming too soft, consider letting them sit in the fridge for a bit longer before serving!
Can I freeze deviled brownies, and if so, how?
Absolutely! For longer storage, arrange the brownies in a single layer on a baking sheet and freeze them until solid. Then, transfer them to an airtight container or freezer bag for up to 2 months. When you’re ready to enjoy, simply thaw them in the refrigerator overnight or at room temperature for a couple of hours. Enjoy them chilled or warm them in the microwave for 10-15 seconds!
What if my brownie tops don’t come out smooth?
No worries at all! If your brownies have uneven tops, gently press them down with the back of a spoon once they’ve cooled a bit but are still warm; this helps to flatten them. Just ensure you make your divots for the cream cheese filling right after baking, as this allows for easier piping later!
Are there any allergies I should be aware of when making these deviled brownies?
Definitely keep an eye on allergens! If you’re making these for a group, consider common issues like gluten or dairy sensitivities. You can opt for gluten-free brownie mix and use dairy-free cream cheese and marshmallow cream alternatives, ensuring everyone can indulge in your delightful treats without worries!
Can I mix different fillings in my deviled brownies?
The more the merrier! Feel free to get creative: you can swirl peanut butter into the cream cheese for a richer texture or even use cookie butter for an alternative flavor. This not only adds a unique twist but also keeps them exciting and fun for all occasions!
Decadent Deviled Brownies with Creamy Surprise Filling
Ingredients
Equipment
Method
- Preheat your oven to 350°F (175°C) and prepare the brownie mix according to the package directions, mixing until smooth. Grease your egg-shaped molds with nonstick cooking spray.
- Using a 2-tablespoon scoop, fill each cavity of the molds with brownie batter. Tap the molds gently on the counter to remove air bubbles.
- Bake the molds in the preheated oven for 24-26 minutes until a toothpick comes out clean. The tops should be set but still soft.
- Remove from the oven and, while warm, press a teaspoon into the center of each brownie to create divots.
- Allow the brownies to cool completely in the molds to prevent crumbling when removing.
- Beat the softened cream cheese and marshmallow cream in a mixing bowl until smooth and creamy, about 2-3 minutes.
- Transfer the cream cheese filling into a piping bag and pipe filling into each divot of the brownies.
- Top each filled brownie with festive sprinkles right before serving.
- Transfer the brownies to the refrigerator to chill until ready to serve.
Leave a Reply