
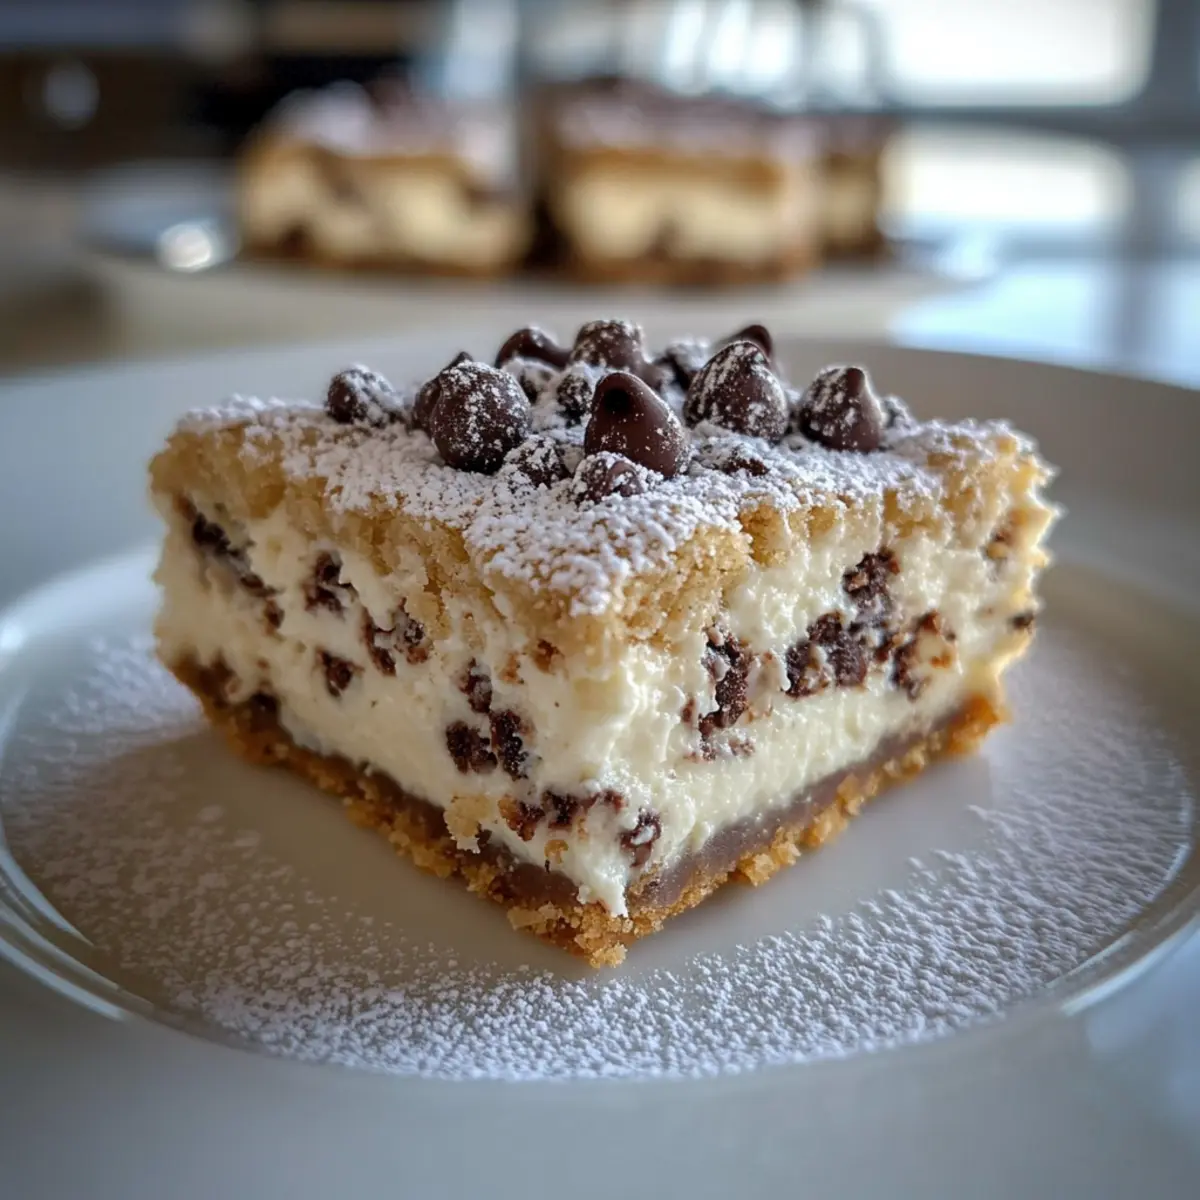
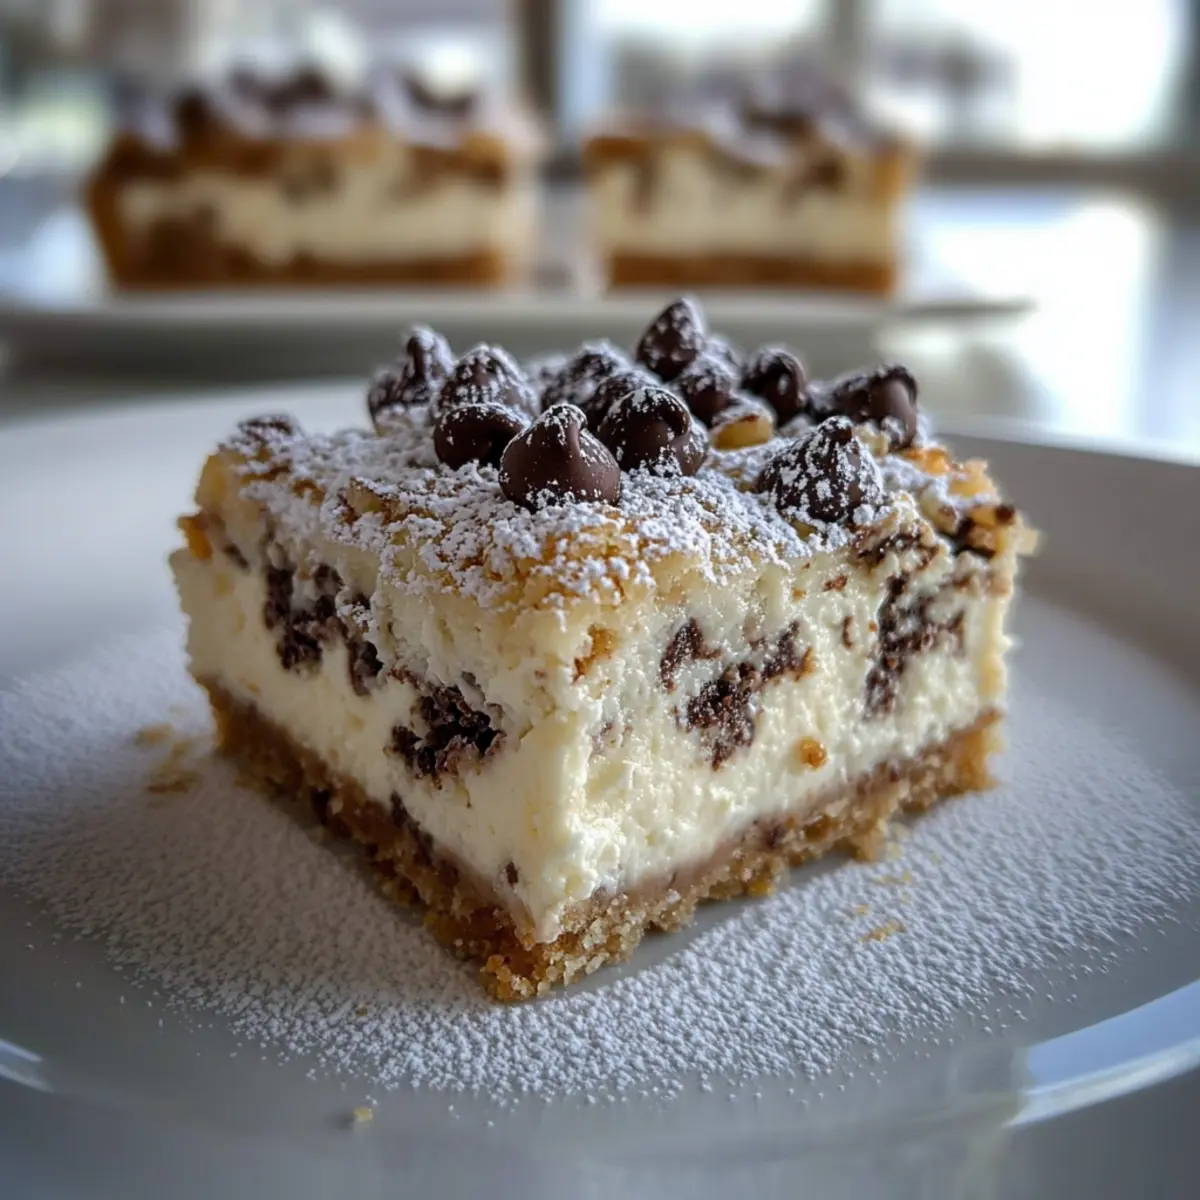
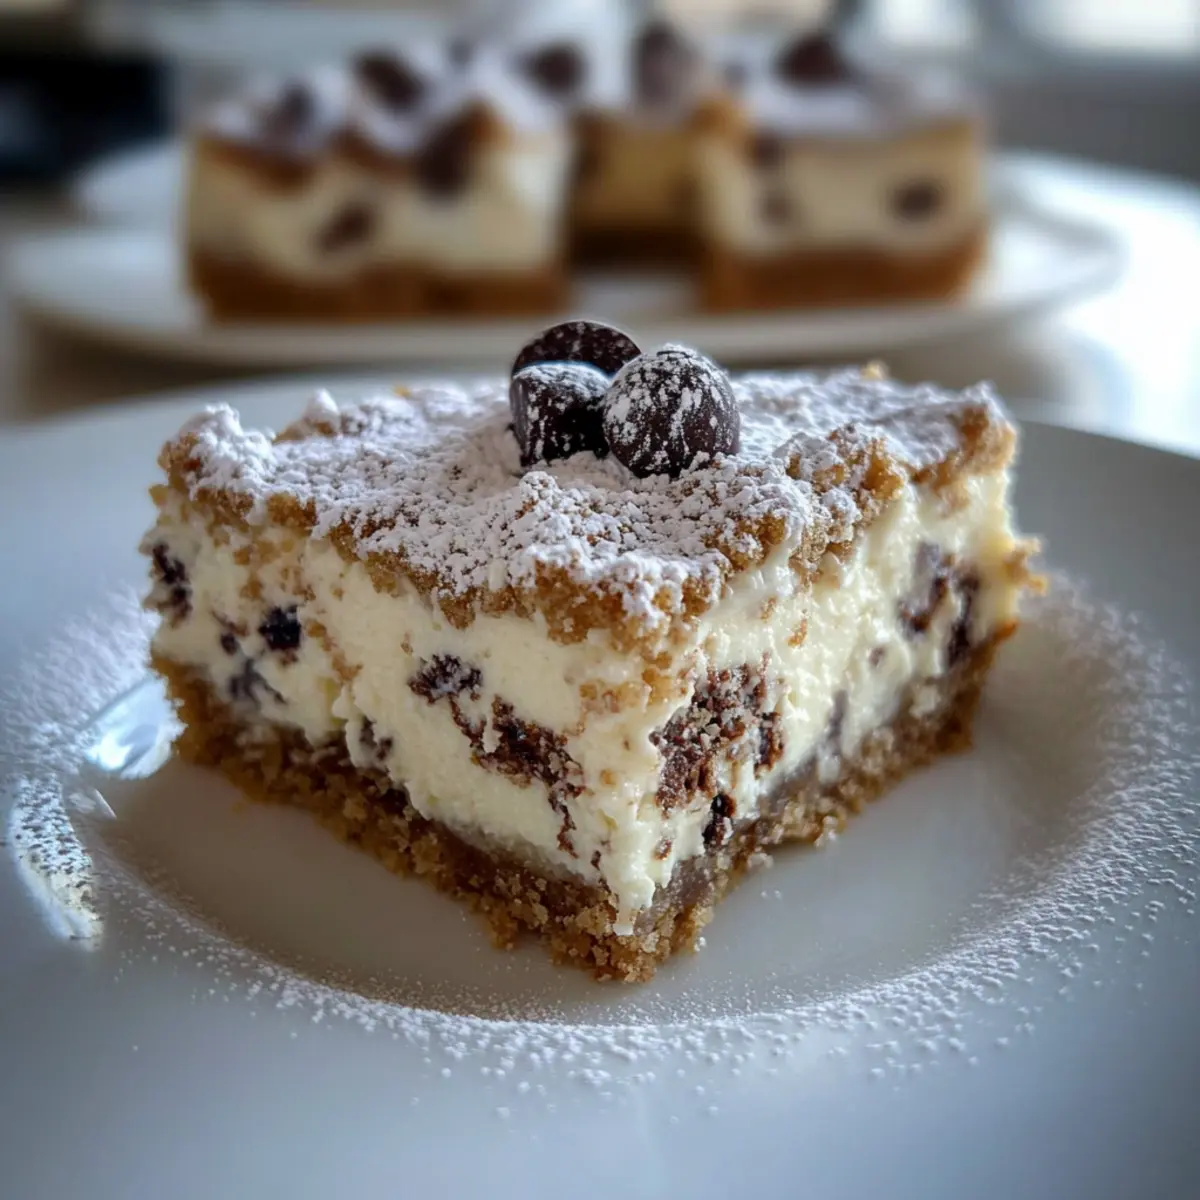
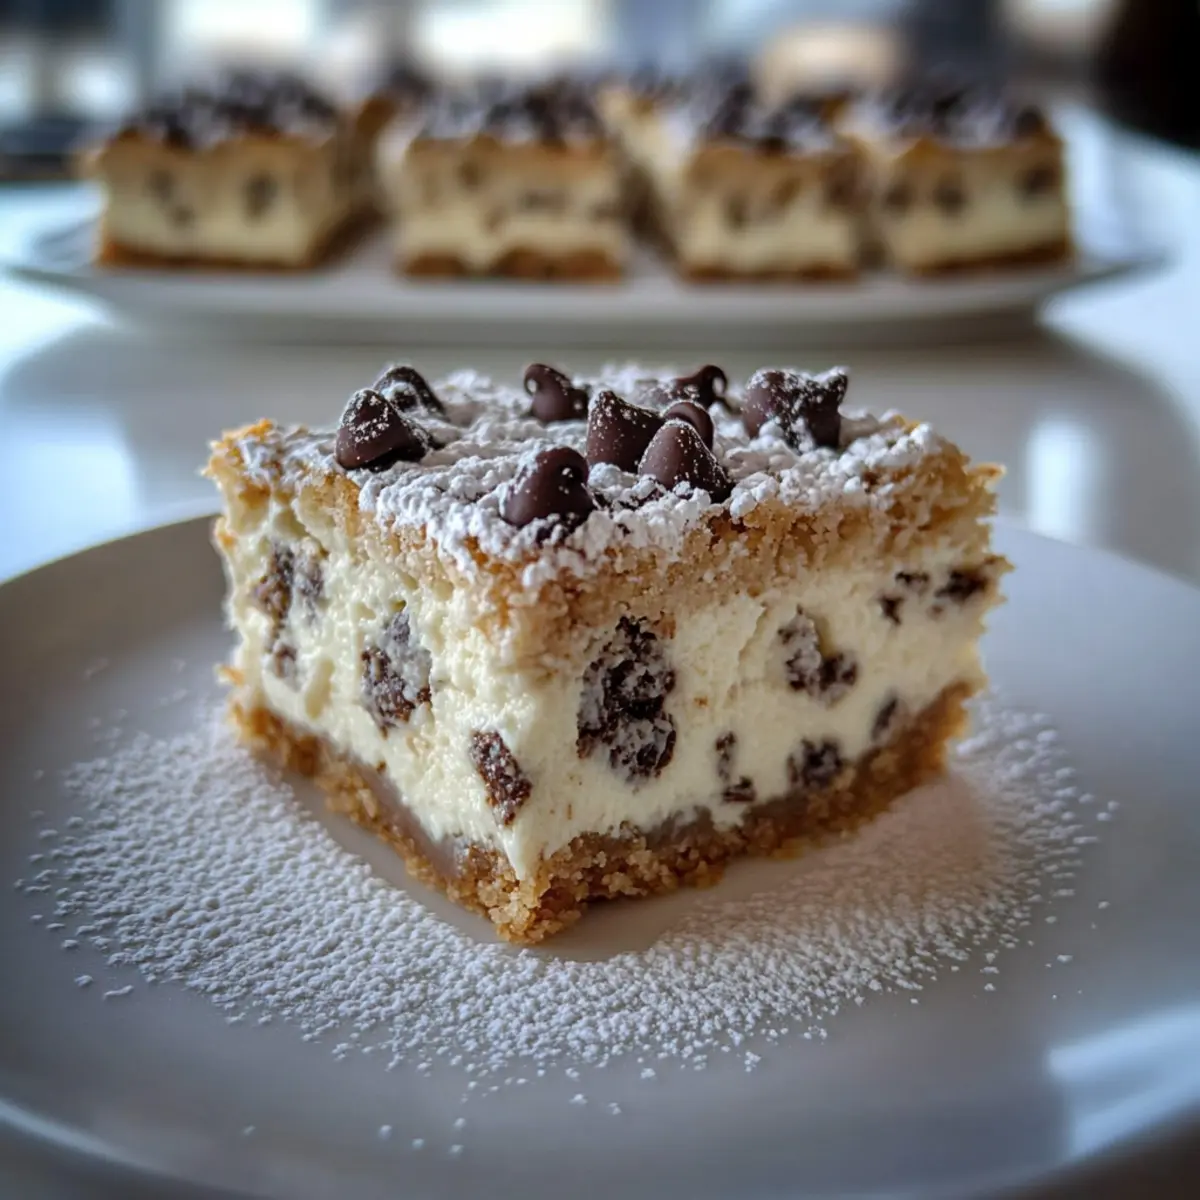
As I stood in my kitchen, the aroma of melting chocolate mixed with sweet cream cheese brought an unexpected smile to my face. I was about to whip up some Cannoli Cheesecake Bars, transforming the beloved Italian pastry into a delightful, creamy slice that’s both show-stopping and incredibly quick to make. In just 15 minutes of active time, these bars will captivate family and friends alike with their luscious ricotta filling and crunchy graham cracker crust. Not only are they an easy dessert option for any gathering, but they also offer flexibility for dietary needs with gluten-free and dairy-free variations available. Are you ready to indulge in a treat that blends tradition with convenience? Let’s dive in!
Why Are These Bars a Must-Try?
Simplicity is key: In just 15 minutes of active prep, you’ll create a dessert that feels gourmet. Irresistible flavors combine the creamy richness of ricotta with sweet chocolate chips, embodying the best of cannoli in cheesecake form. Versatile options mean you can whip these up gluten-free or dairy-free, catering to all guests. Crowd-pleasing appeal ensures these bars are perfect for gatherings, family dinners, or a cozy night in. No-Bake magic takes away the stress of traditional baking, making dessert effortless. Plus, if you love unique twists, try Pecan Pumpkin Cheesecake for another delightful option!
Cannoli Cheesecake Bars Ingredients
-
For the Crust
Graham Crackers – Base structure for the crust; for gluten-free, substitute with 1 1/4 cups almond flour mixed with 2 tbsp sugar.
Butter (Melted) – Binds the graham cracker crust; use unsalted for better control of saltiness.
Sugar – Sweetens the crust and filling; adjust for personal preference; brown sugar could add depth. -
For the Filling
Cream Cheese (Room Temperature) – Rich, creamy filling component; do not use chilled to avoid lumps.
Ricotta Cheese – Adds texture and the classic cannoli-like flavor; for dairy-free, try strained almond milk ricotta.
Eggs – Provides structure and stability to the filling.
Vanilla Extract – Enhances flavor; use pure extract for best results.
Mini Chocolate Chips – Adds bursts of chocolate flavor; avoid regular-sized chips to prevent sinking in the batter. -
For the Finishing Touch
Powdered Sugar – For dusting before serving for a beautiful presentation.
Step‑by‑Step Instructions for Cannoli Cheesecake Bars
Step 1: Prep the Crust
Start by preheating your oven to 325°F (160°C). In a mixing bowl, combine crushed graham crackers with sugar and melted butter, stirring until it resembles wet sand. Line an 8×8-inch baking pan with parchment paper for easy removal, then firmly press the crumb mixture into the bottom, creating a slight lip around the edges. Bake for about 10 minutes until set and slightly golden.
Step 2: Make the Filling
In a large bowl, use an electric mixer to beat the room-temperature cream cheese and sugar together until completely smooth, about 2-3 minutes. Scrape down the sides of the bowl, then add eggs one at a time, mixing well after each addition. Pour in the vanilla extract, and blend until just combined. Gently fold in the ricotta and mini chocolate chips with a spatula, being careful not to overmix.
Step 3: Bake the Bars
Pour the creamy filling mixture over the pre-baked graham cracker crust, smoothing the top with a spatula. Place the pan in the preheated oven and bake for 40-45 minutes, or until the edges are set and the center jiggles slightly when gently shaken. The cannoli cheesecake bars should be golden and puffed up, signaling that they’re almost ready.
Step 4: Cool the Bars
Once baked, remove the pan from the oven and let the bars cool completely at room temperature for about 1 hour. This step is crucial to prevent cracking. After cooling, cover the pan with plastic wrap and refrigerate for at least 4 hours, or overnight if possible, to allow the flavors to meld and the filling to firm up beautifully.
Step 5: Serve and Enjoy
When ready to serve, carefully lift the bars out of the pan using the parchment paper. Use a sharp knife to cut them into squares or rectangles. Just before serving, dust the decadent Cannoli Cheesecake Bars with powdered sugar for a lovely presentation. Garnish with extra mini chocolate chips or a sprinkle of orange zest to elevate the dessert further.
Cannoli Cheesecake Bars Variations
Feel free to get creative and customize these delightful bars to suit your taste and dietary preferences!
- Gluten-Free: Substitute almond flour for the graham crackers and mix with sugar to create a deliciously nutty base.
- Dairy-Free: Use strained almond milk ricotta in place of traditional ricotta for a lighter, dairy-free version. This swap keeps the bars creamy while catering to dietary needs.
- Citrus Zest: Add a tablespoon of fresh orange zest to the filling for a bright, refreshing twist that elevates the classic flavors beautifully.
- Chocolate Overload: Swap mini chocolate chips for white chocolate chips for a different, delightful sweetness that pairs perfectly with ricotta.
- Lower Sugar: Use a sugar substitute to create a lower-sugar version of these bars while still enjoying the creamy goodness.
- Mini Cheesecakes: Pour the filling into muffin tins for bite-sized, individual cannoli cheesecake bites that are perfect for parties or gatherings.
- Nutty Crust: Add chopped nuts like almonds or walnuts to the graham cracker crust for delightful crunch and added flavor depth.
- Spiced Variation: Incorporate a dash of cinnamon or nutmeg into the filling for a warm, spiced flavor reminiscent of your favorite fall desserts.
And if you’re looking for more variations, try out the silky Pecan Pie Cheesecake or the soothing Apple Crisp Mini Cheesecakes to bring even more dessert joy into your life!
Make Ahead Options
These Cannoli Cheesecake Bars are ideal for meal prep, allowing busy home cooks to savor the deliciousness with minimal last-minute effort! You can prepare the crust and filling up to 24 hours ahead. Simply make the crust, press it into the pan, and prepare the filling. Store both components separately in the refrigerator to maintain their quality. When you’re ready to bake, pour the filling over the chilled crust and bake as directed. You can also refrigerate the completed bars for up to 3 days before serving. Just remember to dust with powdered sugar right before serving for that perfect presentation! Enjoy a delightful dessert that saves time without sacrificing flavor!
Storage Tips for Cannoli Cheesecake Bars
Fridge: Keep the cannoli cheesecake bars in an airtight container for up to 5 days; this helps maintain their creamy texture and flavor.
Freezer: For longer storage, individually wrap the bars tightly in plastic wrap and freeze for up to 2 months. Thaw in the fridge overnight before serving.
Serving: When serving leftovers, dust with powdered sugar right before enjoying for a fresh, beautiful presentation.
Make-Ahead: You can prepare the cannoli cheesecake bars a day in advance, letting them chill overnight for the best flavor and texture.
What to Serve with Irresistible Cannoli Cheesecake Bars
As you indulge in these creamy, decadent bars, let’s explore delightful pairings that will elevate the dessert experience and create a memorable meal.
- Espresso: The bold coffee flavor complements the rich sweetness of the cannoli cheesecake bars, enhancing each bite.
- Fresh Berries: Strawberries or raspberries offer a tart contrast to the creamy filling, balancing the dessert’s sweetness with a refreshing burst.
For an extra touch of elegance, consider serving them on a platter adorned with fresh mint leaves. This vibrant addition adds color and a fragrant aroma that awakens the senses.
- Whipped Cream: A dollop of lightly sweetened whipped cream adds airy texture, making each bite even more heavenly.
- Chocolate Sauce: Drizzling warm chocolate sauce over the bars creates an indulgent, rich experience that’s sure to delight chocolate lovers.
- Citrus Salad: A light citrus salad with oranges and grapefruits brings refreshing acidity, cutting through the richness of the cheesecake bars.
- Sparkling Wine: A glass of chilled sparkling wine or prosecco adds a celebratory flair, perfectly complementing the sweetness of the dessert.
- Gelato: For an extra treat, serve with a scoop of vanilla or pistachio gelato, enhancing the Italian flair of the dessert.
- Almond Biscotti: Crunchy almond biscotti offers a delightful texture contrast that pairs beautifully with the creamy bars.
With these suggestions, you’ll create a delightful dining experience that beautifully pairs with the irresistible flavors of the cannoli cheesecake bars.
Expert Tips for Cannoli Cheesecake Bars
-
Room Temp Cream Cheese: Make sure your cream cheese is at room temperature to avoid lumps in the filling—this ensures a smooth, creamy texture.
-
Don’t Overmix: When folding in ricotta and mini chocolate chips, be gentle. Overmixing can lead to a dense filling instead of the light, airy delight you want.
-
Cooling is Key: Allow the bars to cool completely before refrigerating. This step prevents cracks on the surface and allows the flavors to develop beautifully.
-
Use Parchment Paper: Lining your baking pan with parchment paper not only aids in easy removal but also helps keep your bars intact when cutting.
-
Flavor Variations: For a fun twist, consider adding a pinch of cinnamon or some orange zest to the filling to enhance the cannoli flavors in your cheesecake bars.
Cannoli Cheesecake Bars Recipe FAQs
How do I select ripe ingredients for making Cannoli Cheesecake Bars?
Absolutely! For the best flavor, choose fresh, high-quality ingredients. When selecting ricotta cheese, look for a brand where the texture is creamy and smooth, as this greatly enhances the filling. Ensure your cream cheese is fresh and full-fat for a rich taste. If you’re using eggs, check for freshness by the ‘float test’; if they sink, they’re good!
What’s the best way to store leftover Cannoli Cheesecake Bars?
Very! Store your cannoli cheesecake bars in an airtight container in the refrigerator for up to 5 days. This keeps them fresh and creamy. Make sure they are completely cool before storing to avoid condensation. If you want to save them for longer, consider freezing; simply wrap individual bars tightly in plastic wrap, then place them in a freezer-safe container.
Can I freeze Cannoli Cheesecake Bars, and if so, how?
Absolutely! To freeze your bars, wrap each one tightly in plastic wrap, followed by aluminum foil to protect against freezer burn. They can be stored this way for up to 2 months. When you’re ready to enjoy them, simply transfer the bars to the refrigerator to thaw overnight. This gentle thawing process helps maintain their creamy texture.
What should I do if the filling turns out lumpy?
Oh no! This can happen if the cream cheese wasn’t at room temperature. To avoid this, always beat the cream cheese and sugar together first until smooth before adding other ingredients. If you do end up with lumps, you can try to blend or whisk the mixture more vigorously; however, it might not yield the smooth texture you desire.
Are there any allergies to consider when making Cannoli Cheesecake Bars?
Very! If you’re catering to guests with dietary restrictions, it’s easy to adapt this recipe. For a gluten-free option, swap out graham crackers for almond flour mixed with sugar. Additionally, for a dairy-free version, replace ricotta with a strained almond milk version. Always ensure you check labels for any hidden allergens like nuts or gluten when choosing your substitutions.
Can I make Cannoli Cheesecake Bars in advance before an event?
Absolutely! Making these bars a day in advance is a great way to enhance their flavor and is often recommended. Simply prepare, bake, and refrigerate your bars. Letting them chill overnight not only improves the texture but also gives the flavors time to meld beautifully, making your dessert a delightful centerpiece at any gathering!
Delicious Cannoli Cheesecake Bars
Ingredients
Equipment
Method
- Preheat your oven to 325°F (160°C). In a mixing bowl, combine crushed graham crackers with sugar and melted butter.
- Line an 8x8-inch baking pan with parchment paper, then press the crumb mixture into the bottom.
- Bake for about 10 minutes until set and slightly golden.
- In a large bowl, beat cream cheese and sugar until smooth, about 2-3 minutes. Scrape the bowl and add eggs one at a time.
- Pour in the vanilla extract, blend until just combined. Gently fold in ricotta and mini chocolate chips.
- Pour the filling over crust, smooth the top, and bake for 40-45 minutes until golden and puffed up.
- Let the bars cool completely for 1 hour, then refrigerate for at least 4 hours before serving.
- Lift the bars out of the pan using parchment paper, cut into squares and dust with powdered sugar before serving.
Leave a Reply