
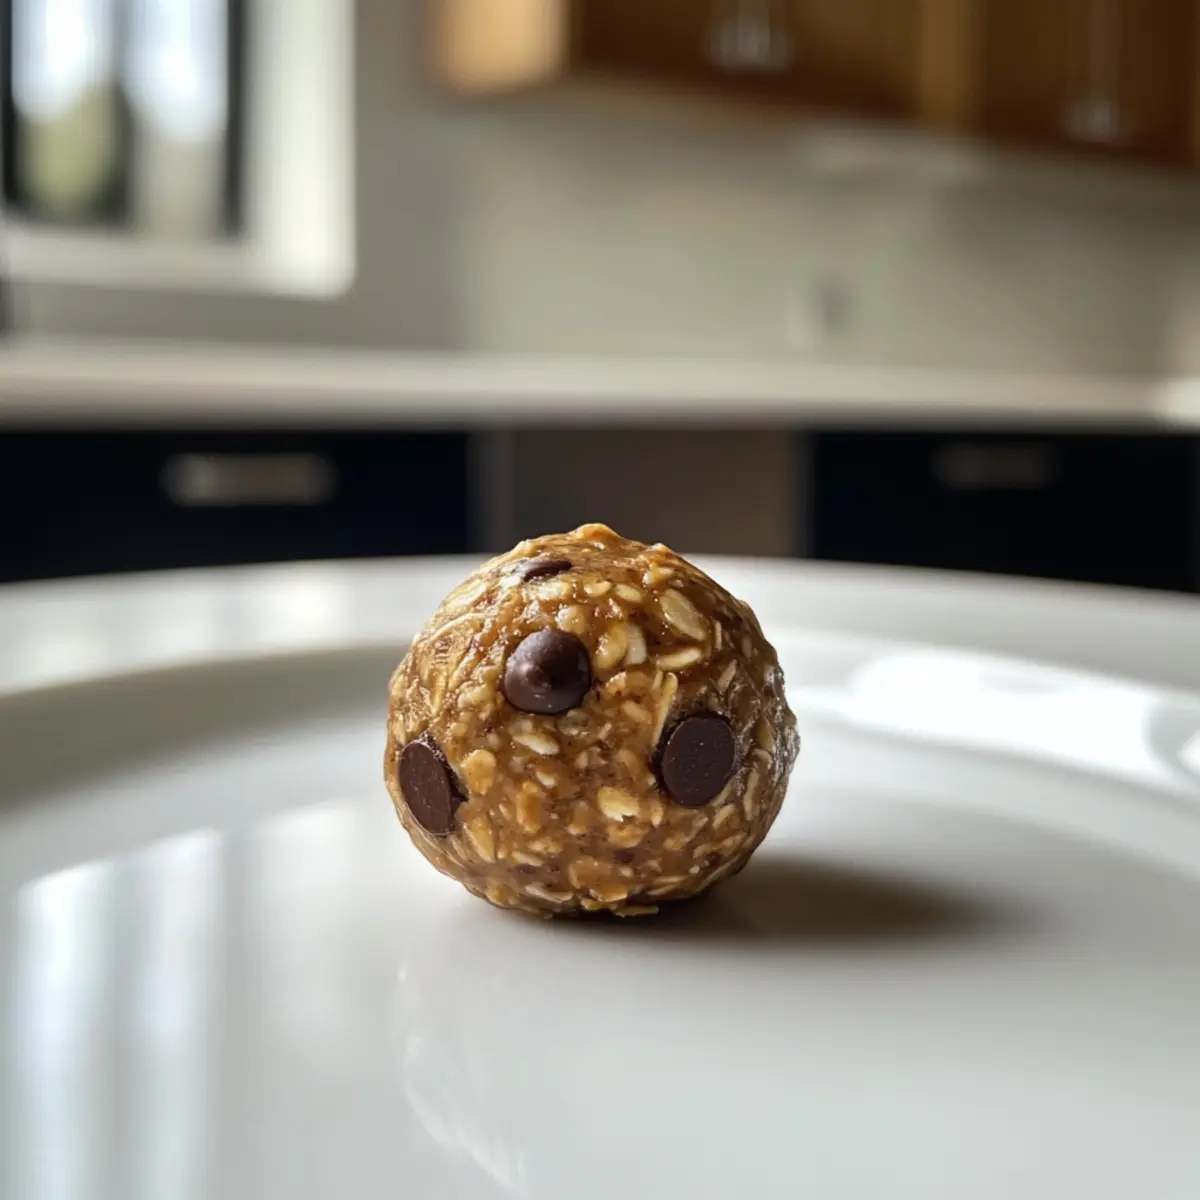
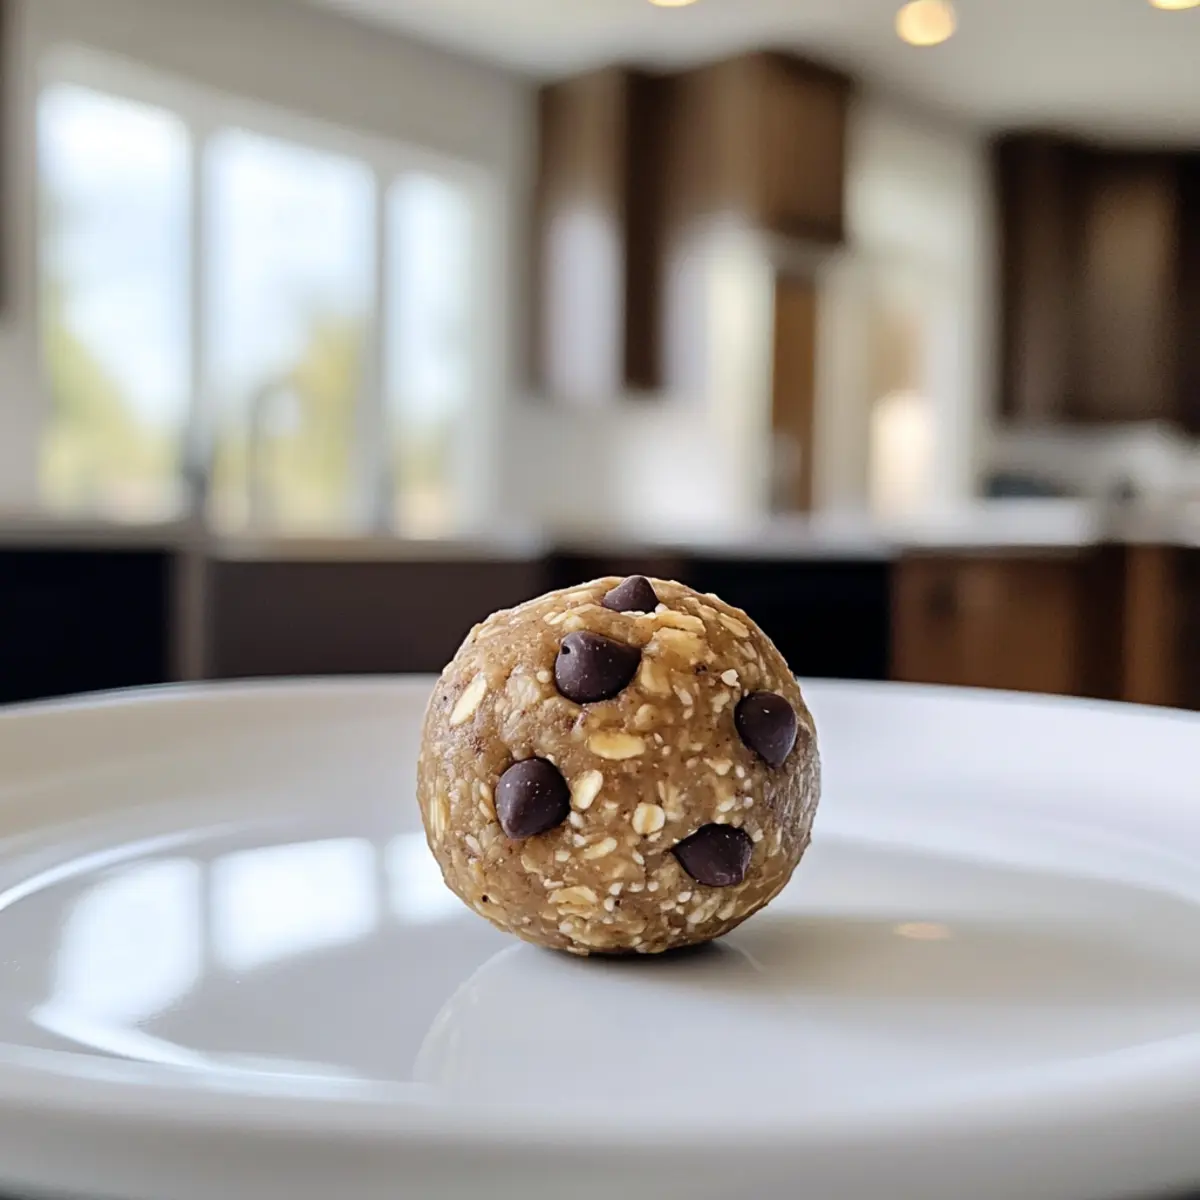
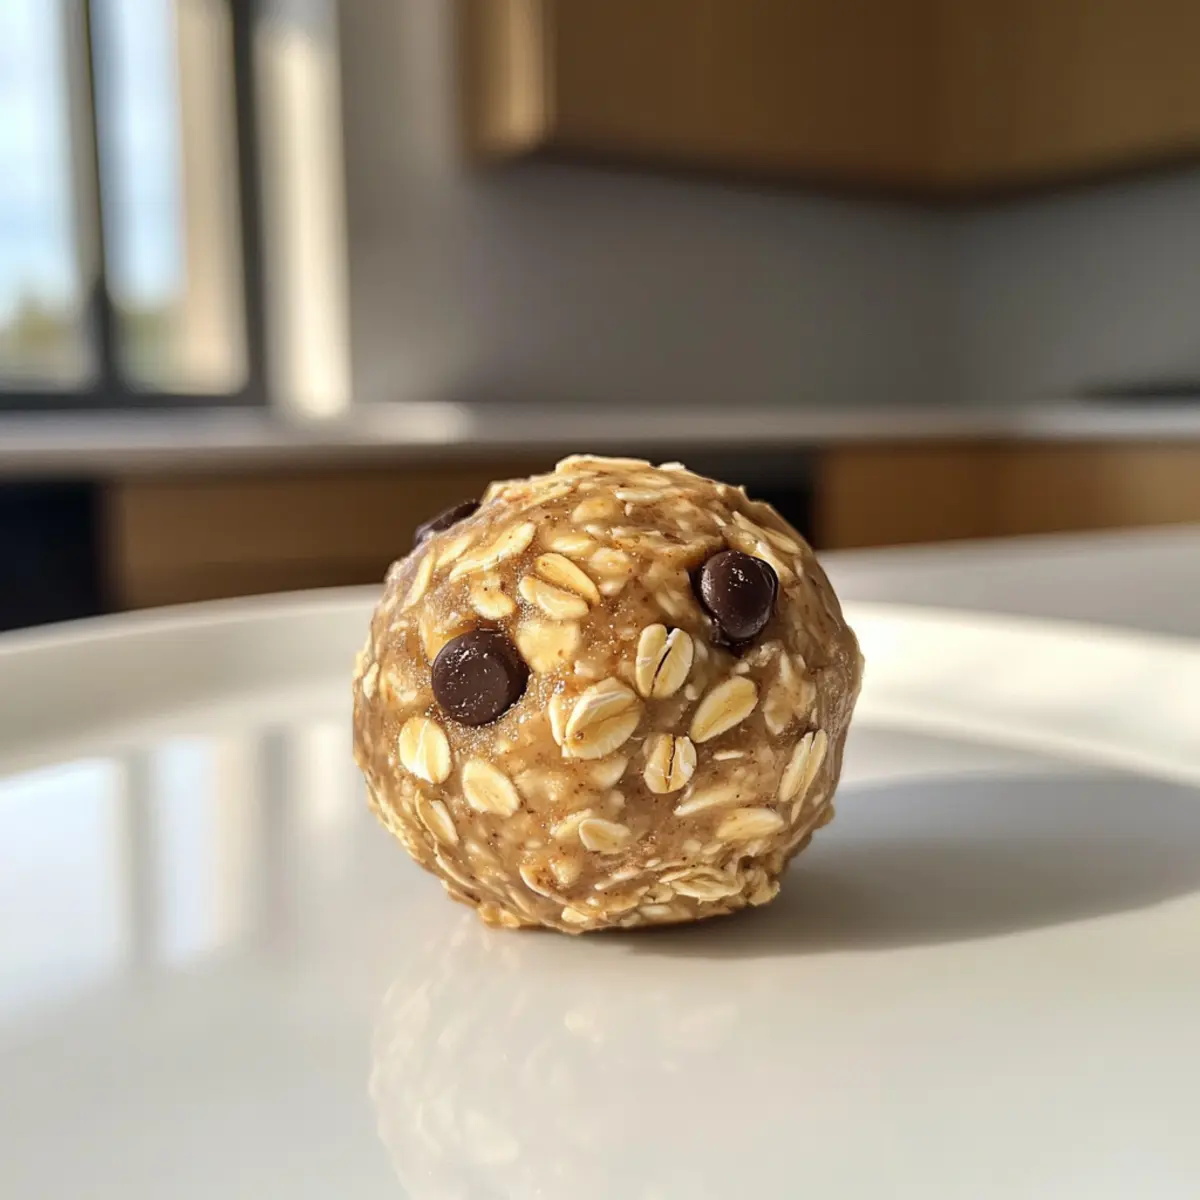
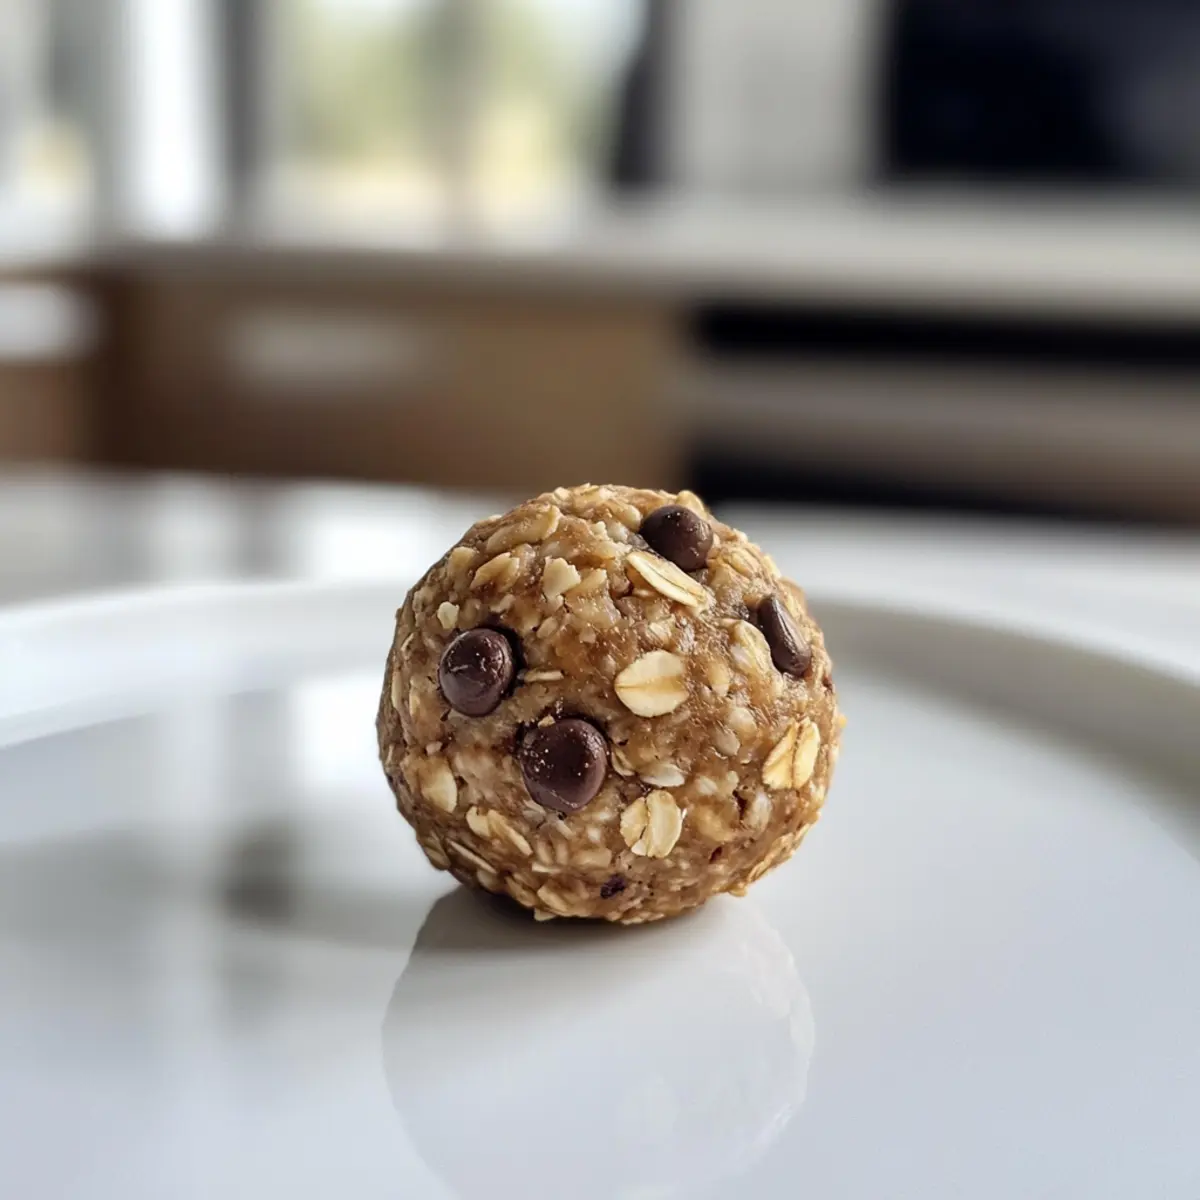
The aroma of creamy peanut butter and sweet honey dancing together immediately brings back fond memories of carefree afternoons in the kitchen. These No Bake Protein Balls have become my go-to recipe, perfect for when I need a quick snack that’s satisfying and guilt-free. Each bite is a delightful mix of chewy goodness, packed with protein to fuel my day. What I love most is their sheer versatility; with just a handful of ingredients, you can easily customize them to cater to any taste preference—gluten-free options and a sprinkle of chocolate chips make them even more tempting! Whether you’re looking for a pre-workout boost or a midday pick-me-up, these protein-packed bites will not only satisfy your cravings but keep you energized, too. Curious about how to make these easy energy bites? Let’s dive into the delicious details!
Why are No Bake Protein Balls a favorite?
Quick, no-bake solution: You’ll whip these up in minutes, making them perfect for busy days.
Protein-packed power: Each ball is loaded with nutritious ingredients like peanut butter and protein powder for sustained energy.
Customizable flavors: Mix in nuts, seeds, or dried fruits to personalize your snack; the options are endless.
Crowd-pleaser: Great for both kids and adults, these bites satisfy sweet cravings while keeping it healthy.
Perfect for any occasion: Enjoy them at home, pack them for work, or bring them to gatherings—a hit every time! Try pairing them with a delicious meal like Baked Ham Pineapple for an added treat!
No Bake Protein Balls Ingredients
Discover the must-have ingredients to create your delicious No Bake Protein Balls!
For the Base
- Creamy Peanut Butter – Adds richness and binds the mixture together; feel free to substitute with almond or sunflower butter if allergies are a concern.
- Honey – Acts as a natural sweetener that helps the ingredients stick; maple syrup provides a great vegan alternative.
- Rolled Oats – Provides structure and fiber; opt for certified gluten-free oats for a completely gluten-free option.
- Vanilla Protein Powder – Boosts the protein content for a filling snack; customize with your favorite protein flavor for variety.
- Salt – Enhances sweetness while balancing the flavors.
For a Fun Twist
- Mini Chocolate Chips – Adds a delightful touch of sweetness; consider mixing in nuts, seeds, or dried fruit to cater to your personal taste.
Now you’re ready to create some delightful No Bake Protein Balls that will keep your energy levels high throughout the day!
Step‑by‑Step Instructions for Nutritious No Bake Protein Balls
Step 1: Combine the Base Ingredients
In a large mixing bowl, add 1 cup of creamy peanut butter, ⅓ cup of honey, 1 cup of rolled oats, and 1 scoop of vanilla protein powder. Sprinkle in a pinch of salt for balance. Use a rubber spatula to mix these ingredients together until they form a cohesive, dough-like consistency. You’re looking for a creamy yet thick texture that holds its shape.
Step 2: Fold in the Treats
Once your base is well combined, fold in ½ cup of mini chocolate chips. Use your spatula to ensure that the chocolate chips are evenly distributed within the mixture. The sweetness of the chocolate chips brings delightful bursts of flavor and texture to your No Bake Protein Balls. Be sure to mix thoroughly so that every bite has that chocolaty goodness.
Step 3: Portion the Mixture
Using a mini cookie scoop or tablespoon, portion out the mixture into one-inch-sized balls on a wax paper-covered cookie sheet. This technique ensures that your No Bake Protein Balls are uniform in size, making them easier to grab and enjoy. Aim for 12 to 15 balls, creating a visually appealing and appetizing display as you work.
Step 4: Shape the Balls
Take each portion from the sheet and gently roll them between your palms to form smooth, round shapes. This step is crucial as it helps bind the ingredients together, ensuring your protein balls hold their form. As you shape them, you’ll see that they become firmer and more defined.
Step 5: Chill to Set
Once all protein balls are shaped, place the cookie sheet in the refrigerator. Allow the No Bake Protein Balls to chill for about one hour, or until they are firm to the touch. This chilling process solidifies the mixture, making them easier to handle and enhancing their delicious chewy texture.
Step 6: Store for Enjoyment
After chilling, transfer the protein balls to an airtight container or a Ziploc bag. They can be stored in the fridge for up to one week, giving you a healthy snack option throughout the week. For longer storage, consider freezing them for 2–3 months, ensuring you always have a nutritious energy boost on hand!
Expert Tips for No Bake Protein Balls
• Mix Thoroughly: Ensure all ingredients are well combined to avoid dry clumps of protein powder in your No Bake Protein Balls.
• Chill Properly: Allow them to chill in the refrigerator for at least one hour; this step is crucial for firm and enjoyable bites.
• Experiment Freely: Don’t hesitate to try different nut butters or mix-ins; variations can elevate the flavor and texture to suit your taste.
• Shape with Care: When rolling, aim for smooth, even balls to help them hold together better in each bite.
• Store Smartly: Keep in an airtight container in the fridge for freshness or freeze for longer-term storage, ensuring they stay delicious for days!
No Bake Protein Balls Variations
Feel free to get creative with these No Bake Protein Balls and customize them to your heart’s content!
-
Nut-Free: Substitute peanut butter with sunflower seed butter to create a delicious allergen-friendly version for schools or gatherings.
-
Vegan Delight: Use maple syrup instead of honey and coconut oil for a completely plant-based treat that’s equally sweet and satisfying.
-
Chocolate-Covered: Drizzle or dip the balls in melted dark chocolate for an indulgent twist that adds richness and a luscious coating.
-
Berry Burst: Toss in dried cranberries or blueberries for a splash of fruity flavor and chewiness that complements the creamy base.
-
Crunch Time: Add chopped nuts like almonds or walnuts to enhance the texture and provide an extra protein boost, creating a delightful crunch.
-
Spiced Up: Incorporate a dash of cinnamon or a sprinkle of cayenne pepper for a warming flavor note or subtle heat that beautifully contrasts the sweetness.
-
Coconut Coating: Roll the finished balls in shredded coconut for a tropical flair and additional chewiness, adding a delightful contrast to every bite.
-
Protein-Packed Varieties: Experiment with different protein powders, such as chocolate or peanut butter flavor, to create unique taste combinations each time you make them.
Explore these variations to keep things exciting and find your perfect blend. And while you’re at it, why not serve these alongside some Cranberry Meatballs Festive for a balanced and flavorful snack spread?
Make Ahead Options
These No Bake Protein Balls are perfect for meal prep, making them an ideal solution for busy home cooks! You can prepare the mixture up to 24 hours in advance by combining the base ingredients and forming the balls. Simply portion and shape them, then refrigerate until you’re ready to serve. To maintain their quality, ensure they are tightly sealed in an airtight container to prevent drying out. When ready to enjoy, simply take them straight from the fridge, or, for a special treat, let them sit at room temperature for a few minutes before serving for a softer bite. These protein-packed snacks will be just as delicious even when made ahead of time!
What to Serve with No Bake Protein Balls
These delightful bites can easily steal the show, but pairing them with complementary dishes will elevate your meal to new heights.
-
Smoothie Bowl: Add a refreshing smoothie bowl topped with fruits and granola for a colorful breakfast or snack that balances textures perfectly.
-
Yogurt Parfait: Layer Greek yogurt with berries and a sprinkle of granola to create a creamy, satisfying pairing that complements the chewy protein balls.
-
Fruit Salad: A vibrant fruit salad adds a burst of freshness and natural sweetness, enhancing the flavors and making for a wholesome meal.
-
Nutty Granola: Serve alongside crunchy homemade granola for an added textural contrast that will keep you munching happily throughout the day.
-
Coconut Chia Pudding: This creamy pudding provides a light and nourishing counterpoint to the dense protein balls, making for a delightful combination.
-
Dairy-Free Milkshake: A banana or almond milkshake will provide a sweet, smooth drink that harmonizes with the chewy, rich texture of the protein balls.
-
Nut Butter Dip: Create a dip with your favorite nut butter mixed with yogurt for an indulgent yet healthy snack that pairs deliciously with the protein balls.
-
Herbal Iced Tea: Cool down with a refreshing herbal iced tea that’s light and fragrant, balancing the sweetness of the protein bites.
-
Chocolate-Covered Strawberries: For a sweet ending, serve chocolate-covered strawberries that complement the chocolate chips in the protein balls for a decadent finish.
Enhancing your snacks with these pairings ensures a balanced and enjoyable experience, each bite bursting with flavor and satisfaction!
How to Store and Freeze No Bake Protein Balls
Fridge: Store your No Bake Protein Balls in an airtight container for up to one week. This keeps them fresh and ready for a quick, healthy snack anytime.
Freezer: For longer storage, place the protein balls in a Ziploc bag or airtight container in the freezer for 2–3 months. This allows you to enjoy them at convenience while preserving their flavor and texture.
Thawing: When you’re ready to eat, simply thaw them in the refrigerator for a couple of hours or enjoy them straight from the freezer for a cool treat.
Reheating: These protein balls are best enjoyed cold or at room temperature. Avoid reheating to maintain their delightful texture!
No Bake Protein Balls Recipe FAQs
How do I choose ripe ingredients for No Bake Protein Balls?
Absolutely! When selecting peanut butter, look for a creamy variety without added sugars or hydrogenated oils for the best flavor and texture. Choose honey that’s raw and unprocessed, if possible, for a more natural sweetness. If you’re using rolled oats, confirm they’re whole and minimally processed for maximum health benefits. And remember, if you’re substituting nut butters, ensure they’re not over-processed to maintain that perfect binding consistency.
How do I store my No Bake Protein Balls?
I recommend placing your No Bake Protein Balls in an airtight container, where they can stay fresh in the fridge for up to one week. This will keep them ready for a quick snack anytime you need an energy boost. For longer preservation, transfer the balls to a Ziploc bag or airtight container and store them in the freezer for up to 2-3 months. Just remember to label it with the date, so you’ll know when they were made!
Can I freeze No Bake Protein Balls?
Yes, freezing is a great option! To do this, layer your No Bake Protein Balls in a single layer on a baking sheet lined with parchment paper. Freeze them for about 1-2 hours until solid. Once they’re firm, place them in a Ziploc bag or an airtight container, separating layers with parchment paper if necessary. This helps prevent sticking and allows you to easily grab just what you need!
What should I do if my mixture is too dry?
If you find your No Bake Protein Balls mixture is too dry, don’t worry! You can either add a bit more peanut butter or honey, one tablespoon at a time, until you reach a dough-like consistency. Alternatively, you can mix in a splash of milk or a dairy-free alternative to help bind everything together. Mix thoroughly again to ensure every ingredient is well combined, and then continue forming your balls!
Are No Bake Protein Balls safe for kids and those with allergies?
Yes, these protein balls can be a fantastic snack for kids! However, do keep in mind any nut allergies when selecting your ingredients. You can easily make these nut-free by substituting peanut butter with sunflower seed butter or tahini. Always check food labels for any potential allergens, especially if you’re adding mix-ins like seeds or dried fruits. And for those with gluten sensitivities, use certified gluten-free oats to ensure safety.
How do I know if my protein balls are properly set?
After chilling the protein balls for about one hour, they should be firm to the touch, and hold their shape when you pick one up. If they feel soft or mushy, allow them to chill for an additional 30 minutes. Proper chilling not only solidifies the balls but also enhances their delightful chewy texture. It’s amazing how a bit of patience results in those perfect bites!
Delicious No Bake Protein Balls for a Quick Energy Boost
Ingredients
Equipment
Method
- In a large mixing bowl, add creamy peanut butter, honey, rolled oats, and vanilla protein powder. Sprinkle in a pinch of salt. Mix together until a cohesive dough forms.
- Fold in mini chocolate chips, ensuring they are evenly distributed within the mixture.
- Using a mini cookie scoop or tablespoon, portion out the mixture into one-inch-sized balls on a wax paper-covered cookie sheet.
- Take each portion and gently roll them between your palms to form smooth, round shapes.
- Place the cookie sheet in the refrigerator and chill for about one hour or until firm.
- Transfer the protein balls to an airtight container or Ziploc bag. Store in the fridge for up to one week or freeze for 2-3 months.
Leave a Reply