
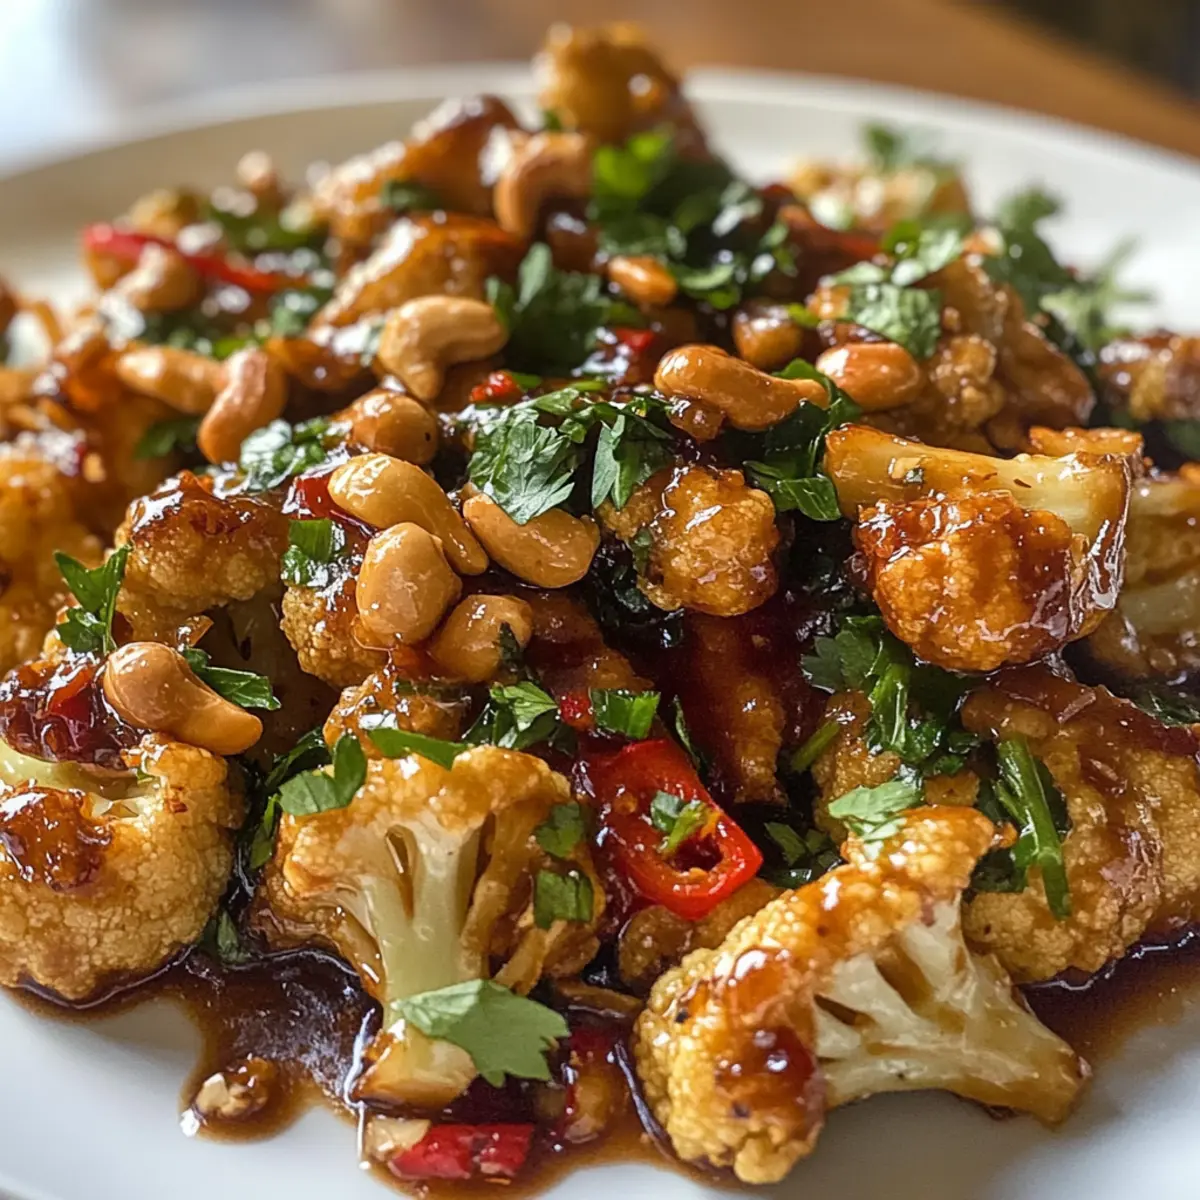
The moment I took my first bite of Cashew Cauliflower, I knew I had discovered something special—an explosion of familiar flavors that whisked me back to my favorite Chinese takeout spot, but with a nourishing twist. This hearty dish turns the classic cashew chicken into a vibrant vegetarian delight, promising a quick and healthy meal that’s not just for herbivores. In just 45 minutes, you’ll create a warm, crispy dish that effortlessly satisfies cravings while being perfect for meal prep or weeknight dinners. Both meat-lovers and plant-based eaters will bask in its rich, sweet-savory sauce, making it a crowd-pleaser you’ll want to share. Ready to elevate your dining experience with this nutritional gem? Let’s dive into the delightful details of making your very own Cashew Cauliflower!
Why Try This Cashew Cauliflower Recipe?
Easy Preparation: This delightful dish requires minimal effort, making it perfect for busy weeknights. Packed with Flavor: You’ll relish the harmonious blend of sweet and savory flavors—just like your favorite Chinese takeout! Healthy Twist: Enjoy a guilt-free meal that’s not only vegetarian but loaded with nutrients. Versatile Ingredient: Swap in your favorite veggies or grains, such as broccoli or garlic butter quinoa, to create endless variations. Crowd-Pleasing Delight: This dish wows both vegetarians and meat-lovers alike, making it a go-to for gatherings!
Cashew Cauliflower Ingredients
• Here’s everything you need for a delicious Cashew Cauliflower!
For the Cauliflower
- Large Cauliflower – The star of the dish, offering a hearty and satisfying base. Substitute with broccoli for variation.
- Cornstarch – Essential for achieving that irresistible crispy texture. Make sure to shake off excess to avoid gumminess.
For the Sauce
- Water – Helps dissolve cornstarch for a smooth sauce preparation.
- Soy Sauce – Provides a burst of savory umami flavor. Opt for low-sodium soy sauce for a healthier choice.
- Ketchup – Adds a tangy sweetness that balances the dish beautifully. Try using a low-sugar option for a lighter version.
- Brown Sugar – Deepens the sweetness and enhances the overall flavor. Substitute with maple syrup for a vegan alternative.
- Garlic (minced) – Infuses the dish with aromatic depth that’s hard to resist.
- Fresh Ginger (grated) – Introduces a warm and spicy note to the sauce.
- Ground Black Pepper – A simple way to amplify the flavors.
- Dried Red Chili Flakes – Adds a kick of heat; adjust according to your spice preference.
For the Crunch
- Cashews (roasted and unsalted) – Offers a delightful crunch and nuttiness. Feel free to substitute with peanuts or omit for a nut-free dish.
Step‑by‑Step Instructions for Cashew Cauliflower
Step 1: Preheat the Oven
Start by preheating your oven to 350°F (175°C). While the oven warms, take a shallow baking dish and lightly grease it with cooking oil or non-stick spray. This preparation ensures your Cashew Cauliflower doesn’t stick, making for easy cleanup later on.
Step 2: Prepare the Cauliflower
In a large bowl, chop your cauliflower into small florets, ensuring they’re roughly the same size for even cooking. Sprinkle cornstarch over the florets and toss gently until fully coated. Shake off any excess cornstarch, and then arrange the coated florets evenly in the greased baking dish, ready for baking.
Step 3: Initial Baking
Place the baking dish in the preheated oven and let the cauliflower bake for 10 minutes. You’ll want to keep an eye on them; they should start turning a light golden color and feel firm. This initial baking step helps create that delightful crispy texture we’re aiming for.
Step 4: Make the Sauce
While the cauliflower bakes, prepare the sauce in a separate bowl. Whisk together water and cornstarch until completely dissolved, then incorporate soy sauce, ketchup, brown sugar, minced garlic, grated ginger, ground black pepper, and dried red chili flakes. Mix until all ingredients are well combined and the sauce is smooth.
Step 5: Combine & Bake Again
After the initial 10 minutes, carefully remove the cauliflower from the oven. Pour your prepared sauce over the florets, gently tossing them with a spatula to ensure each piece is well-coated. Return the dish to the oven for an additional 20 minutes, but remember to add cashews halfway through for extra crunch!
Step 6: Serve and Enjoy
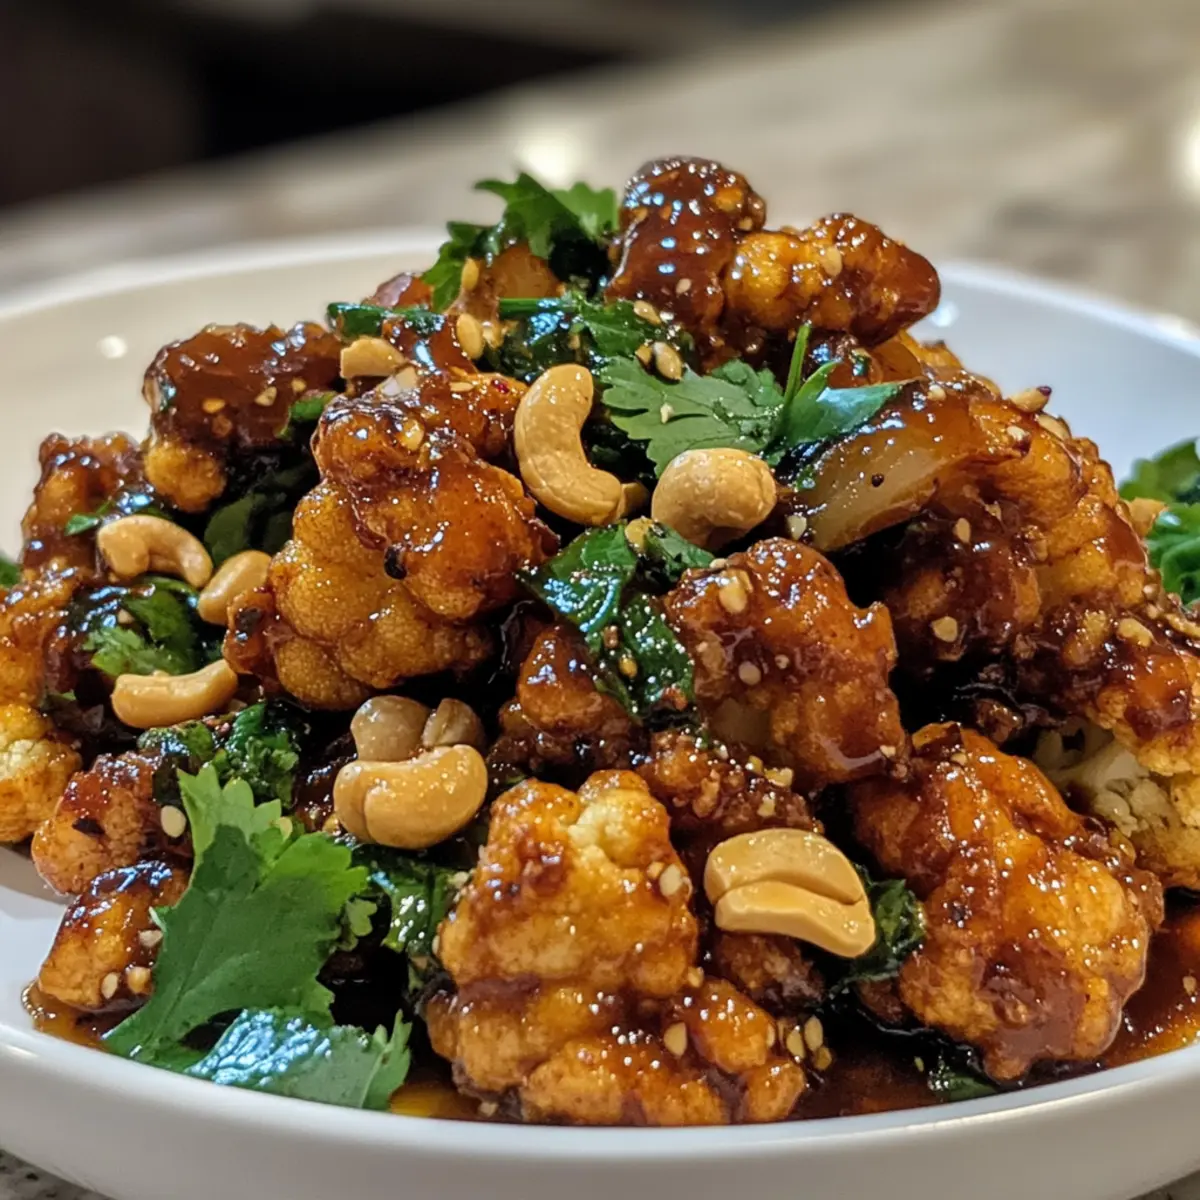
Once baked, your Cashew Cauliflower should be beautifully golden, glossy, and slightly crispy at the edges. Remove it from the oven and let it sit for a couple of minutes before serving. This dish is best enjoyed immediately, so spoon it over fluffy rice or quinoa for a delightful meal that everyone will love.
Cashew Cauliflower Variations & Substitutions
Feel free to get creative and customize your Cashew Cauliflower dish to suit your taste buds!
- Gluten-Free: Use coconut aminos as a flavorful alternative to soy sauce, ensuring a gluten-free dish.
- Nut-Free: Omit cashews and substitute with sunflower seeds or crispy chickpeas for a delightful crunch without allergens.
- Extra Veggies: Toss in colorful bell peppers or snap peas for added flavor and nutrients, transforming this into a vibrant veggie medley.
- Heat Lover’s Twist: Increase the dried red chili flakes for a spicier kick, perfect for those who adore a fiery taste.
- Sweet and Tangy: Replace ketchup with hoisin sauce to add a deeper, richer sweetness that elevates the dish’s flavor profile beautifully.
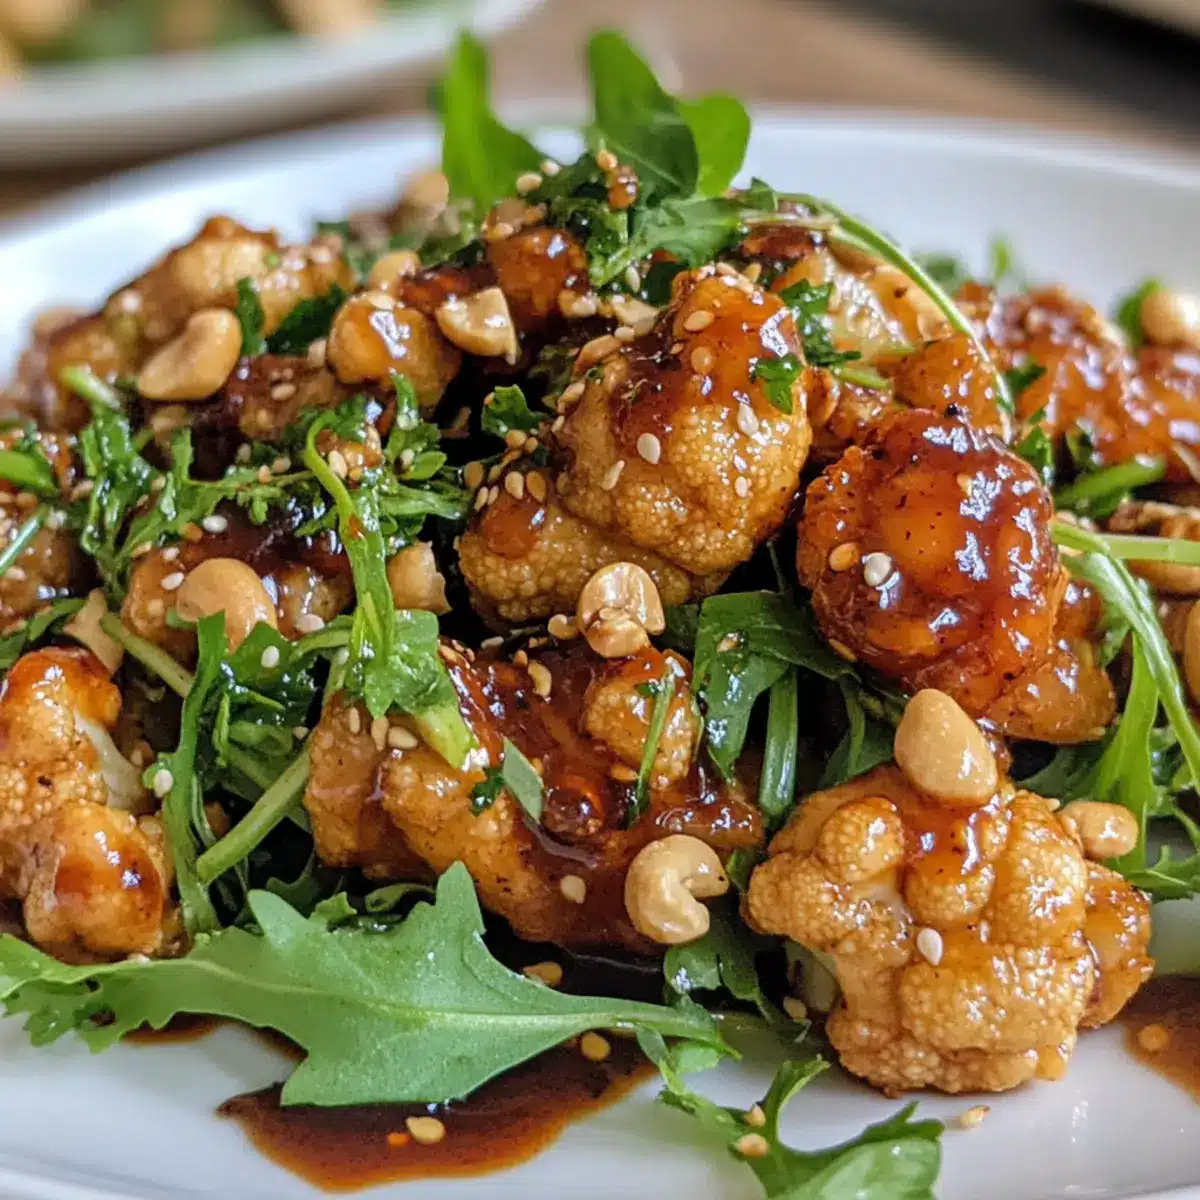
- Herb Infusion: Add fresh cilantro or basil right before serving for a burst of freshness that complements the sauce beautifully.
- Creamy Texture: Stir in a tablespoon of peanut butter into the sauce for a creamy addition that enhances its nuttiness.
For even more inspiration, consider pairing this dish with garlic butter quinoa or exploring other delightful recipes like Moroccan Cauliflower Tahini. Each variation allows you to customize this recipe, making it a truly versatile favorite!
What to Serve with Cashew Cauliflower
Elevate your mealtime with delightful pairings that complement the rich, savory flavors of your Cashew Cauliflower dish.
-
Fluffy Basmati Rice: Acts as a perfect canvas for the sauce, absorbing the sweet-sour delight while adding a fragrant touch to every bite.
-
Garlic Butter Quinoa: A nutty twist that provides a hearty base. The buttery flavor harmonizes beautifully, adding warmth to the dish.
-
Steamed Broccoli: Bright and crisp, it adds a pop of color and texture, enhancing the meal’s nutritional value while remaining light and fresh.
-
Stir-Fried Snap Peas: Their sweet crunch contrasts nicely with the softness of the cauliflower. A quick stir-fry can elevate your plate into a vibrant medley.
-
Cucumber Salad: This refreshing side with a zesty dressing cuts through the dish’s richness and adds a burst of freshness.
-
Chili Garlic Noodles: These spicy, garlicky noodles bring warmth and complement the flavors of the Cashew Cauliflower, making for a comforting feast.
-
Chilled White Wine: A crisp, citrusy white pairs beautifully, enhancing the dish’s sweetness while cleansing the palate between bites.
-
Mango Sticky Rice: For a sweet finish, this traditional dessert is a delightful ending that offers a comforting blend of flavors and textures.
Mix and match these suggestions to create a balanced meal that brings joy to your table!
How to Store and Freeze Cashew Cauliflower
Fridge: Store leftovers in an airtight container for up to 3 days. This helps preserve the flavors and texture of the Cashew Cauliflower.
Freezer: For longer storage, freeze the dish in an airtight container. It can last up to 3 months; just make sure to separate it into meal-sized portions.
Reheating: When ready to eat, reheat under the broiler for 1-2 minutes to restore the crispiness, avoiding the microwave to keep that delightful texture intact.
Serving Suggestions: Don’t forget, this dish is best enjoyed fresh, so consider making smaller batches if you don’t plan to eat it all at once!
Make Ahead Options
These delightful Cashew Cauliflower bites are a fantastic option for meal prep! You can prepare the cauliflower florets and coat them with cornstarch up to 24 hours in advance, storing them in an airtight container in the refrigerator for freshness. Similarly, you can whisk together the sauce ingredients and refrigerate them overnight, keeping their flavors vibrant. When you’re ready to enjoy your meal, simply bake the prepped cauliflower for 10 minutes, add the sauce, and continue baking for another 20 minutes (adding cashews in the last 5 minutes). This method allows you to savor the deliciousness of homemade Cashew Cauliflower on busy weeknights with minimal effort, proving that healthy, tasty meals can be ready in no time!
Expert Tips for Cashew Cauliflower
-
Coating Technique: Ensure you shake off excess cornstarch to avoid a gummy texture; the right amount is key for that crispy finish.
-
Ingredient Swap: If you don’t have cashews on hand, feel free to substitute them with peanuts or seeds for a different crunch without losing flavor.
-
Storage Reminder: Always store leftovers in an airtight container; reheating under the broiler keeps your Cashew Cauliflower crispy and delicious.
-
Timing is Everything: When adding cashews in the second baking phase, do so halfway to prevent them from burning while still achieving that perfect crunch.
-
Spice Adjustments: Customize the heat level by adjusting the dried red chili flakes; start small and increase to suit your taste preference.
Cashew Cauliflower Recipe FAQs
How do I choose the perfect cauliflower?
Absolutely! When selecting cauliflower, look for a head that is firm and has tight, compact florets. The color should be a bright creamy white; avoid any heads with dark spots or browning, which could indicate age. If you’re feeling adventurous, try broccoli for a different texture!
How should I store leftover Cashew Cauliflower?
Store leftovers in an airtight container in the refrigerator for up to 3 days. This keeps the flavors fresh and prevents the dish from drying out. Just reheat under the broiler for 1-2 minutes to revive that crispy texture!
Can I freeze Cashew Cauliflower?
Yes! You can freeze Cashew Cauliflower for up to 3 months. Let it cool completely, then transfer it to an airtight container, separating it into meal-sized portions. When ready to enjoy, thaw overnight in the refrigerator before reheating under the broiler for best results.
What if my Cashew Cauliflower is too gummy?
Very! If your Cashew Cauliflower turns out gummy, it typically means there was too much cornstarch leftover on the florets. Next time, make sure to shake off excess cornstarch before baking. For a quick fix, try toasting it longer to help crisp it up.
Is this dish safe for vegetarians and those with nut allergies?
Absolutely, the Cashew Cauliflower is vegetarian-friendly! However, if you or someone you’re serving has a nut allergy, simply omit the cashews altogether or substitute them with seeds like sunflower seeds for a delightful crunch without the risk.
Crispy Cashew Cauliflower: A Healthy Take on Takeout
Ingredients
Equipment
Method
- Preheat your oven to 350°F (175°C) and prepare a lightly greased baking dish.
- Chop the cauliflower into small florets, coat with cornstarch, shake off excess, and arrange in the baking dish.
- Bake the cauliflower for 10 minutes until they start turning golden.
- In a separate bowl, whisk together water and cornstarch, then mix in soy sauce, ketchup, brown sugar, garlic, ginger, black pepper, and chili flakes.
- Pour the sauce over the baked cauliflower, toss to coat, and bake for an additional 20 minutes, adding cashews halfway through.
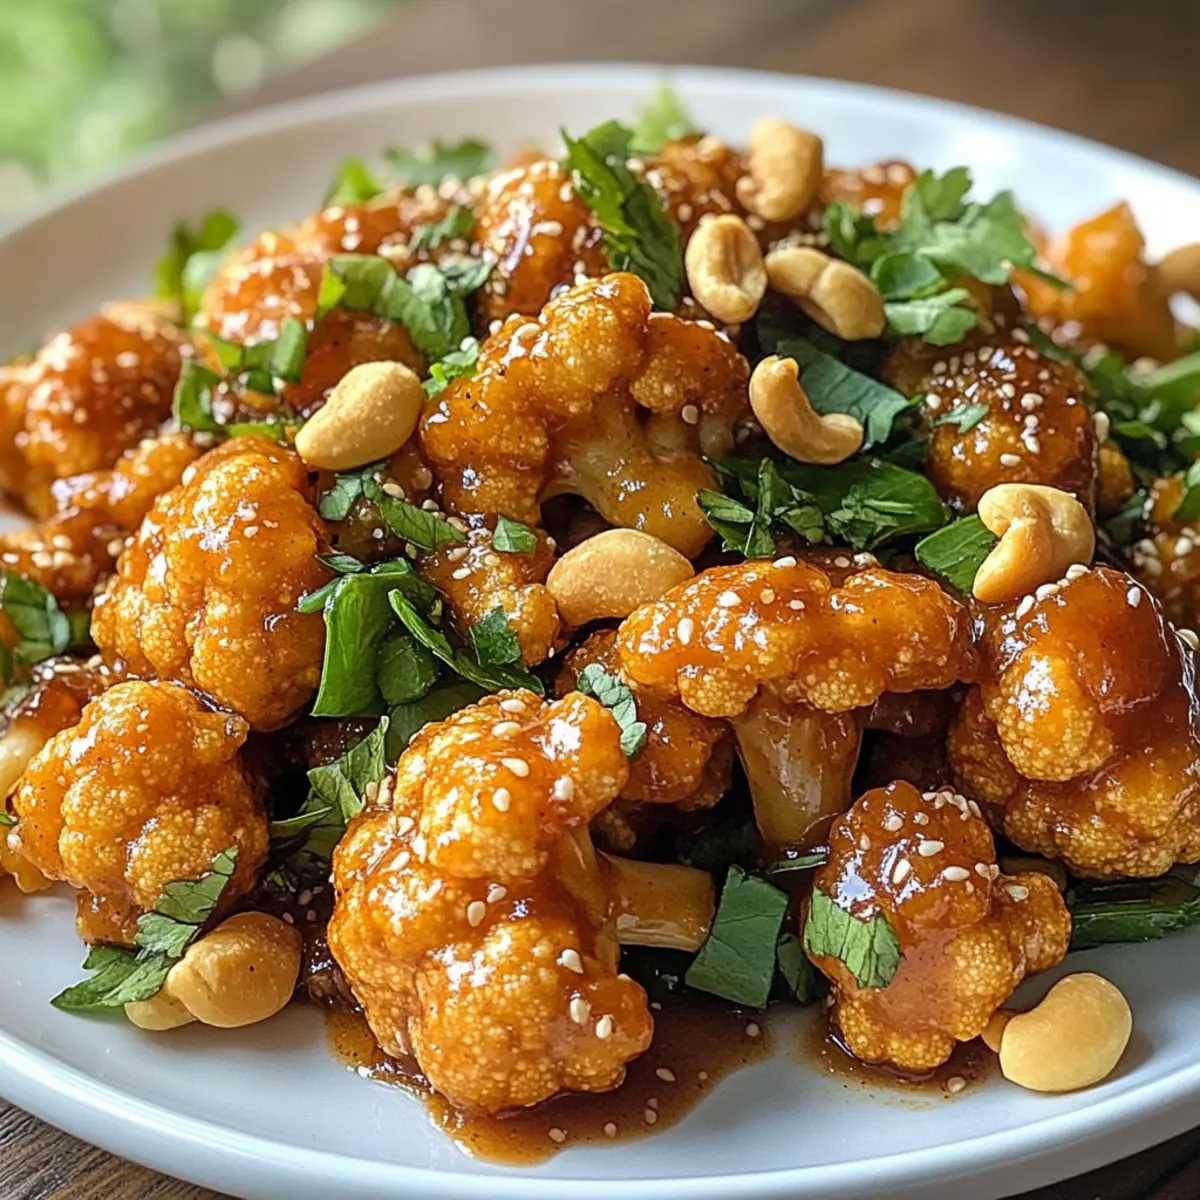
- Serve hot over rice or quinoa and enjoy!
Leave a Reply