
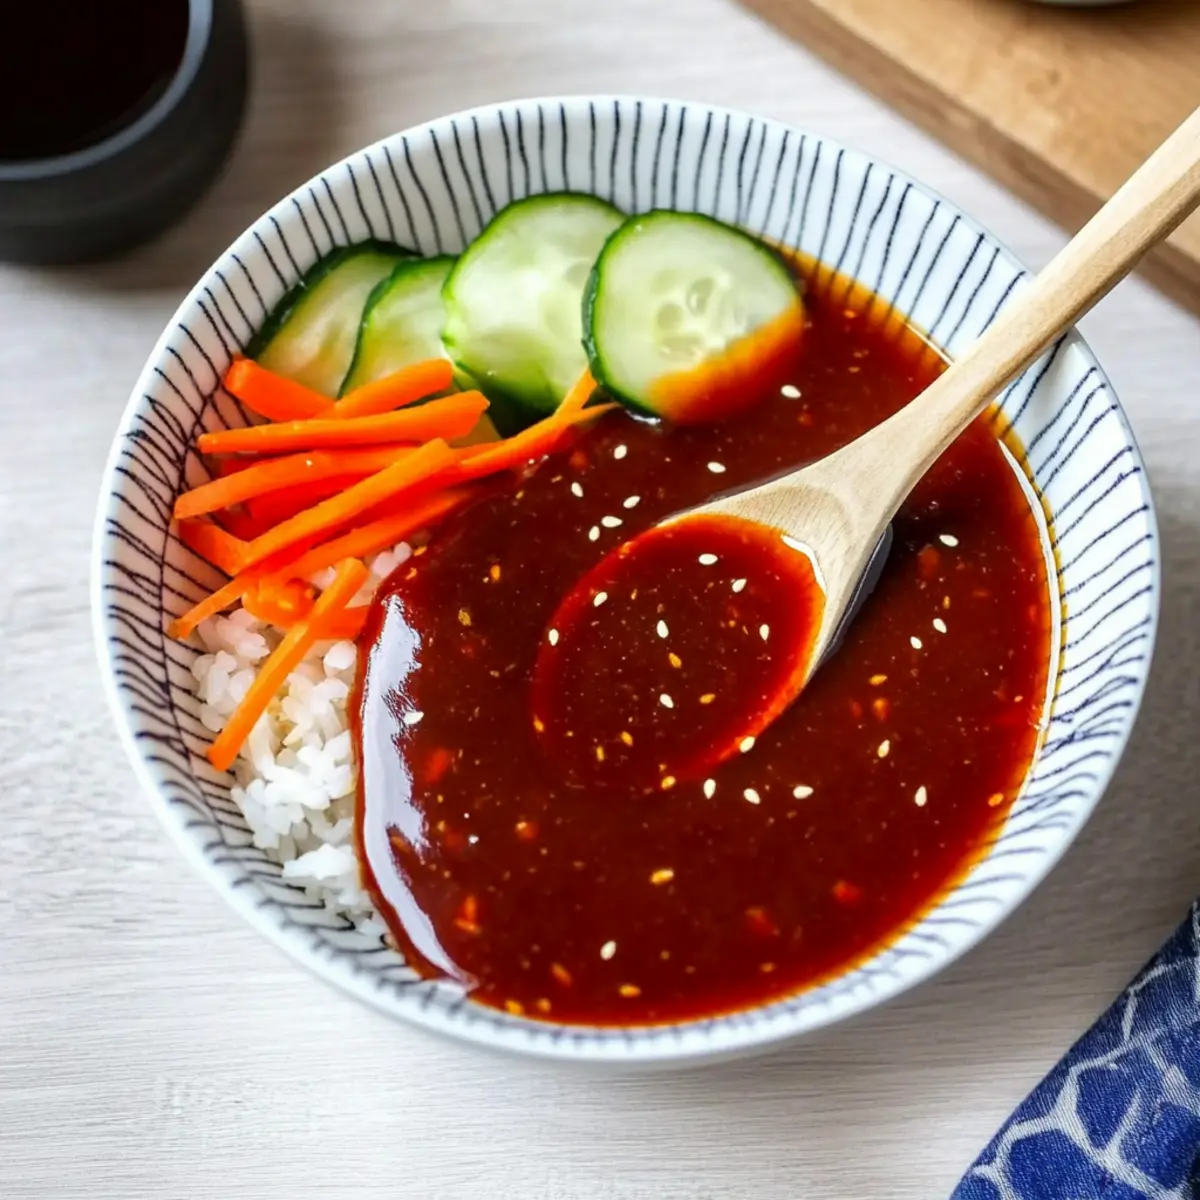
As I stood in my kitchen, a fresh wave of inspiration washed over me while I glanced at my pantry. It was time to whip up a batch of bibimbap sauce, the vibrant Korean condiment that turns any meal into a colorful culinary adventure. With just six pantry staples and a mere five minutes, this quick and easy recipe not only makes for a delicious topping for your favorite vegetative rice bowls but also lets you customize the spice level to suit your mood. Whether you crave a mild hint of heat or a fiery kick, this sauce is your newfound secret weapon! Imagine drizzling it over rice, sautéed veggies, or even grilled meats, transforming everyday dishes into something extraordinary. Are you ready to dive into the rich flavors of Korea? Let’s get started!
Why make homemade bibimbap sauce?
Quick and Easy: With just six ingredients and five minutes, you’ll have this delightful sauce ready to elevate your meals!
Customizable Spice Level: Tailor the heat to your preference—add more gochujang for a fiery kick or tone it down for a milder flavor.
Authentic Taste: Experience a burst of Korean flavors that can rival any restaurant dish, all from your own kitchen!
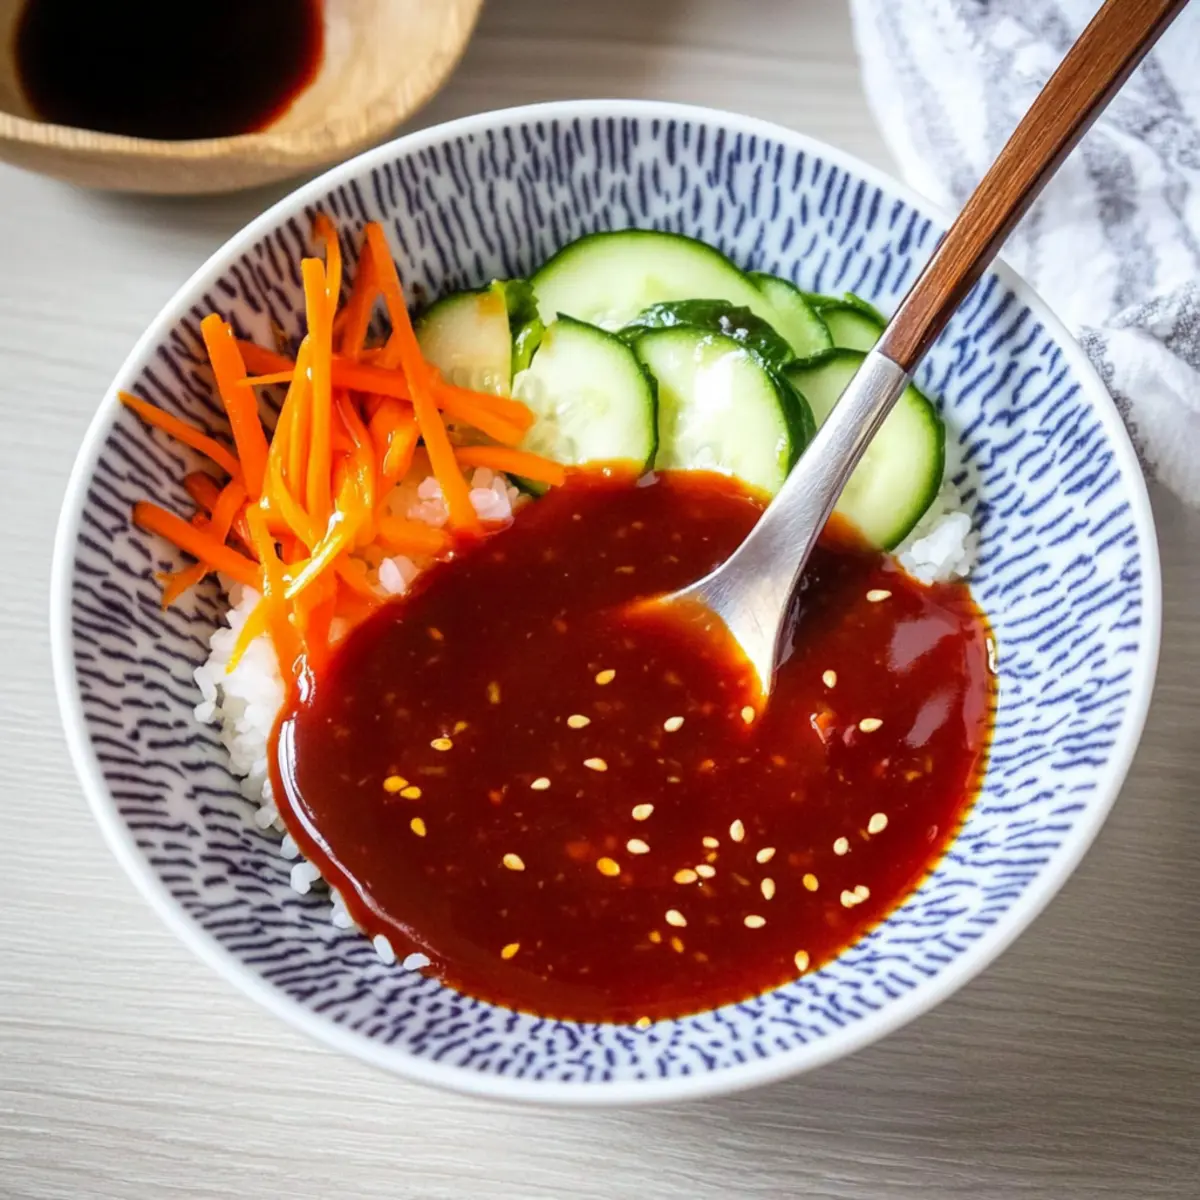
Versatile Use: Drizzle it on rice, mix it into stir-fries, or use it as a zesty dip for vegetables. The possibilities are endless!
Meal Prep Friendly: Make a batch and store it for up to two weeks in the fridge, ensuring you always have flavorful options at hand.
This bibimbap sauce also pairs beautifully with other dishes—think of it as a great companion to Pumpkin Yogurt Sauce or as a twist in your favorite salads. Get ready to impress with your cooking!
Bibimbap Sauce Ingredients
For the Sauce
- Gochujang – This spicy paste is the soul of bibimbap sauce, offering a unique blend of heat and umami.
- Garlic (Minced) – Fresh minced garlic enhances the depth and flavor profile; you can use garlic powder in a pinch, though fresh is preferred.
- Toasted Sesame Oil – Adds a rich nuttiness that ties all the flavors together; if unavailable, substitute with neutral oil or regular sesame oil.
- Honey – A touch of sweetness to balance the spice; agave nectar serves as a vegan alternative or try sweet soy sauce for a different twist.
- Sugar – Elevates the sweetness, driving caramelization during cooking, though feel free to omit for a less sweet sauce.
- Rice Vinegar – This bright, acidic note cuts through the richness, but apple cider vinegar can be used for a similar tang.
Feel free to customize your bibimbap sauce to your liking!
Step‑by‑Step Instructions for Bibimbap Sauce
Step 1: Gather Your Ingredients
To start making your delicious bibimbap sauce, gather the key ingredients: gochujang, minced garlic, toasted sesame oil, honey, sugar, and rice vinegar. This colorful array will come together quickly, so have your mixing bowl and a whisk or spoon nearby. A clean, well-organized workspace will help you mix everything seamlessly in just a few minutes.
Step 2: Combine the Base Ingredients
In your mixing bowl, add the gochujang and minced garlic. The gochujang serves as the flavorful base, while the fresh garlic will add aromatic depth. Using a whisk or spoon, stir them together until fully combined, creating a thick, rich mixture. This first layer of flavor sets the stage for your vibrant bibimbap sauce!
Step 3: Add the Oils and Sweeteners
Next, pour in the toasted sesame oil and honey. The sesame oil brings in a delightful nuttiness, while the honey balances the heat from the gochujang. Mix well until the ingredients are fully integrated and the mixture becomes smoother. The sauce should start to look glossy and inviting, a promising sign of the rich flavors to come.
Step 4: Incorporate Sugar and Vinegar
Now it’s time to add the sugar and rice vinegar. Sprinkle the sugar into the mixture to enhance its sweetness and help with caramelization, if desired. Then, pour in the rice vinegar—this will add a bright, tangy contrast to the rich flavors. Stir everything until you achieve a cohesive, vibrant sauce, perfect for drizzling over your bibimbap!
Step 5: Taste and Adjust
Before you finish, it’s always a good idea to taste your bibimbap sauce. Depending on your preferences, you might want to adjust the spice with more gochujang or balance with a touch more honey or vinegar. Keep stirring until you reach your desired flavor profile. The beauty of this sauce is its adaptability to your taste!
Step 6: Serve or Store
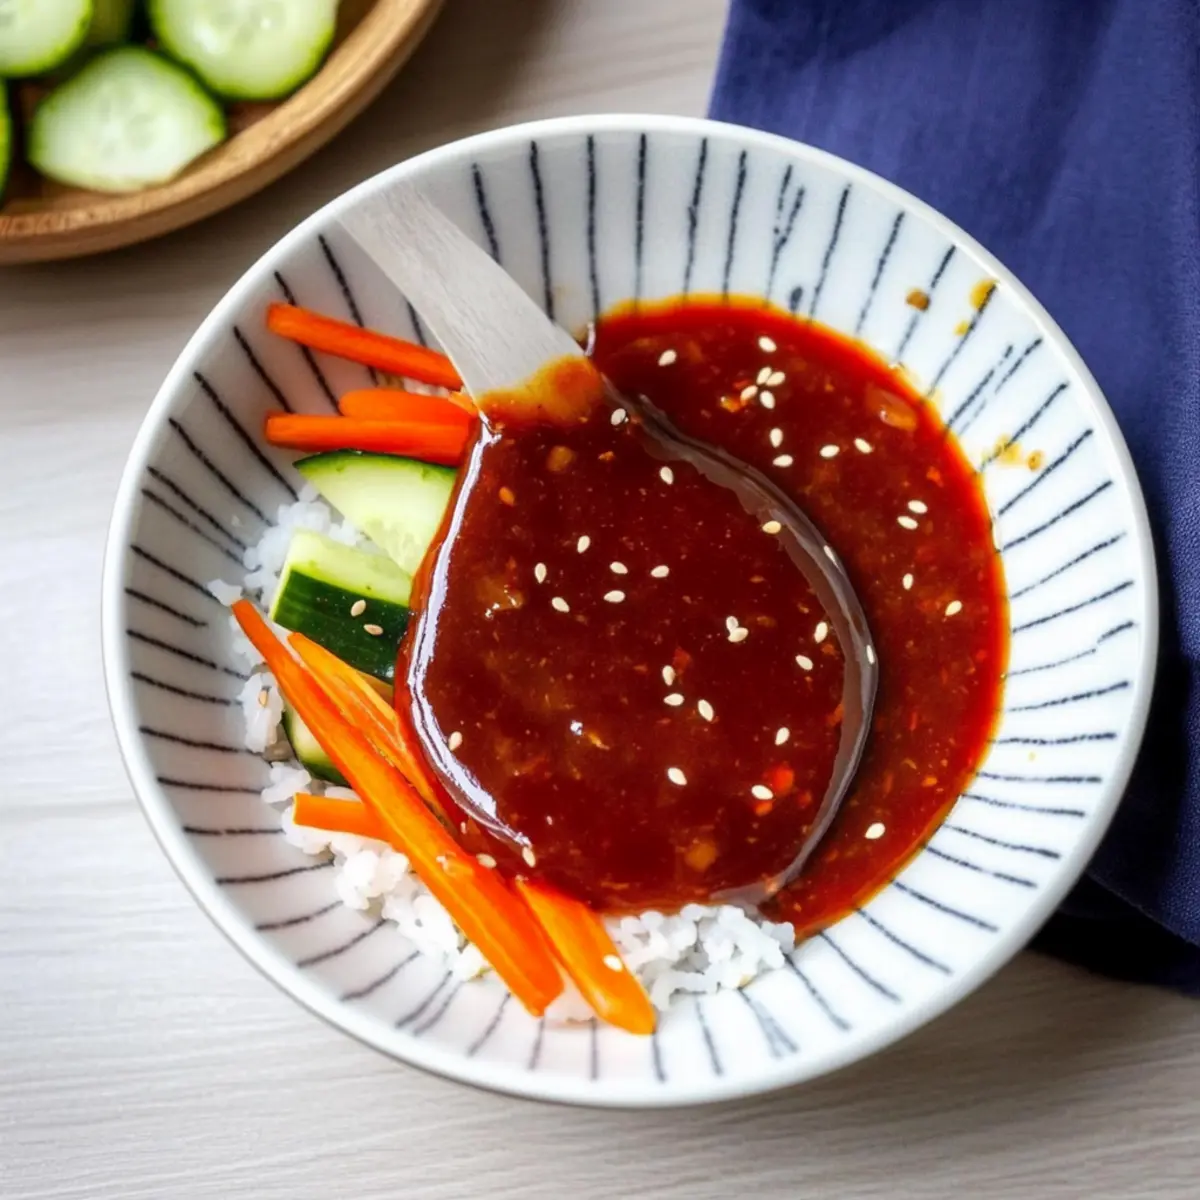
Once your bibimbap sauce is ready, you can serve it immediately over steaming rice bowls or grilled veggies. Alternatively, pour the sauce into a clean glass jar for storage. Seal tightly and refrigerate, where it will keep fresh for up to two weeks. Enjoy having this vibrant flavor booster at your fingertips!
Tips for the Best Bibimbap Sauce
• Ingredient Selection: Choose high-quality gochujang for the best flavor; the depth of flavor will truly shine in your bibimbap sauce.
• Taste and Adjust: Always taste the sauce before serving; small tweaks can elevate your bibimbap sauce to match your specific palate.
• Storage Solutions: Store leftover sauce in a glass container to avoid staining—this will keep it looking fresh and appetizing!
• Spice Control: Adjust the amount of gochujang based on your heat tolerance; start small and gradually increase for a more tailored bibimbap sauce.
• Versatility: Use this bibimbap sauce beyond Korean rice bowls; it pairs well with salads, grilled meats, and even as a spicy dip for veggies!
What to Serve with Quick & Easy Bibimbap Sauce
Looking to create a complete culinary experience? Pairing your bibimbap sauce with delicious side dishes elevates your meal to a vibrant feast for the senses.
-
Steamed Vegetables: Crisp, perfectly steamed veggies add a lovely freshness that balances the rich flavors of the sauce.
-
Savory Rice: Fluffy jasmine or brown rice serves as a delicious canvas, soaking up the spicy and sweet notes of the bibimbap sauce beautifully.
-
Stir-fried Tofu: Silken tofu, seared until golden, provides a lovely texture contrast and a protein-packed fusion to accompany the sauce.
-
Korean Pickles: Bright, tangy pickled vegetables introduce a zesty crunch, complementing the flavorful sauce while cleansing the palate.
-
Grilled Chicken or Beef: Charred meats add a satisfying, smoky flavor, harmonizing perfectly with the umami depth of the bibimbap sauce.
-
Noodle Salad: Refreshing cold vermicelli noodles dressed lightly will soak up the rich bibimbap sauce, making each bite a delightful experience.
-
Miso Soup: A warm bowl of umami-rich miso soup pairs beautifully for a comforting, complete meal that ties all the flavors together.
-
Green Tea: Sipping on soothing, slightly bitter green tea adds a refreshing balance to the meal, enhancing the overall dining experience.
-
Sesame Cookies: End your meal on a sweet note with crumbly sesame cookies, channeling the nutty richness of the sauce in dessert form.
Embrace these pairings to create a memorable feast that celebrates the wonderful flavors of your homemade bibimbap sauce!
Bibimbap Sauce Variations & Substitutions
Explore exciting twists and substitutions for your bibimbap sauce that cater to your taste and dietary needs!
- Dairy-Free: Substitute honey with agave nectar for a vegan-friendly alternative that doesn’t compromise on sweetness.
- Less Spicy: Use less gochujang and add a bit of ketchup for a milder sauce that still retains a hint of flavor. You can always spice it up at the table!
- Flavor Boost: Add a splash of soy sauce or tamari for an added umami kick, enhancing the depth of this Korean delight that will leave you craving more.
- Nutty Twist: Incorporate a tablespoon of peanut butter for a creamy texture with a nutty flavor—perfect if you enjoy a slightly richer sauce.
- Citrus Zing: Mix in a teaspoon of fresh lime or lemon juice for a refreshing citrus note that brightens the sauce beautifully.
- Heat Up: For those who love it hot, try adding a dash of chili oil or crushed red pepper flakes to elevate the heat level. Adjust until you reach your perfect burn!
- Garlic Lovers: Increase the minced garlic to your liking for an aromatic boost that adds incredible depth. Your bibimbap will sing with flavor!
- Asian Flair: Drizzle a little toasted sesame seeds on top of the sauce just before serving for added crunch and a flavor punch—the ultimate finishing touch!
Don’t forget, this sauce pairs wonderfully with a bowl of fresh veggies or grilled meats, much like how Pumpkin Yogurt Sauce complements a hearty meal. Want to sweeten things up even more? Consider using it with a zesty Hot Buttered Sauce for a unique flavor contrast!
Storage Tips for Bibimbap Sauce
Fridge: Store your bibimbap sauce in a glass jar, where it will remain fresh for up to 2 weeks. Seal tightly to maintain the vibrant flavors.
Freezer: For longer storage, freeze the sauce in an airtight container, and it will last for up to 3 months. Thaw in the fridge before use.
Reheating: If refrigerated, simply give the sauce a good stir before serving. If desired, gently warm it on the stovetop for a few minutes.
Room Temperature: While best refrigerated, the sauce can sit out for up to 1 hour when serving, but don’t leave it out longer to maintain quality.
Make Ahead Options
Preparing your bibimbap sauce ahead of time is not only a time saver for busy weeknights but also ensures you’ll always have this vibrant flavor enhancer on hand. You can easily mix all the ingredients and store the sauce in a clean glass jar for up to 2 weeks in the refrigerator. To maintain its delicious quality, make sure to seal the jar tightly after each use to prevent air exposure that could diminish the flavors. When you’re ready to enjoy it, simply drizzle the sauce over your rice bowls or grilled veggies, and revel in the authenticity of homemade taste without the hassle of last-minute preparation.
Bibimbap Sauce Recipe FAQs
What type of gochujang should I use for this sauce?
I recommend using high-quality gochujang, as the depth and complexity of flavor really shine through in your bibimbap sauce. Look for brands that use natural ingredients and avoid artificial additives for the best results.
How should I store leftover bibimbap sauce?
Store your bibimbap sauce in a clean glass jar with a tight-sealing lid. This ensures it remains fresh for up to 2 weeks in the fridge. If you’re concerned about staining, choose lighter-colored glass or save any dark spots for your favorite foods!
Can I freeze bibimbap sauce?
Absolutely! For longer storage, you can freeze your bibimbap sauce in an airtight container or freezer-safe bag. It will keep well for up to 3 months. When you’re ready to use it, simply thaw it overnight in the fridge and give it a good stir before serving.
What if my bibimbap sauce is too spicy?
If you find your bibimbap sauce is too spicy for your liking, there are a couple of solutions. First, you can add a bit more honey or sugar to balance out the heat. Alternatively, mix in a small amount of yogurt or mayonnaise for a creamy texture that will tone down the spicy kick.
Is there any dietary considerations for this sauce?
Yes! This bibimbap sauce is vegetarian-friendly and can be made vegan by substituting honey with agave nectar or sweet soy sauce. Always check ingredients if you’re concerned about allergens, especially if you’re sharing with friends or family who may have sensitivities.
How long can I leave bibimbap sauce out at room temperature?
While it’s best to keep bibimbap sauce refrigerated, it can safely sit out at room temperature for up to 1 hour when serving. Just remember not to let it linger longer than that to maintain its quality and flavor.

Mouthwatering Bibimbap Sauce Ready in Just 5 Minutes
Ingredients
Equipment
Method
- Gather your ingredients: gochujang, minced garlic, toasted sesame oil, honey, sugar, and rice vinegar.
- In a mixing bowl, combine gochujang and minced garlic. Stir until fully combined.
- Add toasted sesame oil and honey, mixing well until the mixture is smooth and glossy.
- Incorporate sugar and rice vinegar, stirring until you have a cohesive sauce.
- Taste and adjust by adding more gochujang or honey/vinegar to suit your preference.
- Serve immediately over rice or refrigerate for storage. It will keep fresh for up to two weeks.
Leave a Reply