
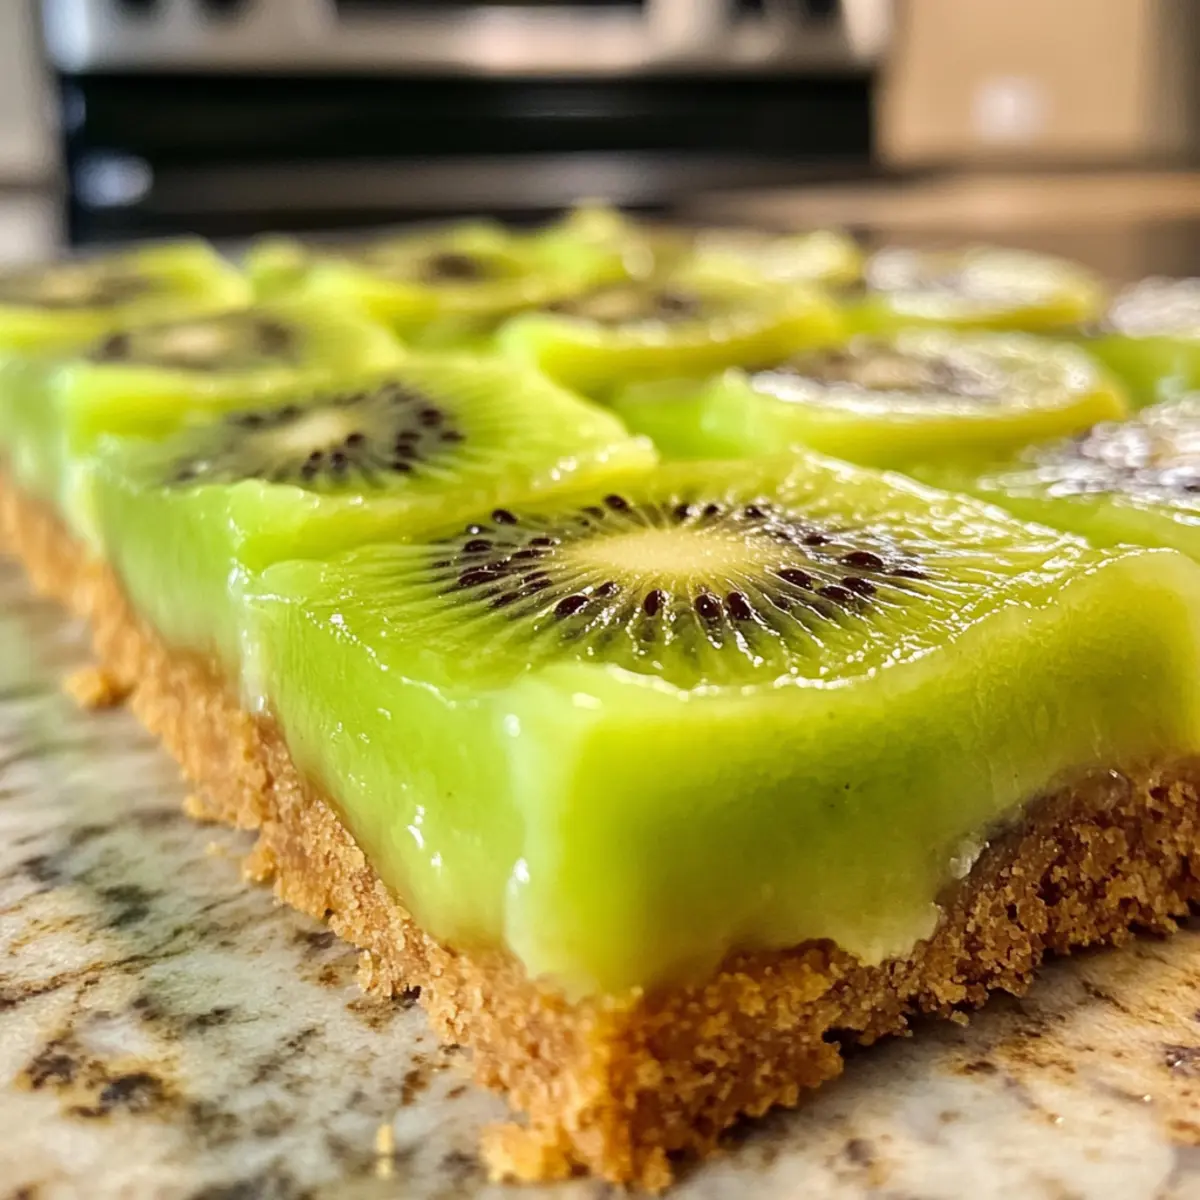
What if I told you that a simple dessert could whisk you away to a tropical paradise? These Irresistible Kiwi Bars do just that, combining the sweet-tart zing of fresh kiwis with a smooth, creamy filling that’s as delightful to look at as it is to taste. Easy to prepare and perfect for impressing guests or enjoying during a cozy night in, these bars are not just a feast for the eyes—they’re a healthy choice too! Made with easy-to-find ingredients, this recipe offers a vegan twist and can be customized with other fruits like strawberries or mangoes, making it adaptable for any occasion. Are you ready to experience a slice of sunshine?
Why Are Kiwi Bars So Irresistible?
Vibrant Colors: The striking green hue of ripe kiwis not only makes these bars visually appealing but also packs a flavorful punch.
Easy Preparation: With straightforward steps, you can whip up a batch in no time—perfect for busy weeknights or spontaneous gatherings!
Customizable: Swap out kiwis for your favorite fruits like mangoes or strawberries to create a new twist each time.
Healthy Indulgence: Each square delivers a refreshing reprieve with about 150 calories and nutritious fruit goodness, which makes it a guilt-free dessert.
Crowd-Pleasing: Serve these bars at your next gathering, and watch as they disappear—everyone loves a tropical treat! Don’t forget to check out the vegan alternative options for a delicious twist.
Kiwi Bars Ingredients
For the Filling
- Ripe Kiwis – The star of this dessert; fresh, ripe kiwis ensure optimal sweetness and flavor.
- Sugar – Adjust to your preference for sweetness; use less for a tart kick or more for a sweeter treat.
- Lemon Juice – Freshly squeezed adds the perfect acidity to balance the sweet-tart profile.
- Cornstarch – Thickens the filling; opt for arrowroot powder as a gluten-free substitute.
- Eggs – These provide the structure; flax eggs can replace them for a vegan version.
For the Crust
- Graham Cracker Crumbs – Forms a crunchy base; consider gluten-free crumbs or crushed nuts for variation.
- Butter – Binds the crust ingredients together; vegan butter works well for a dairy-free option.
- Powdered Sugar – Sweetens the crust subtly; feel free to omit or swap with coconut sugar for a healthier choice.
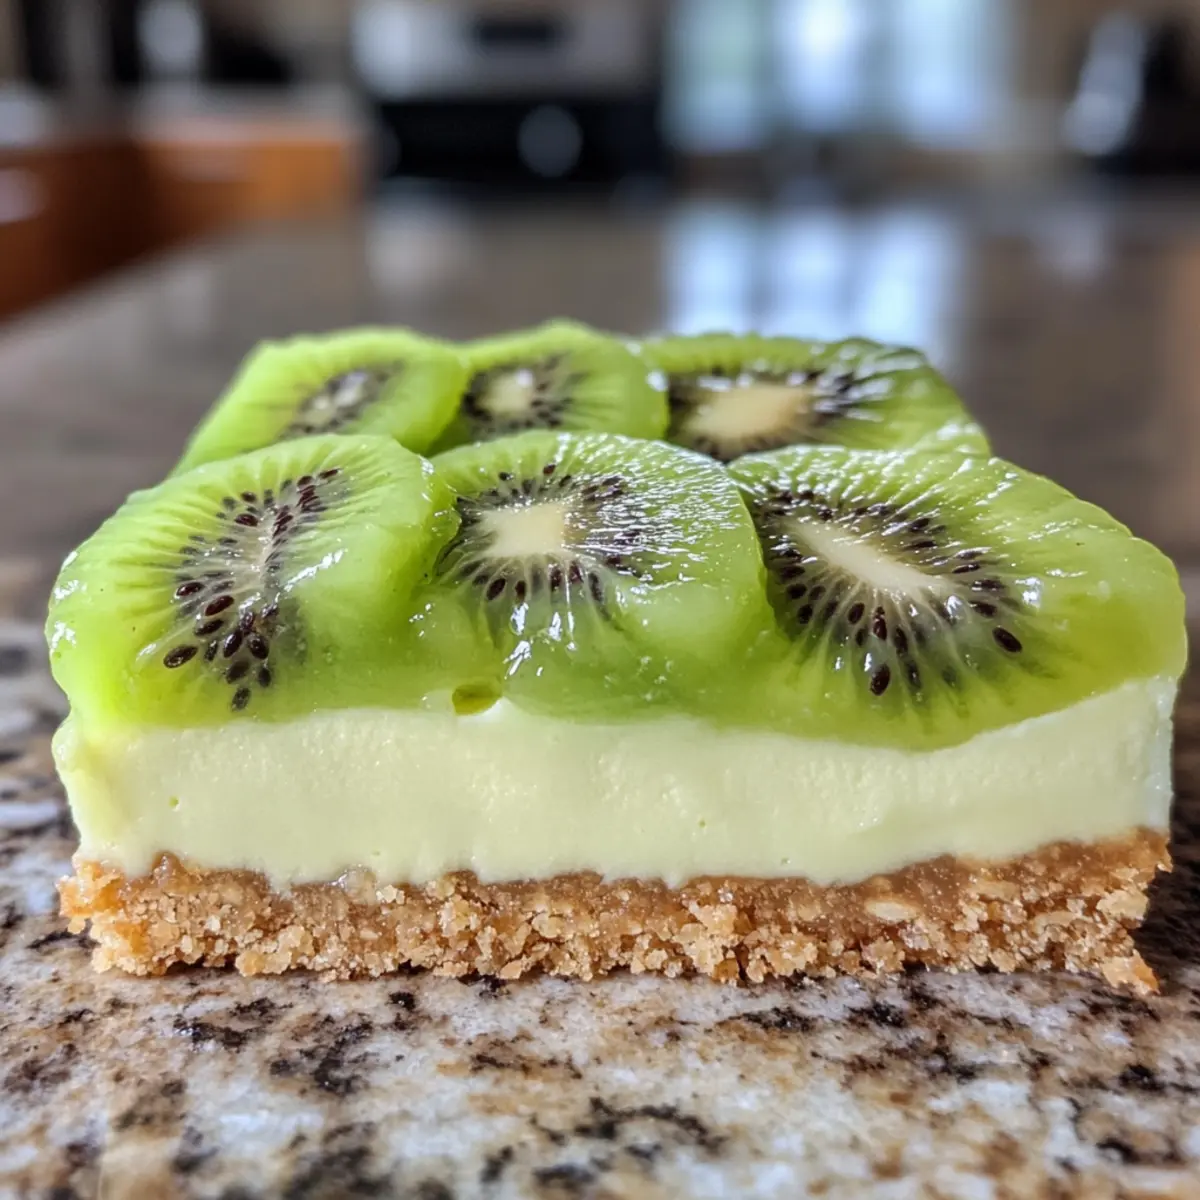
This combination of ingredients perfectly creates those delightful Kiwi Bars that will brighten your summer days!
Step‑by‑Step Instructions for Kiwi Bars
Step 1: Preheat Oven
Begin by preheating your oven to 350°F (175°C). While the oven warms up, prepare an 8×8-inch baking pan by lining it with parchment paper, allowing some overhang for easy removal later. This will ensure your Kiwi Bars pull out cleanly, making for a beautiful presentation.
Step 2: Make the Crust
In a mixing bowl, combine graham cracker crumbs with melted butter until evenly moistened. Press this mixture firmly into the bottom of the prepared pan, creating an even layer. Aim for a slightly compact base to ensure the crust holds together once baked, and set aside to focus on the filling.
Step 3: Prepare Filling
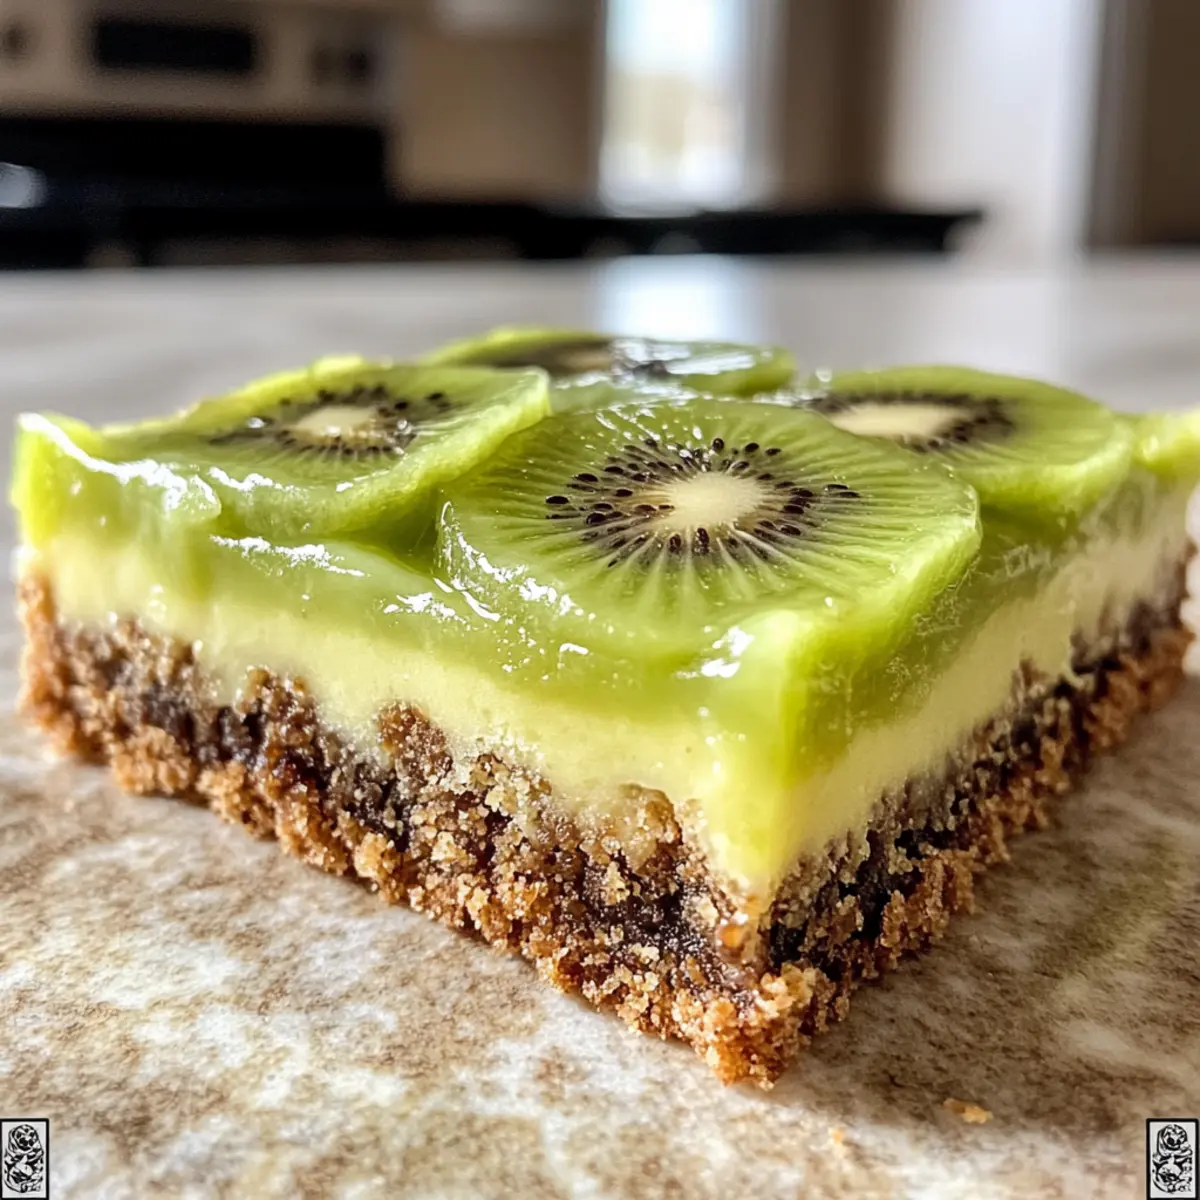
Take the ripe kiwis and mash them using a fork or a potato masher, achieving a smooth consistency. In a clean bowl, mix the mashed kiwis with sugar, freshly squeezed lemon juice, cornstarch, and eggs until well combined. The filling should have a vibrant green color, reflecting the freshness of the kiwis, and be free of lumps.
Step 4: Bake
Carefully pour the kiwi filling over the prepared crust, spreading it evenly with a spatula. Place the pan into the preheated oven and bake for 25-30 minutes. You’ll know it’s ready when the edges appear lightly golden and the filling has set, with a slight jiggle in the center.
Step 5: Cool
Once baked, remove the pan from the oven and allow the Kiwi Bars to cool inside the pan. Let them sit at room temperature until completely cool—this step is crucial for ensuring the bars hold their shape when cut later. Patience here pays off with a beautiful presentation!
Step 6: Serve
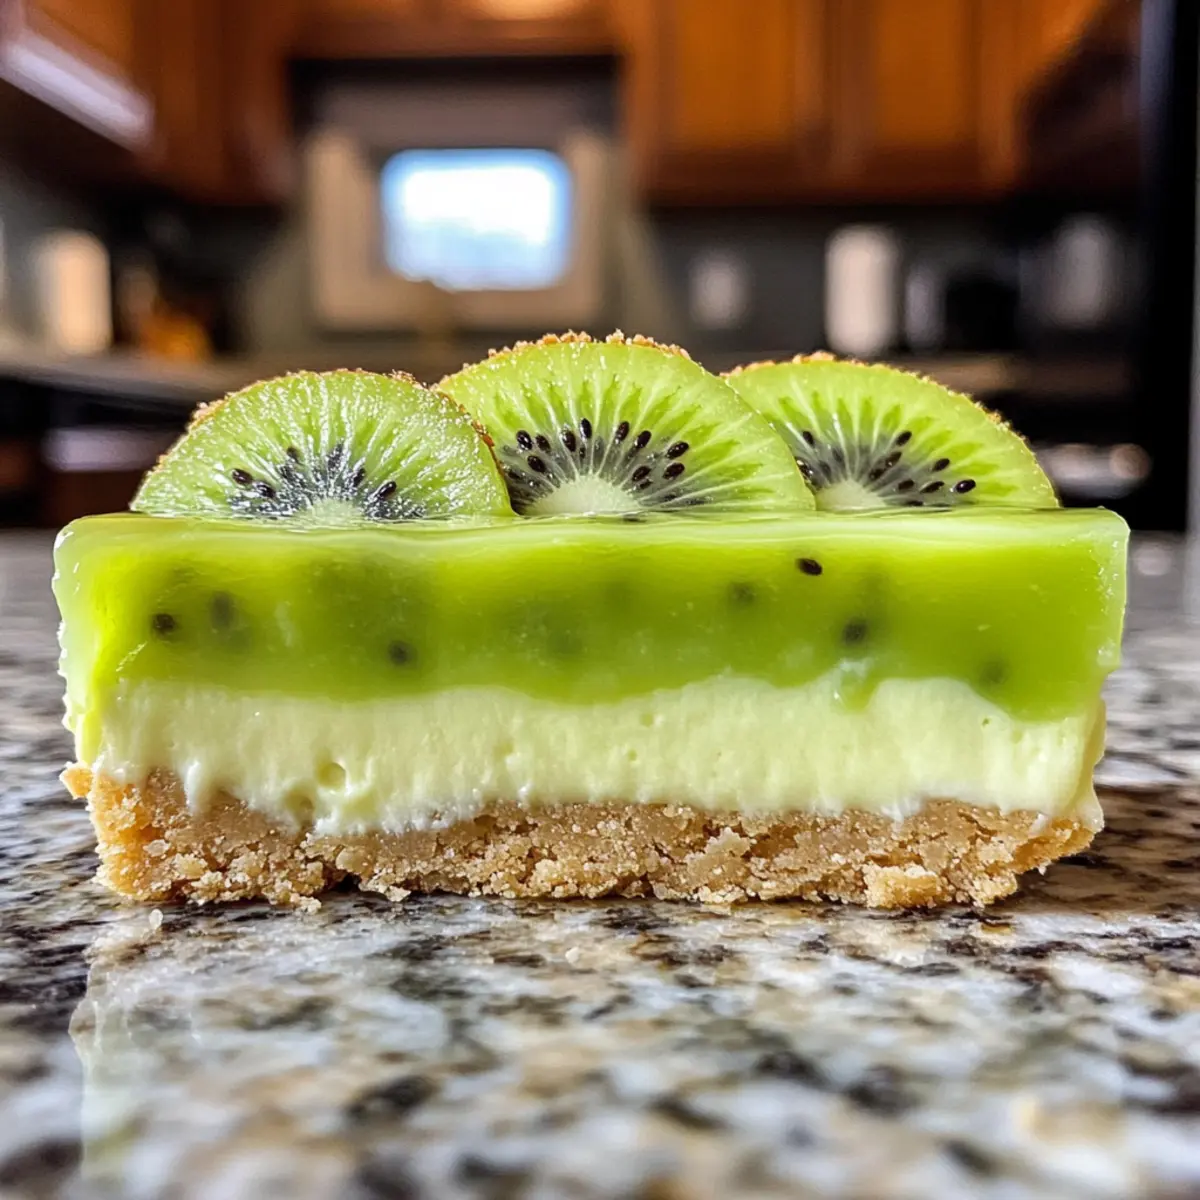
When cool, gently lift the bars out of the pan using the parchment overhang and place them on a cutting board. Slice them into squares, and if desired, top with a dollop of whipped cream or a sprinkle of fresh fruit. Serve chilled or at room temperature to enjoy the delightful flavors of these Kiwi Bars!
How to Store and Freeze Kiwi Bars
Fridge: Store your Kiwi Bars in an airtight container for up to 5 days; they’ll stay fresh and delicious, making them a perfect make-ahead dessert.
Room Temperature: If you plan to enjoy them within 2 days, you can keep the bars at room temperature, but avoid direct sunlight to maintain their integrity.
Freezer: For longer storage, wrap the bars tightly in plastic wrap and place them in a freezer-safe container; they can be frozen for up to 2 months.
Reheating: When ready to enjoy, thaw them in the fridge for several hours or overnight; serve chilled for the best fruity flavor experience!
Kiwi Bars Variations & Substitutions
Feel free to unleash your creativity and tailor these delightful Kiwi Bars to suit your taste buds!
-
Fruit Swap: Substitute kiwis with strawberries, mangoes, or peaches for unique flavor profiles. Each fruit brings its sweetness and tang, transforming your dessert experience.
-
Vegan Friendly: For a dairy-free crust, use coconut oil instead of butter, and flax eggs in place of regular eggs. This option makes it accessible for everyone’s dietary needs.
-
Gluten-Free Crust: Opt for gluten-free graham cracker crumbs or crushed nuts like almonds for a satisfying crunch without gluten. A nut-based crust adds a deliciously rich flavor.
-
Citrus Zest: Add a teaspoon of lime or orange zest to the filling for an extra zing. The zest elevates the tropical vibe, giving your bars a refreshing twist.
-
Mint Infusion: Incorporate chopped fresh mint into the filling for a burst of freshness that complements the kiwis beautifully. It’s a lovely touch for those warm summer days.
-
Spicy Kick: Mix in a pinch of cayenne pepper or diced jalapeños for those who enjoy a savory-sweet contrast. This unexpected blend might make your Kiwi Bars the talk of the party!
-
Nutty Crunch: Top your bars with crushed pistachios or macadamia nuts before serving for added texture and a nutty flavor that contrasts nicely with the creamy filling.
-
Creamy Topping: Instead of whipped cream, use coconut whipped cream for a tropical twist. Its subtle sweetness and lightness pair perfectly with the fruity bars.
If you’re looking for more ideas, don’t forget to check out our guide on substitutions for desserts to keep your baking adventurous!
Tips for the Best Kiwi Bars
Ripe Kiwis: Use only ripe kiwis for the perfect balance of sweetness and tartness; underripe fruits will result in a less flavorful filling.
Monitor Baking: Keep an eye on the baking time; the edges of the filling should be golden brown to ensure your Kiwi Bars are perfectly cooked without being too soggy.
Cooling Is Key: Allow the bars to cool completely in the pan to retain their shape when cut; skipping this step could lead to messy squares.
Experiment with Fruits: Don’t hesitate to try different fruits; swapping kiwis with strawberries or mangoes will bring delightful new flavors to your Kiwi Bars.
Flax Egg Substitute: For a vegan version, remember to use flax eggs instead of traditional eggs—this keeps the essence deliciously light and friendly for all diets!
Make Ahead Options
These delicious Kiwi Bars are a fantastic option for busy cooks looking to save time! To prep ahead, you can make the crust up to 24 hours in advance—just tightly cover it with plastic wrap and keep it at room temperature. The filling can also be prepared up to 3 days ahead; simply store it in an airtight container in the refrigerator to maintain freshness. When you’re ready to bake, pour the filling over the prepared crust, bake as directed, and allow it to cool completely before cutting. This way, you’ll enjoy all the vibrant flavors of the Kiwi Bars without the last-minute rush, making your dessert prep a breeze!
What to Serve with Irresistible Kiwi Bars
Brighten your dessert table with delightful pairings that elevate the tropical goodness of these creamy bars.
-
Fresh Berries: Juicy strawberries or blueberries complement the tangy kiwis, adding bursts of flavor and a visual pop to your plate.
-
Coconut Sorbet: This light and refreshing treat adds a creamy texture that pairs perfectly with the fruity richness of kiwi bars.
-
Minted Fruit Salad: A colorful mix of pineapple, kiwi, and mint creates a fresh palate cleanser that highlights the bars’ tropical notes.
-
Lemonade Spritzers: Bright, zesty drinks bring a refreshing contrast and enhance the sweetness of the kiwi bars, perfect for summer gatherings.
-
Whipped Cream: A dollop of lightly sweetened whipped cream adds a luxurious finish, balancing the tartness of the filling beautifully.
-
Chilled Prosecco: Complement your dessert with a bubbly drink that offers lightness and acidity, perfectly enhancing the fruity flavors of the kiwi bars.
Indulging in these pairings will transform your Kiwi Bars into a memorable feast that whispers of summer while delivering delightful taste contrasts!
Kiwi Bars Recipe FAQs
How do I choose ripe kiwis for my Kiwi Bars?
Absolutely! Look for kiwis that are slightly soft to the touch, indicating ripeness. They should have a vibrant green color without any dark spots or wrinkles. If you want a little extra sweetness, choose ones that have a strong, sweet aroma.
What is the best way to store Kiwi Bars?
Very good question! Keep your Kiwi Bars in an airtight container in the fridge for up to 5 days. If you do not plan on enjoying them right away, they can stay fresh even at room temperature for up to 2 days—just ensure they are covered to avoid drying out.
Can I freeze Kiwi Bars for later use?
Absolutely! To freeze, wrap each bar tightly in plastic wrap and place them in a freezer-safe container. They can be frozen for up to 2 months. When you’re ready to enjoy, simply thaw them in the refrigerator for several hours or overnight.
What if my Kiwi Bars are too runny after baking?
If your filling doesn’t set and feels too runny, it’s likely due to not baking long enough. Make sure to check for a light golden edge and a slight jiggle in the center. If you have undercooked them, you can pop them back in the oven for an additional 5-10 minutes until set.
Are there any dietary considerations I should keep in mind with Kiwi Bars?
Indeed! For a vegan version, substitute regular eggs with flax eggs (1 tablespoon of ground flaxseed mixed with 2.5 tablespoons of water per egg, let it sit until gelled). If you have allergies or are making these for kids, ensure all ingredients, like the graham cracker crumbs, are gluten-free and dairy-free where needed.
Can I use other fruits instead of kiwis in this recipe?
Very much so! Feel free to experiment with different fruits like strawberries, mangoes, or peaches. Just keep in mind that some fruits may require slight adjustments in sugar or baking time to achieve the same delightful results as the kiwi filling.
Delicious Kiwi Bars That Brighten Your Summer Days
Ingredients
Equipment
Method
- Preheat your oven to 350°F (175°C) and prepare an 8×8-inch baking pan with parchment paper.
- Combine graham cracker crumbs with melted butter until evenly moistened and press into the bottom of the pan.
- Mash the ripe kiwis, then mix with sugar, lemon juice, cornstarch, and eggs until well combined.
- Pour the kiwi filling over the crust and bake for 25-30 minutes until golden and set.
- Allow the bars to cool in the pan completely before cutting into squares.
- Slice into squares and serve chilled or at room temperature, optionally topped with whipped cream or fresh fruit.
Leave a Reply