
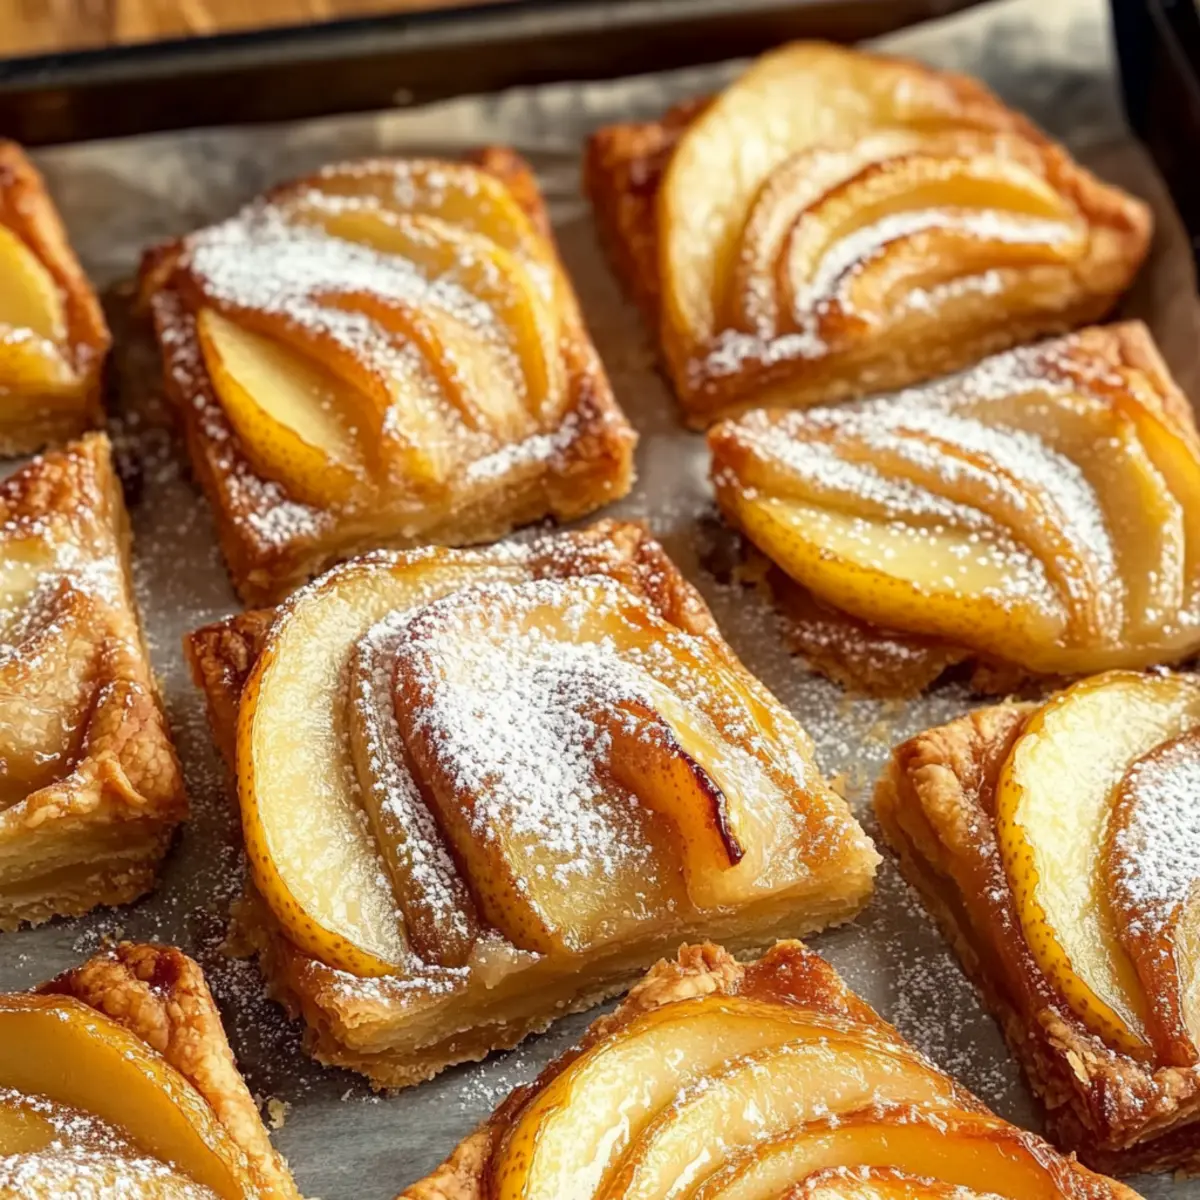
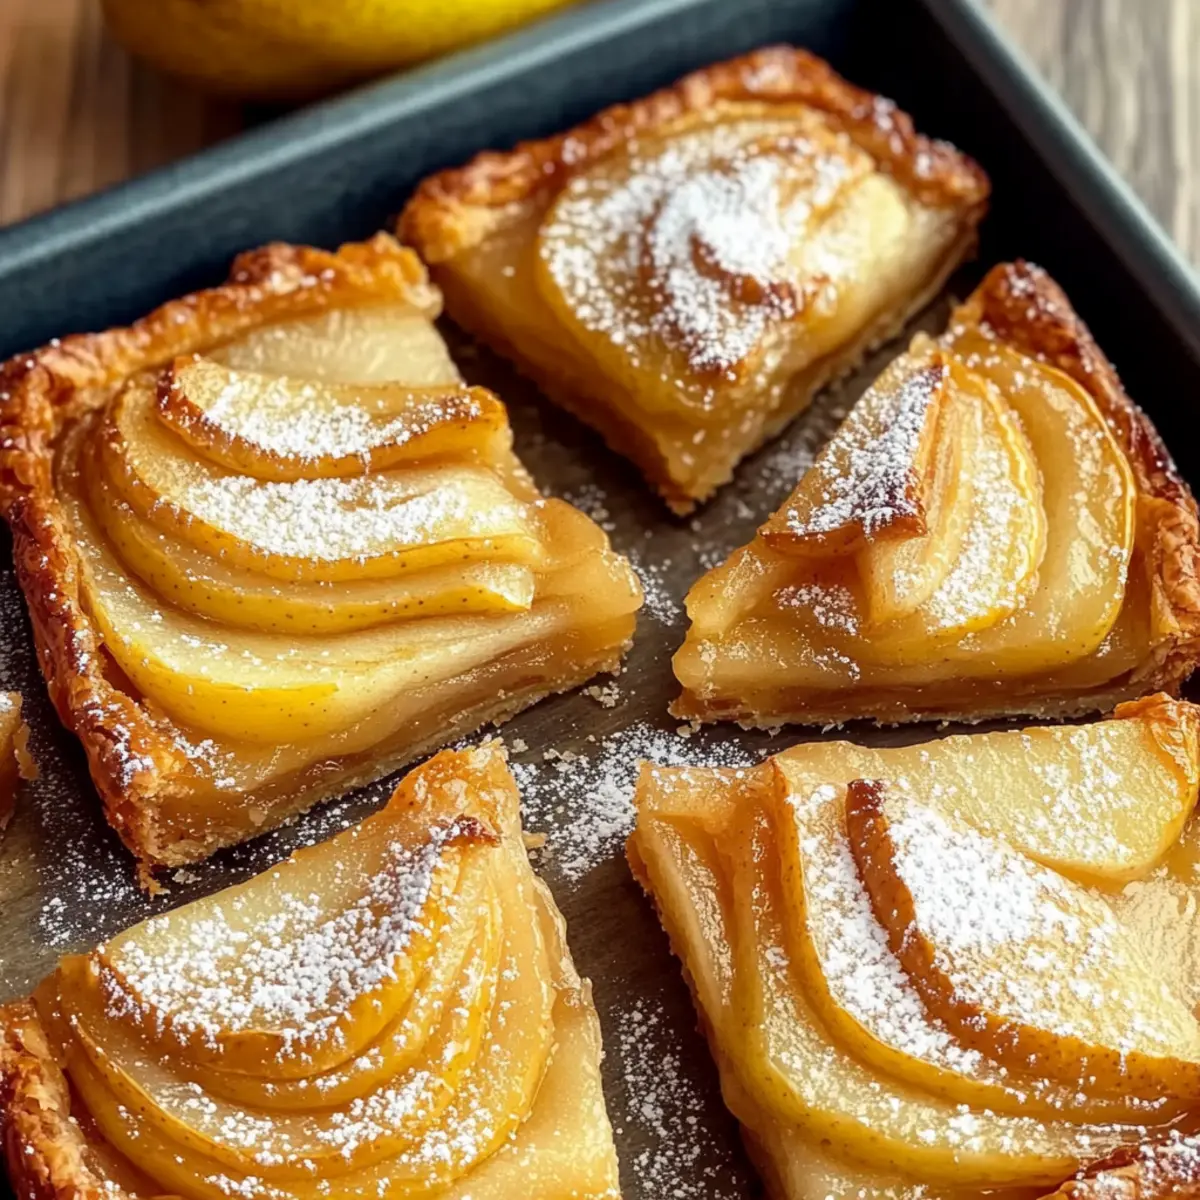
As I stood in my kitchen, a simple thought floated through my mind: “If only I had a dessert that was quick and delightful.” Enter the Quick Pear Tart—a gorgeous treat that transforms humble ingredients into a culinary masterpiece in just under 40 minutes. This scrumptious dessert boasts a golden, flaky puff pastry and perfectly caramelized pears, making it a standout for dinner parties or a cozy evening at home. Not only is it easy to whip up, but it also leaves room for creativity; you can enjoy it with vanilla ice cream or fresh whipped cream, elevating its charm even further. Who knew that something so delectable could be such a welcoming embrace for tired tastebuds? Are you ready to fill your kitchen with the warmth of this delightful pear tart?
Why is this pear tart so irresistible?
Simplicity at its finest: With just a handful of ingredients and under 40 minutes of prep time, whipping up this elegant dessert is a breeze. Flaky texture: The puff pastry provides a delightful crunch that beautifully contrasts with the soft, caramelized pears. Versatile and customizable: Try swapping pears for apples or cherries, or even adding a sprinkle of nutmeg for an extra twist. Perfect for any occasion: Whether it’s a cozy weeknight dinner or an impressive dinner party dish, this tart is guaranteed to impress. For an indulgent touch, serve it warm with a scoop of vanilla ice cream or drizzled caramel. Love tart desserts? Don’t miss checking out my delightful Nutella Tart Toasted or the savory Caramelized Onion Tart for even more culinary inspiration!
Pear Tart Ingredients
Here’s everything you need to whip up a delightful pear tart!
For the Tart Base
- Puff Pastry – Provides the flaky base of the tart; can be substituted with shortcrust or pâte sucrée if preferred.
For the Filling
- Pears (3, sliced) – The main feature for sweetness and flavor; ripe pears work best, but you can swap them out for apples or peaches for a refreshing twist.
- Butter (2 tbsp, melted) – Adds richness and helps the sugar caramelize beautifully for that enticing golden hue.
- Sugar (3 tbsp) – Sweetens the tart; consider using brown sugar for a deeper, more complex flavor profile.
- Cinnamon (1 tsp) – Introduces warm, inviting spice notes; feel free to experiment with nutmeg for a unique flavor twist.
- Lemon Juice (1 tsp) – Balances the flavors and keeps the pears from browning too quickly.
For the Glaze
- Apricot Jam (1 tbsp, optional) – Glazes the tart for a shiny finish and an extra touch of sweetness; other fruit jams can work in a pinch too.
- Powdered Sugar (for dusting) – An optional finishing touch for aesthetic appeal, making your dessert even more tempting.
This pear tart is not just another dessert; it’s a warm invitation to indulge in something sweet and homemade!
Step‑by‑Step Instructions for Quick Pear Tart
Step 1: Preheat and Prepare
Begin by preheating your oven to 400°F (200°C). While the oven warms up, take a sheet of puff pastry and roll it out to fit a tart pan. Gently prick the bottom with a fork to prevent bubbling during baking. This flaky pastry will serve as the perfect base for your delightful pear tart, ensuring it cooks evenly and crisps up beautifully.
Step 2: Arrange the Pears
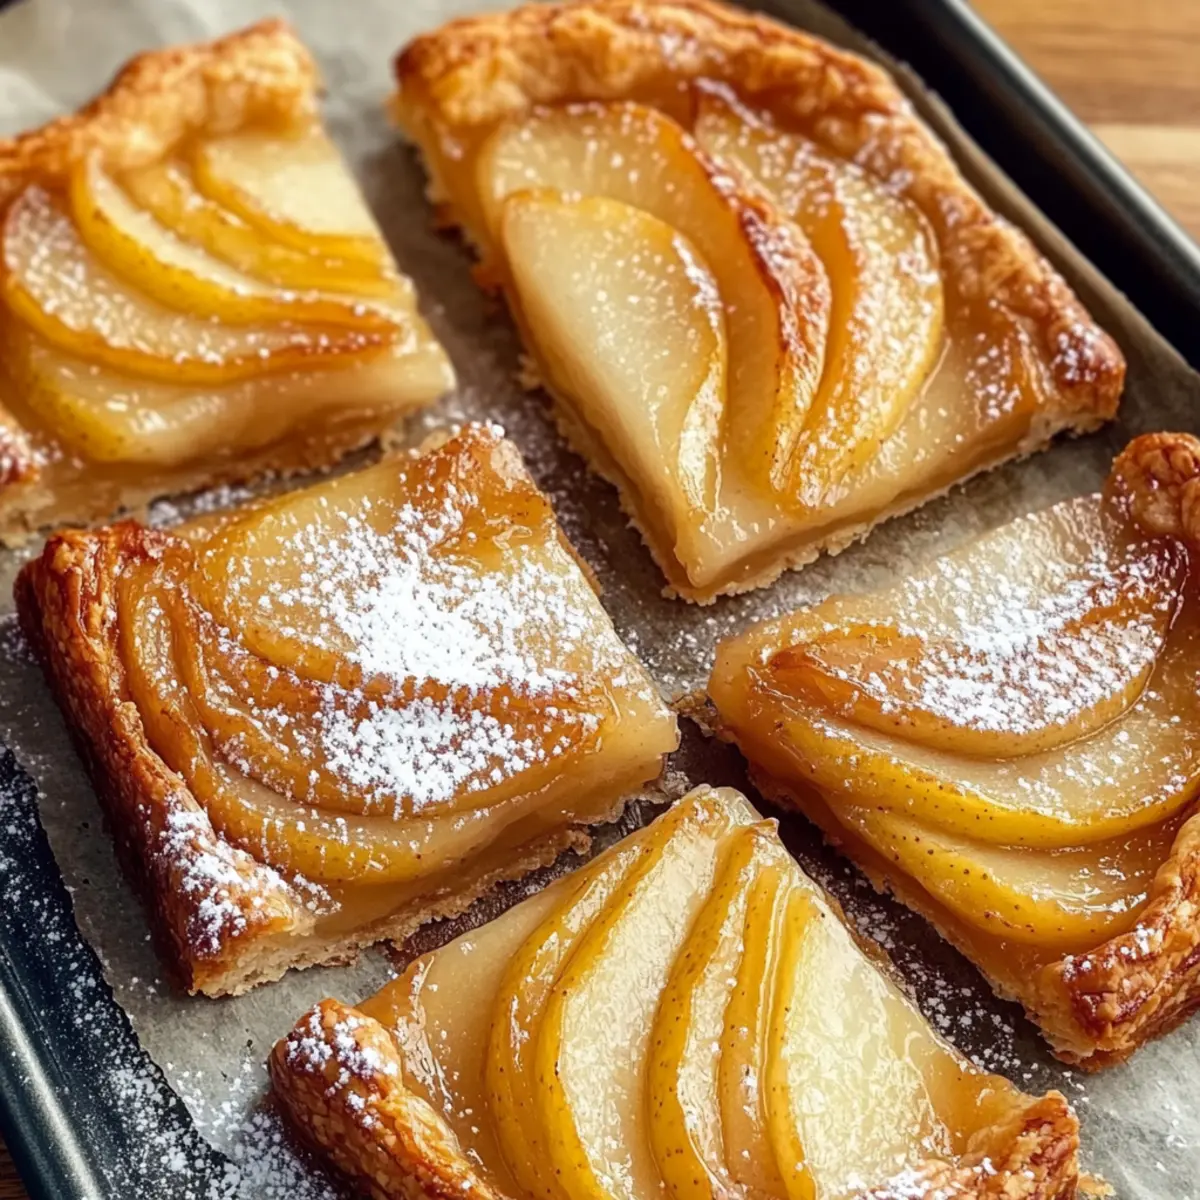
Once the puff pastry is in the tart pan, proceed to slice your ripe pears. Arrange the slices evenly over the pastry, creating a lovely layer that’s both visually appealing and delicious. Drizzle the melted butter over the pears, then sprinkle the sugar, cinnamon, and lemon juice evenly to enhance the flavors. The combination of these ingredients will create a sweet and aromatic filling.
Step 3: Bake the Tart
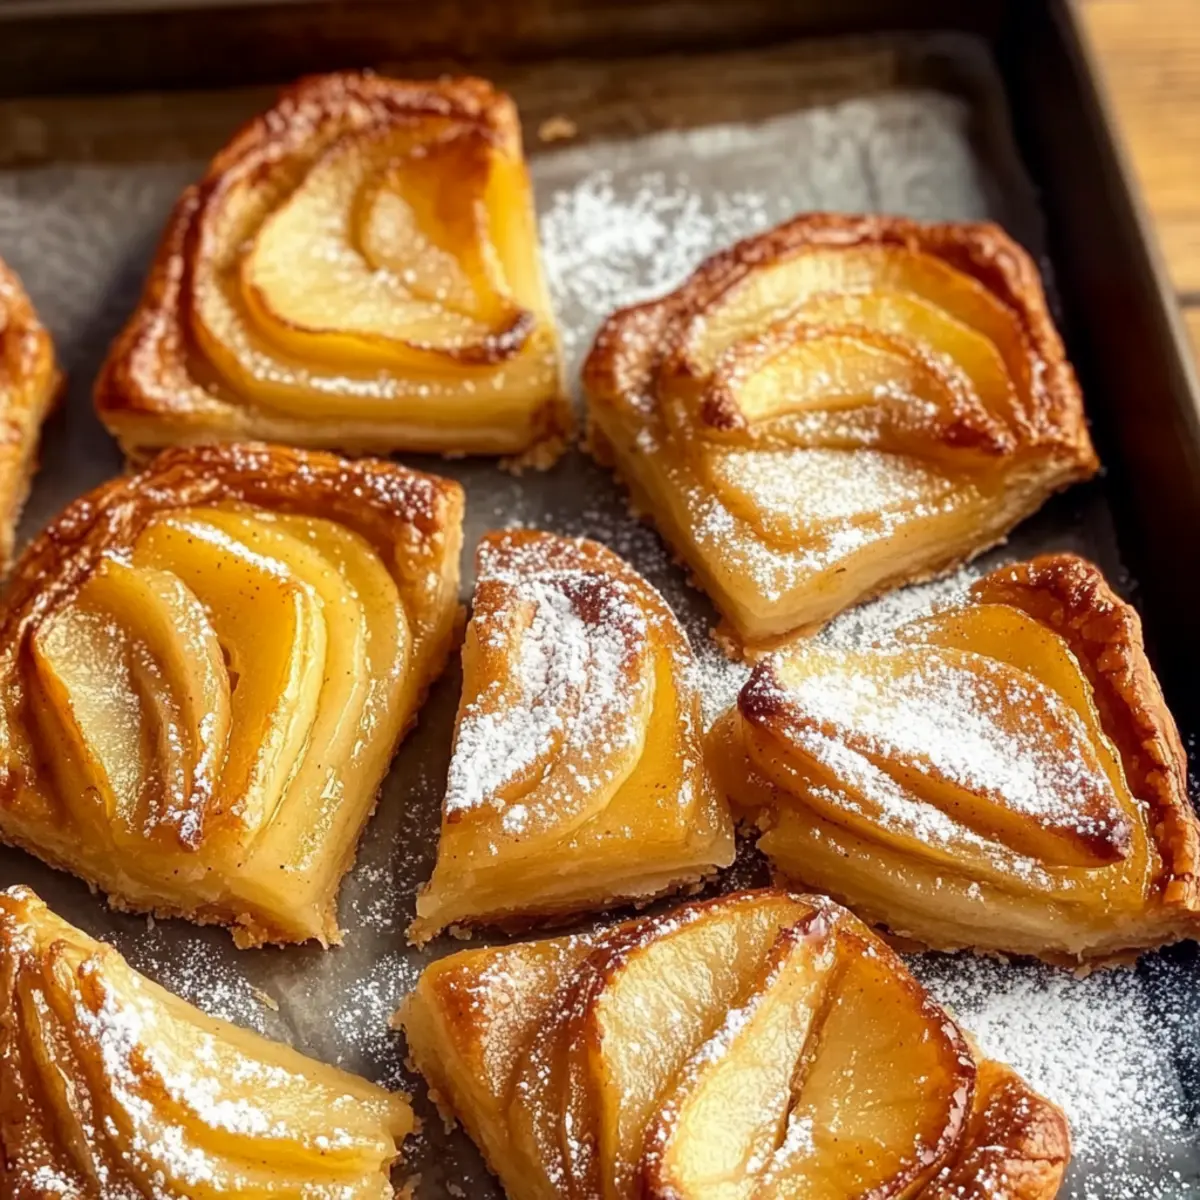
Place the tart in the preheated oven and bake for about 25 to 30 minutes. Keep an eye on it—you’re looking for a golden-brown color on the pastry and a bubbling appearance from the filling. When done, the edges should be crispy, and the pears should be tender and fragrant, filling your kitchen with an inviting scent.
Step 4: Glaze for Shine
For that extra touch, melt the apricot jam with a teaspoon of water in a small saucepan over low heat. As soon as your pear tart is out of the oven, brush this glaze over the warm tart to add a beautiful glossy finish. This optional step not only enhances the appearance but adds a hint of sweetness, making your pear tart utterly irresistible.
Step 5: Cool and Dust
Allow your quick pear tart to cool slightly at room temperature for about 10 minutes. Before serving, dust the top with powdered sugar for a lovely finishing touch. This adds an eye-catching element and a bit more sweetness, ensuring your tart looks as good as it tastes. Slice into generous pieces and enjoy the delightful contrast of flavors and textures!
Make Ahead Options
These Quick Pear Tarts are perfect for meal prep, allowing you to savor the deliciousness without the last-minute rush! You can prepare the tart up to 24 hours in advance by assembling it completely and refrigerating it before baking. Simply roll out the puff pastry, arrange your sliced pears with melted butter, sugar, cinnamon, and lemon juice, then cover and store it in the fridge. When you’re ready to enjoy, bake the tart directly from the fridge for about 30 minutes until golden. This method ensures the pastry remains flaky while the pears stay tender and flavorful, providing restaurant-quality results with minimal effort!
Pear Tart: Delightful Variations
Feel free to unleash your creativity and customize this delightful pear tart to suit your taste buds!
- Apple Twist: Substitute pears with equally sweet apples, such as Honeycrisp, for a crunchy alternative. The tart apple flavor adds a refreshing zing!
- Berry Bliss: Use a mix of blackberries, raspberries, or blueberries for a vibrant, juicy filling that bursts with flavor and color—not to mention, it’s a delightful visual treat.
- Peachy Alternative: Replace pears with ripe peaches for a summer-inspired twist. The sweet and fragrant peaches will infuse the tart with a whole new world of juicy goodness.
- Spice it Up: Instead of the usual cinnamon, try nutmeg or even a hint of ginger for a warming kick. These spices create a cozy aroma that envelops your kitchen.
- Dairy-Free Option: Swap out the butter for coconut oil or a dairy-free margarine to make it suitable for a dairy-free diet without compromising its lovely texture.
- Chocolate Drizzle: For chocolate lovers, add a rich chocolate ganache drizzle on top after cooling to infuse a decadent twist. Imagine the luscious mix of chocolate and pear!
- Nutty Crunch: Sprinkle crushed walnuts or pecans on top before baking. This adds a delightful crunch and nutty flavor that contrasts beautifully with soft fruit.
- Caramel Drizzle: Swap the glaze with homemade caramel sauce for a sweet, gooey finish. This sweet addition makes each slice even more indulgent!
As you explore these options, don’t forget to check out my scrumptious Pumpkin Smores Tart for another warm dessert, or indulge in the velvety goodness of my White Chocolate Cranberry Tart. Each suggestion invites new flavor sensations that make home cooking such a warm and delightful adventure!
How to Store and Freeze Pear Tart
Fridge: Store any leftover pear tart in an airtight container in the refrigerator for up to 2 days. This helps maintain its flaky texture and prevents it from drying out.
Freezer: If you wish to freeze the tart, wrap it tightly in plastic wrap and aluminum foil before placing it in the freezer. It can be stored for up to 3 months.
Reheating: To enjoy your pear tart after freezing, let it thaw in the fridge overnight. Reheat in a preheated oven at 350°F (175°C) for about 15–20 minutes to restore its crispiness and warmth.
Serving Reminder: For the best experience, the pear tart is best enjoyed fresh. However, knowing you can enjoy leftovers later is always a comforting thought!
What to Serve with Quick Pear Tart
Imagine the sweet aroma of freshly baked pears mingling with warm spices, perfectly harmonizing with delightful accompaniments to create an unforgettable meal.
-
Vanilla Ice Cream: The creamy, cold texture beautifully balances the warm, caramelized tart, creating a comforting dessert experience.
Serve it generously on the side for a delectable contrast that will leave your taste buds dancing. -
Whipped Cream: Light and airy, this topping adds a luxurious feel to every slice of pear tart.
A simple dollop elevates the dish without overshadowing its natural sweetness. -
Caramel Sauce: Drizzle this rich treat over your slice for an indulgent touch.
The buttery flavors of caramel enhance the sweetness of the pears, making for an irresistible combination. -
Coffee or Espresso: The robust flavors of a hot beverage provide a delightful contrast to the sweet tart.
Sipping on coffee while enjoying your dessert creates a cozy atmosphere perfect for winding down. -
Fresh Mint Leaves: These fragrant herbs serve as a bright garnish, adding a fresh note to the dish.
Their vibrant green color also makes your pear tart visually stunning—they’re perfect for impressing guests! -
Savory Cheese (like Brie or Goat Cheese): A creamy cheese offers a deliciously contrasting flavor profile to the sweet tart.
Pairing cheese with fruit is a classic combination that tantalizes the taste buds and rounds out your meal. -
Chardonnay or Riesling: These wines have fruity notes that complement the pear tart beautifully.
A chilled glass enhances the dessert while elevating your dining experience—perfect for an evening gathering! -
Chocolate Shavings: For an elegant finish, sprinkle dark chocolate shavings on top.
The bittersweet notes from the chocolate add depth and a touch of sophistication to the sweet dessert. -
Almond Biscotti: This crunchy treat adds a delightful crunch, perfectly complementing the flakiness of the tart.
Enjoy them as a side for dipping or as a little something to nibble with your dessert.
Each of these pairings enhances the deliciousness of the quick pear tart, inviting you to create a full and satisfying meal!
Expert Tips for Pear Tart
-
Choosing Pears: Select ripe, firm pears for the best flavor and texture. Overripe pears may turn mushy during baking, disrupting the tart’s structure.
-
Prevent Sogginess: Ensure that the puff pastry is well-pricked before adding the filling. This allows steam to escape and keeps the crust crispy throughout the baking process.
-
Customize Flavor: Don’t hesitate to substitute spices! While cinnamon is classic, experimenting with ginger or cardamom can give your pear tart an exotic twist that’s sure to surprise and delight.
-
Serving Suggestion: For a lavish experience, serve slices warm with a scoop of vanilla ice cream. The creamy addition perfectly complements the tart’s sweet, fruity notes.
-
Make Ahead: Bake the tart a day in advance and reheat before serving. This saves you time on special occasions and allows the flavors to meld wonderfully overnight.
Quick Pear Tart Recipe FAQs
What type of pears are best for this quick pear tart?
Ripe, firm pears are ideal for this tart. Look for varieties like Bosc or Anjou that are slightly soft to the touch but not overly mushy. This ensures a delightful sweetness without compromising texture during baking. If you prefer, you can also experiment with apples or peaches for a fun twist!
How should I store leftovers of the pear tart?
Any leftover pear tart can be stored in an airtight container in the refrigerator for up to 2 days. Make sure it’s fully cooled before storing to retain its flaky texture. When ready to enjoy, you can simply eat it cold, or reheat it in the oven at 350°F (175°C) for about 10 minutes for that freshly-baked experience.
Can I freeze the pear tart, and if so, how?
Absolutely! To freeze your pear tart, wrap it tightly in plastic wrap, followed by a layer of aluminum foil to prevent freezer burn. This way, it can stay fresh for up to 3 months. When you’re ready to enjoy it again, thaw it in the refrigerator overnight and reheat in a preheated oven at 350°F (175°C) for about 15–20 minutes for the best texture.
What should I do if my tart crust is soggy?
If your tart crust turns out soggy, check a few things for next time. Ensure you prick the bottom of the puff pastry well before adding the filling; this allows steam to escape. Additionally, avoid overloading the tart with juicy fruit. For the perfect crispiness, you can also pre-bake the crust for 10 minutes before adding your pears.
Is this quick pear tart suitable for a vegetarian diet?
Yes, this recipe is entirely vegetarian-friendly! However, if you or someone you’re serving has specific dietary restrictions, you can easily adapt it by using a vegan pastry or ensuring that your sugar is free from bone char. Enjoying desserts that align with dietary preferences is a lovely way to bring people together!
Homemade Pear Tart: Quick, Easy, and Simply Irresistible
Ingredients
Equipment
Method
- Preheat your oven to 400°F (200°C). Roll out the puff pastry to fit the tart pan and prick the bottom with a fork.
- Arrange the sliced pears evenly over the pastry. Drizzle melted butter, then sprinkle sugar, cinnamon, and lemon juice.
- Bake for 25 to 30 minutes until golden brown and bubbling.
- Melt apricot jam with a teaspoon of water and brush over the tart for glaze.
- Cool slightly at room temperature for about 10 minutes. Dust with powdered sugar before serving.
Leave a Reply