
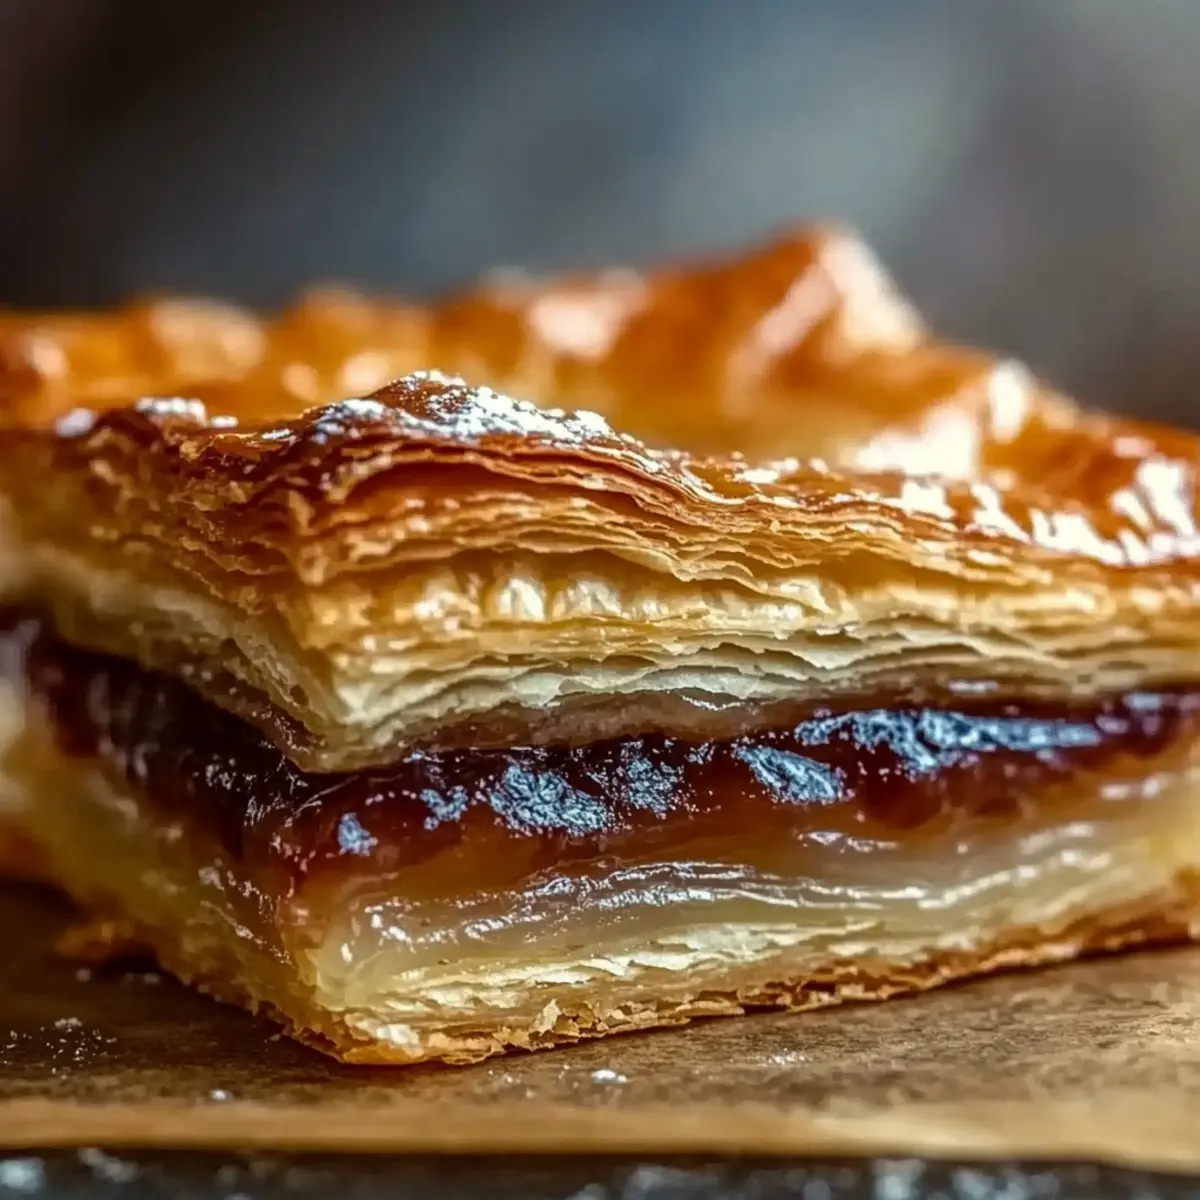
As I rolled out my dough one afternoon, a little excitement danced in the air—this wasn’t just any pastry; it was a gluten-free puff pastry brimming with potential! This recipe is a game-changer, allowing you to create flaky tarts and pies that will impress even the most discerning palates. The beauty of this gluten-free puff pastry lies not only in its delightful texture but also in its simplicity. With just a handful of ingredients, you can whip it up in no time, making it an ideal choice for spontaneous baking adventures. Plus, it stores beautifully in the fridge or freezer, ready to elevate those homemade desserts whenever inspiration strikes. Are you ready to delve into the world of flaky goodness that leaves gluten behind?
Why Choose Gluten-Free Puff Pastry?
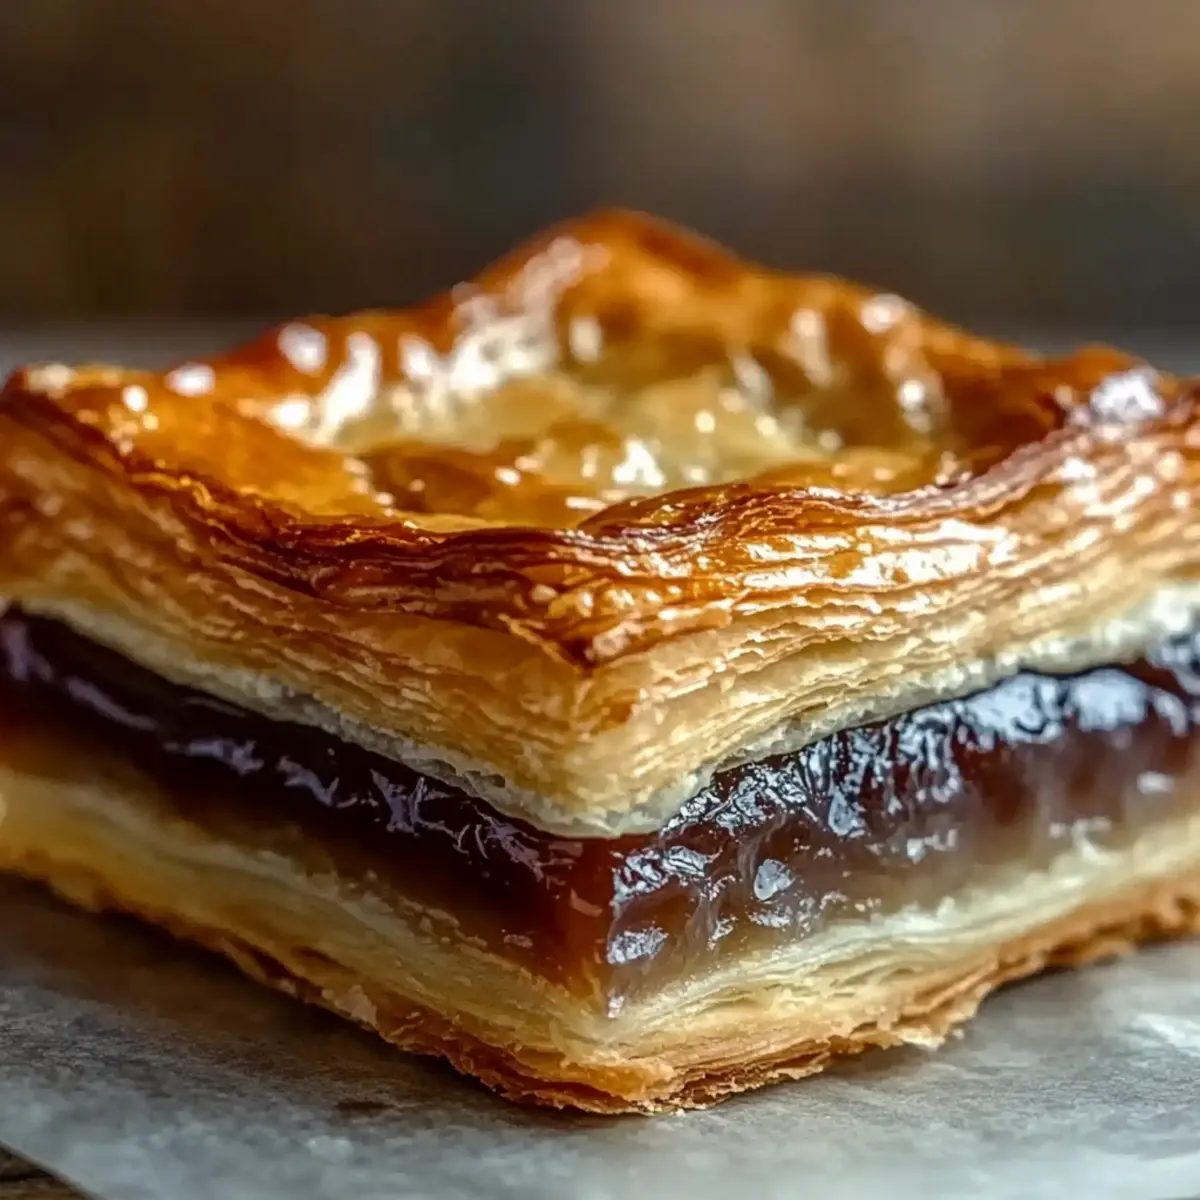
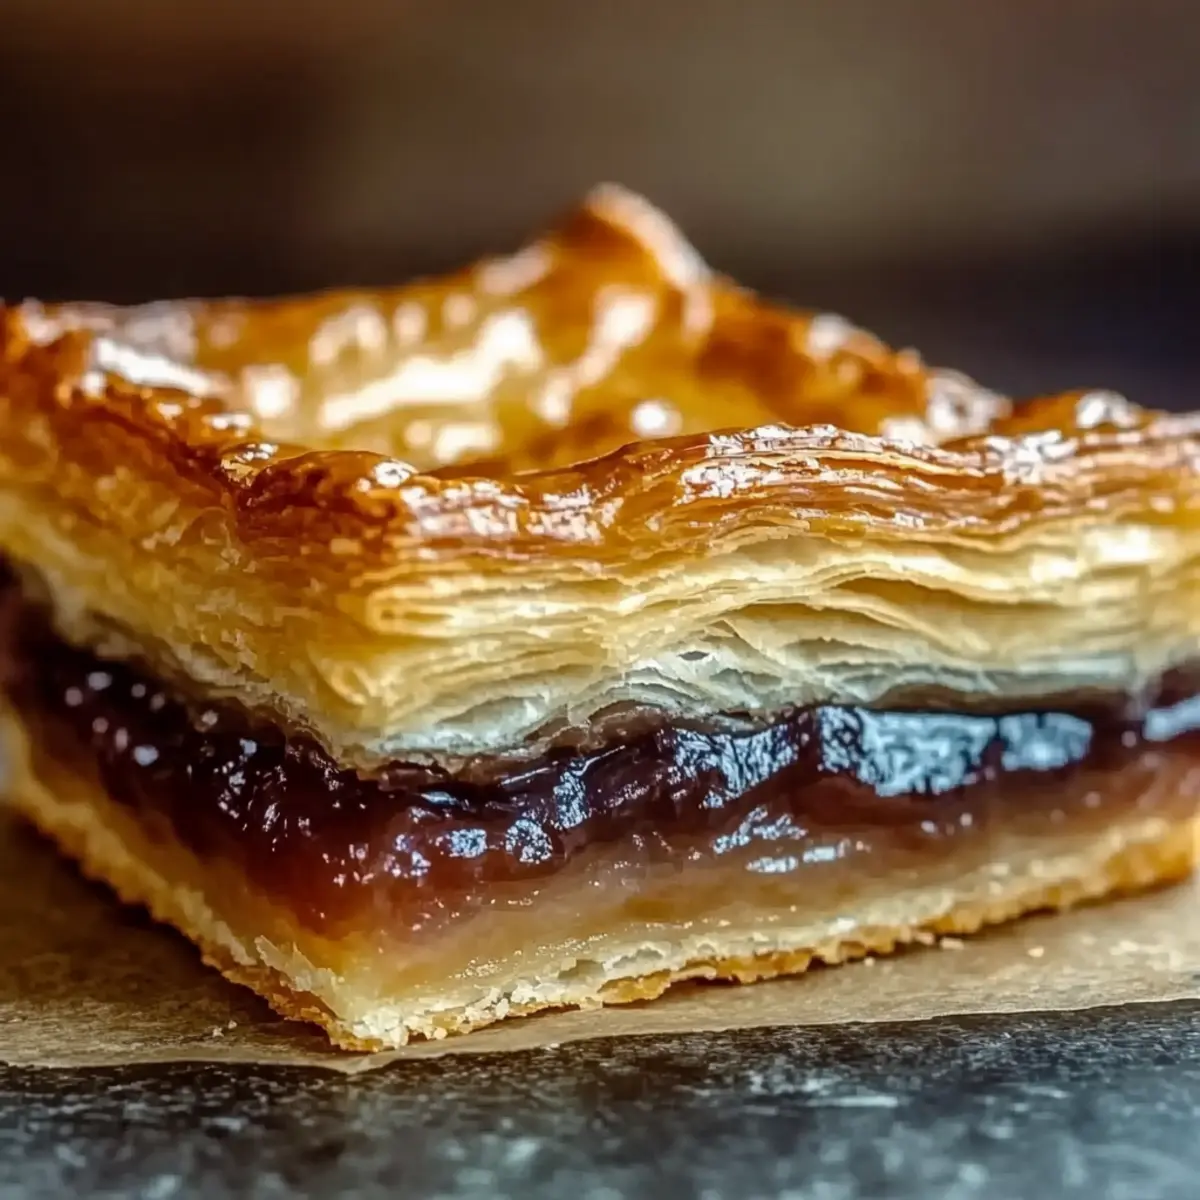
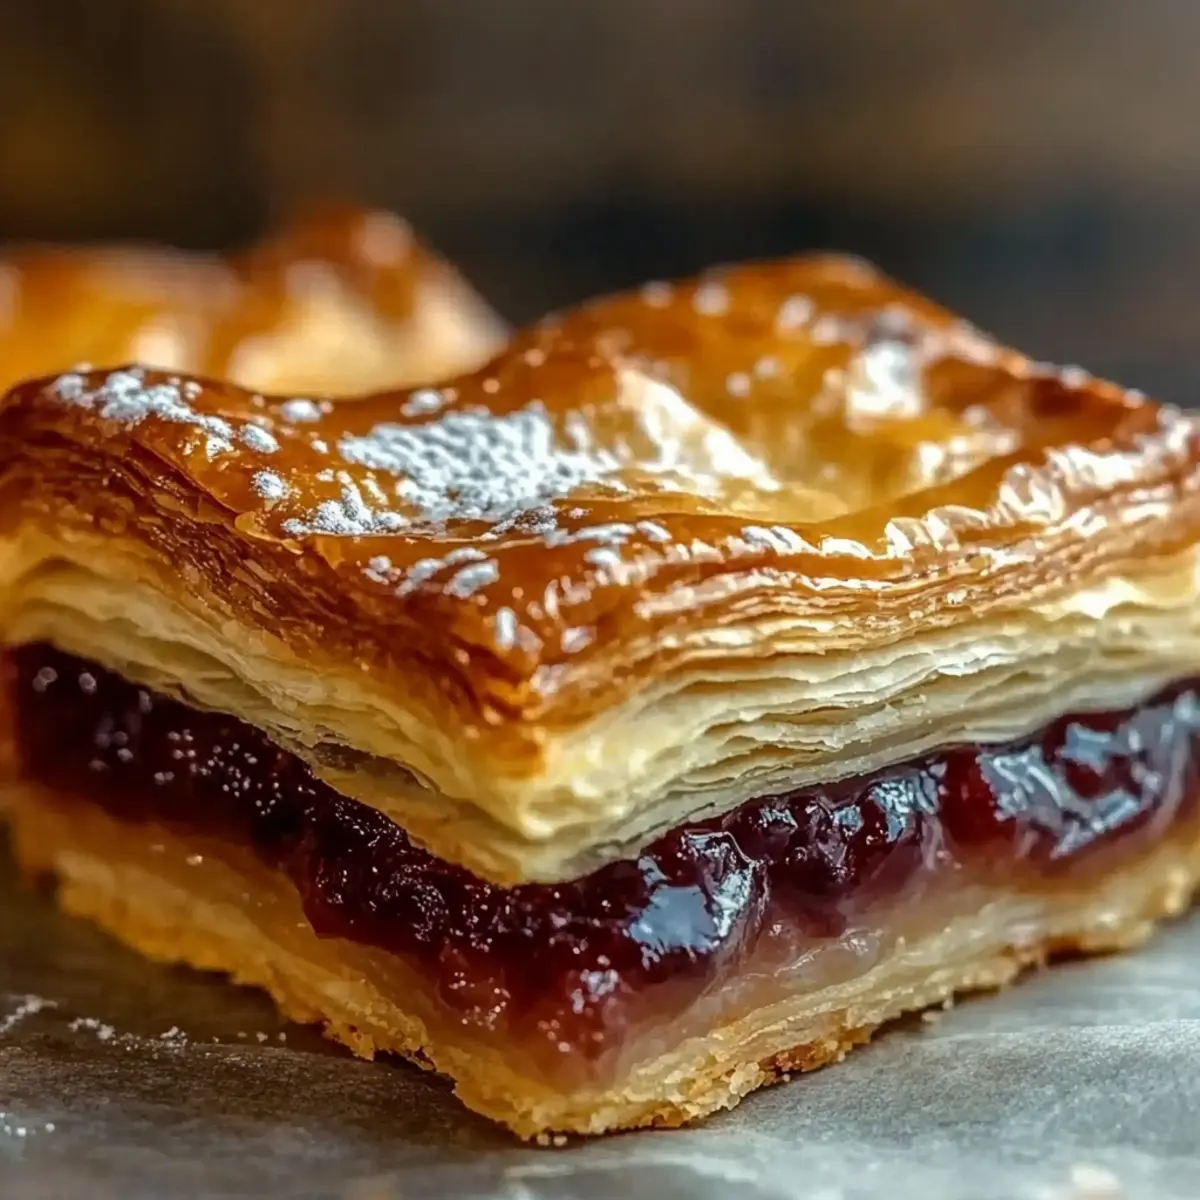
Flaky Perfection: This recipe delivers a light, flaky texture that’s often hard to find in gluten-free options.
No Fuss: With just a few basic ingredients and easy steps, you’ll create amazing pastry without the stress.
Versatile Base: Use it for both sweet and savory dishes—think tarts bursting with seasonal fruits or rich, creamy quiches!
Make-Ahead Convenience: Prepare and freeze a batch for quick desserts later on. You’ll always be ready for unexpected guests or late-night cravings.
Crowd-Pleasing Delights: Impress friends and family with beautiful tarts and pies that everyone can enjoy, regardless of dietary restrictions.
Don’t forget to check out my Puff Pastry Pesto recipe for a savory twist!
Gluten Free Puff Pastry Ingredients
For the Pastry
• Gluten Free All-Purpose Flour Blend – This is the main structure-building ingredient that replaces traditional flour for a perfect texture.
• Xanthan Gum – Enhances elasticity and structure; if it’s already included in your flour blend, you can skip this.
• Salt – A crucial ingredient that balances flavors and elevates the taste of the pastry.
• Granulated Sugar – Adds a subtle sweetness that complements both sweet and savory tarts beautifully.
• Unsalted Butter – Provides that rich, flaky texture; ensure the butter is very cold and cubed for best results.
• Ice Water – This is essential for binding the dough while keeping it cold, ensuring a tender pastry.
• Lemon Juice – Adds just the right amount of acidity for improved dough texture and flavor.
• Extra Gluten Free Flour – Use this for dusting during the rolling process to prevent sticking.
Ready to experience the magic of gluten free puff pastry? Let’s roll!
Step‑by‑Step Instructions for Light and Flaky Gluten Free Puff Pastry
Step 1: Mix Dry Ingredients
In a spacious mixing bowl, whisk together 2 cups of gluten-free all-purpose flour blend, 1 teaspoon of xanthan gum, 1 teaspoon of salt, and 1 tablespoon of granulated sugar. This combination creates the perfect foundation for your gluten free puff pastry. Ensure that it’s well combined to achieve uniform texture and flavor throughout the pastry.
Step 2: Incorporate Butter
Next, take 1 cup of very cold, cubed unsalted butter and cut it into the flour mixture using a pastry cutter or your fingertips. Work quickly until the mixture resembles coarse crumbs with pea-sized pieces of butter still visible. This step is crucial for achieving that desirable flaky texture. The cold butter creates air pockets as it melts, leading to the puffiness you want.
Step 3: Form the Dough
In a small bowl, combine 1/4 cup of ice water and 1 tablespoon of lemon juice, then drizzle this mixture into your flour and butter mixture. Stir gently until a shaggy dough forms; this should take just a few moments. Be careful not to overmix, as this can result in a denser pastry. If necessary, add a little more ice water, a tablespoon at a time.
Step 4: Shape and Roll
Transfer the shaggy dough onto a well-floured surface dusted with extra gluten free flour. Shape it into a rectangle, about 1/2 inch thick. Using a rolling pin, roll the dough out evenly, and then fold it into thirds like a letter to create layers. Repeat this rolling and folding process four more times, keeping the dough cold for optimal puffing in your final pastries.
Step 5: Chill
Once you’ve completed the rolling and folding, wrap the dough tightly in plastic wrap. Chill it in the refrigerator for at least 30 minutes. This chilling period helps the butter firm up and the gluten-free ingredients to bind, ensuring that your gluten free puff pastry will maintain its structure during baking.
Step 6: Bake
When you’re ready to use your chilled gluten free puff pastry, preheat your oven to 400°F (200°C). Roll out the dough to your desired thickness for tarts or pies. Follow specific baking instructions for your recipe, typically baking for 20-25 minutes until the pastry is beautifully golden brown and flaky. Keep an eye on it, as visual cues will guide you to that perfect, irresistible crust.
What to Serve with Light and Flaky Gluten Free Puff Pastry
Create a delightful meal with flavors and textures that will elevate your baking experience to a new level.
-
Savory Quiches: These rich and cheesy egg dishes are perfect for breakfast or brunch, complementing the buttery crispness of the pastry perfectly.
-
Fresh Mixed Greens Salad: A light salad with a zesty vinaigrette balances the richness of savory tarts, providing a refreshing contrast.
-
Seasonal Fruit Compote: Sweet, warm fruits like apples or berries bring a lovely natural sweetness, enhancing the overall experience of your pastries.
-
Chocolate Ganache: Drizzle this silky, rich chocolate over tarts, making a decadent dessert that celebrates the flaky layers of the pastry.
-
Herb-Infused Cream: A dollop of this creamy mixture can add a refreshing and aromatic element that lifts the flavors of your savory creations.
-
Crisp White Wine: A chilled glass of Sauvignon Blanc or Pinot Grigio pairs beautifully, cutting through the richness of buttery pastries while accentuating their buttery flavor.
-
Vanilla Ice Cream: Top off a fruity tart with a scoop of this classic staple for an indulgent dessert that contrasts beautifully with the flaky pastry.
-
Caramel Sauce: Drizzle warm caramel over a baked pastry for a sweet finishing touch that enhances its flavor and presentation.
-
Brewed Herbal Tea: Pair with a cup of tea to create a calming experience, allowing you to savor each flaky bite while enjoying a soothing drink.
How to Store and Freeze Gluten Free Puff Pastry
Fridge: Store wrapped tightly in plastic wrap for up to 2 days. This keeps the gluten free puff pastry fresh and ready for your next baking adventure.
Freezer: Freeze the wrapped dough for up to 1 month. Ensure it’s airtight to prevent freezer burn, and label it for easy identification.
Thawing: When ready to use, thaw in the fridge overnight or at room temperature for about an hour before rolling out. This restores the flaky texture you love.
Reheating: If you have leftovers of baked pastries, store them in an airtight container at room temperature for up to 2 days, then reheat in the oven at 350°F (175°C) for about 10 minutes to regain crispiness.
Make Ahead Options
These Gluten Free Puff Pastry options are a lifesaver for busy home cooks! You can prepare the dough up to 24 hours in advance; simply complete the first five steps before chilling. After rolling and folding, wrap the dough tightly in plastic wrap and refrigerate. If you’d like to store it longer, you can freeze the wrapped dough for up to one month—just remember to let it thaw in the fridge overnight before using. To maintain its flaky, buttery texture, avoid microwaving the dough if it hardens; simply allow it to sit at room temperature. When you’re ready to bake, follow the last step and enjoy a delicious, homemade treat without the last-minute rush!
Expert Tips for Gluten Free Puff Pastry
Cold Ingredients: Ensure your butter is extremely cold to achieve those perfect flaky layers. This makes a world of difference in texture!
Avoid Overmixing: When forming your dough, mix just until combined. Overmixing can lead to a denser, less flaky gluten free puff pastry.
Dusting Flour: Use extra gluten free flour liberally when rolling out the dough to prevent sticking. A well-dusted surface ensures smoother rolling!
Chill Time: Don’t skip the chilling step! It allows the dough to relax and helps maintain structure during baking for a more successful pastry.
Visual Cues: Watch your pastry closely while baking. Look for a golden color and puffiness as signs that it’s ready to come out of the oven!
Gluten Free Puff Pastry Variations
Feel free to get creative with this gluten-free puff pastry recipe to suit your taste and dietary needs!
-
Sweetened Dough: Increase the sugar for a sweeter pastry, perfect for dessert tarts or savory-sweet pies like apple.
Try adding spices like cinnamon or nutmeg to elevate the flavor; a twist that sweet tooths will adore! -
Citrus Zest: Incorporate lemon or orange zest into the dough for a refreshing flavor boost.
It brightens up the pastry, making it an extraordinary base for both fruit tarts and cream-filled delights. -
Herbed Pastry: Mix in finely chopped fresh herbs such as thyme or rosemary for a delightful savory touch.
This elevates savory tarts, pairing beautifully with rich cheeses and creamy fillings. -
Dairy-Free: Swap unsalted butter with a vegan butter substitute or coconut oil for a dairy-free version.
Ensure it’s cold and solidified to maintain the flaky texture; your dairy-free pals will be grateful! -
Spicy Kick: Add a pinch of cayenne pepper or smoked paprika for a hint of heat.
This twist complements rich fillings like cheese or bacon, taking your creations to exciting new heights! -
Nutty Flavor: Replace some of the flour with ground almonds or other nut flours for a unique flavor and texture.
This nutty twist adds depth while keeping everything gluten-free, creating a hearty base for your favorites! -
Chocolate Twist: Sprinkle cocoa powder into the dry ingredients for a chocolaty pastry that’s perfect for dessert.
Imagine rich chocolate tarts or indulgent pastries; this decadent variation is bound to impress! -
Progressive Puff Pastry: If you’re looking for more crafting fun, check out my Stuffing Savory Stress recipe for inventive fillings that pair beautifully with this pastry!
No matter how you tailor this gluten-free puff pastry, the foundations of flakiness and flavor remain intact—ensuring every bite is delicious!
Gluten Free Puff Pastry Recipe FAQs
What kind of gluten-free flour should I use?
I recommend using a gluten-free all-purpose flour blend that includes xanthan gum for the best results. Make sure to check the label; if your blend already contains xanthan gum, you can skip adding more. This will help ensure your pastry has the right texture and elasticity.
How should I store leftover gluten-free puff pastry?
Wrap any unused or leftover gluten-free puff pastry tightly in plastic wrap. You can keep it in the fridge for up to 2 days or freeze it for up to 1 month. When you’re ready to use it, simply thaw the frozen pastry in the fridge overnight or at room temperature for about an hour.
Can I freeze gluten-free puff pastry? If so, how?
Absolutely! To freeze your gluten-free puff pastry, wrap it tightly in plastic wrap, making sure there are no air pockets. You can also place it in an airtight container or freezer bag to prevent freezer burn. Be sure to label it with the date, and it will be good for up to 1 month. When you’re ready to bake, thaw it in the fridge or at room temperature before rolling it out.
What do I do if my dough is too sticky?
If your dough is sticky, the best fix is to sprinkle a little more gluten-free flour during your rolling process. Make sure to dust your work surface and the dough generously. If you still encounter stickiness, chill the dough for a bit longer, which will help firm it up and make it easier to handle.
Can my pets eat gluten-free puff pastry?
While gluten-free options are generally safer for people with gluten sensitivities, it’s always best to consult your veterinarian before sharing new foods with your pets. Moreover, the ingredients in puff pastry, like butter and salt, should only be given in moderation. If you’re looking for pet-friendly treats, consider making something specifically designed for them.
Flaky Gluten Free Puff Pastry for Irresistible Tarts and Pies
Ingredients
Equipment
Method
- In a mixing bowl, whisk together the gluten-free all-purpose flour blend, xanthan gum, salt, and granulated sugar until well combined.
- Cut the cold, cubed unsalted butter into the flour mixture until it resembles coarse crumbs with pea-sized pieces of butter.
- Combine ice water and lemon juice, then drizzle into the flour and butter mixture and stir gently until a shaggy dough forms.
- Transfer the dough to a floured surface, shape into a rectangle about 1/2 inch thick, and fold into thirds like a letter. Repeat this rolling and folding four more times.
- Wrap the dough tightly in plastic wrap and chill in the refrigerator for at least 30 minutes.
- Preheat the oven to 400°F (200°C). Roll out the dough to desired thickness for tarts or pies and bake for 20-25 minutes until golden brown and flaky.
Leave a Reply