
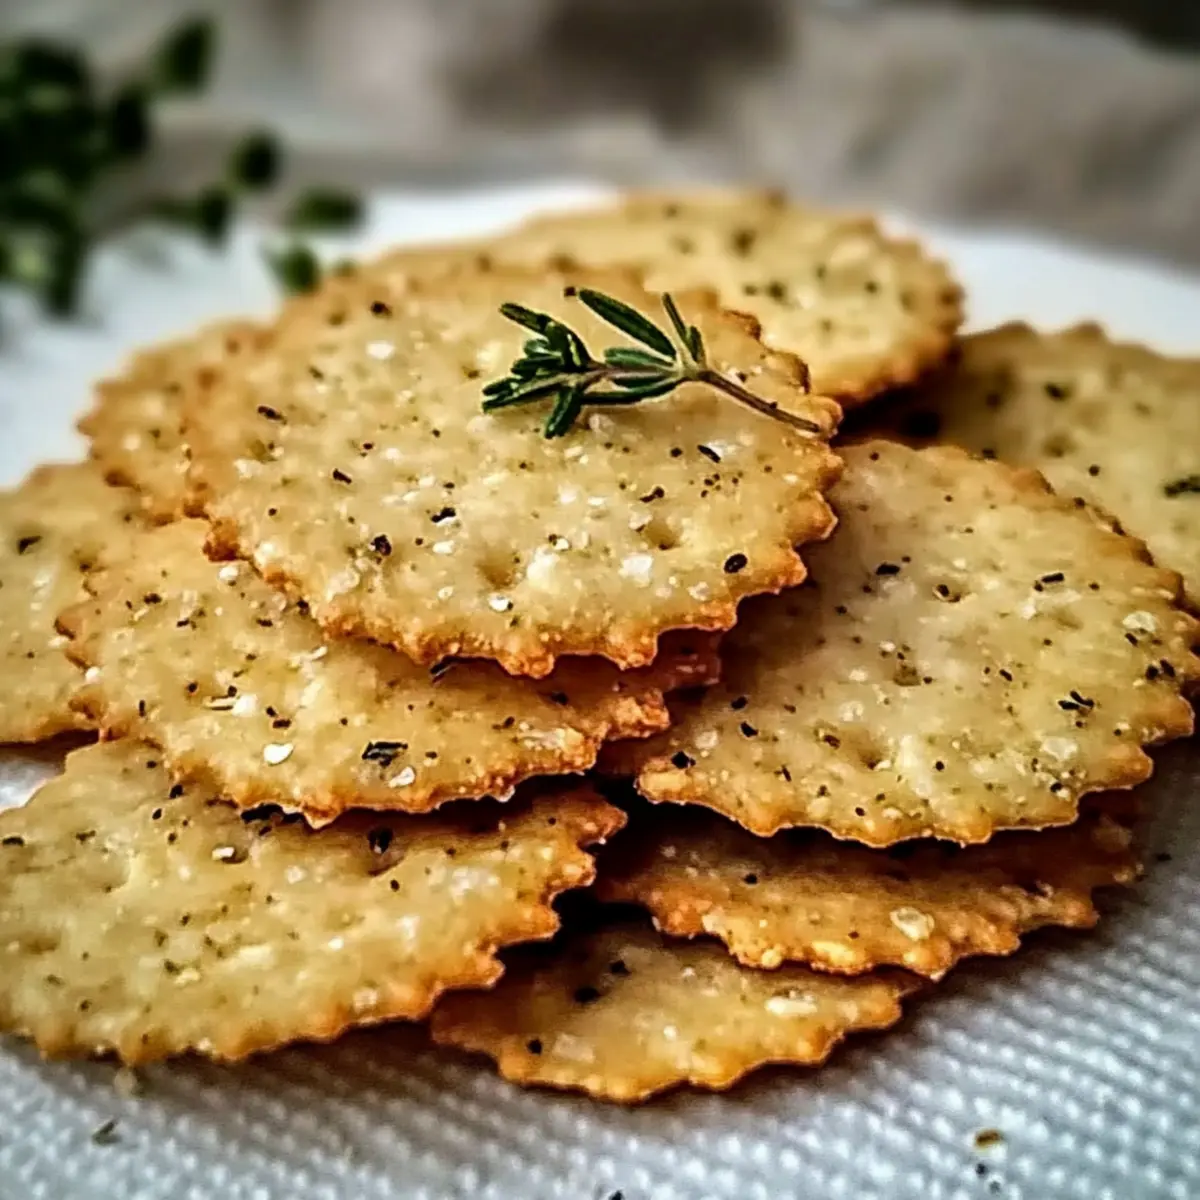
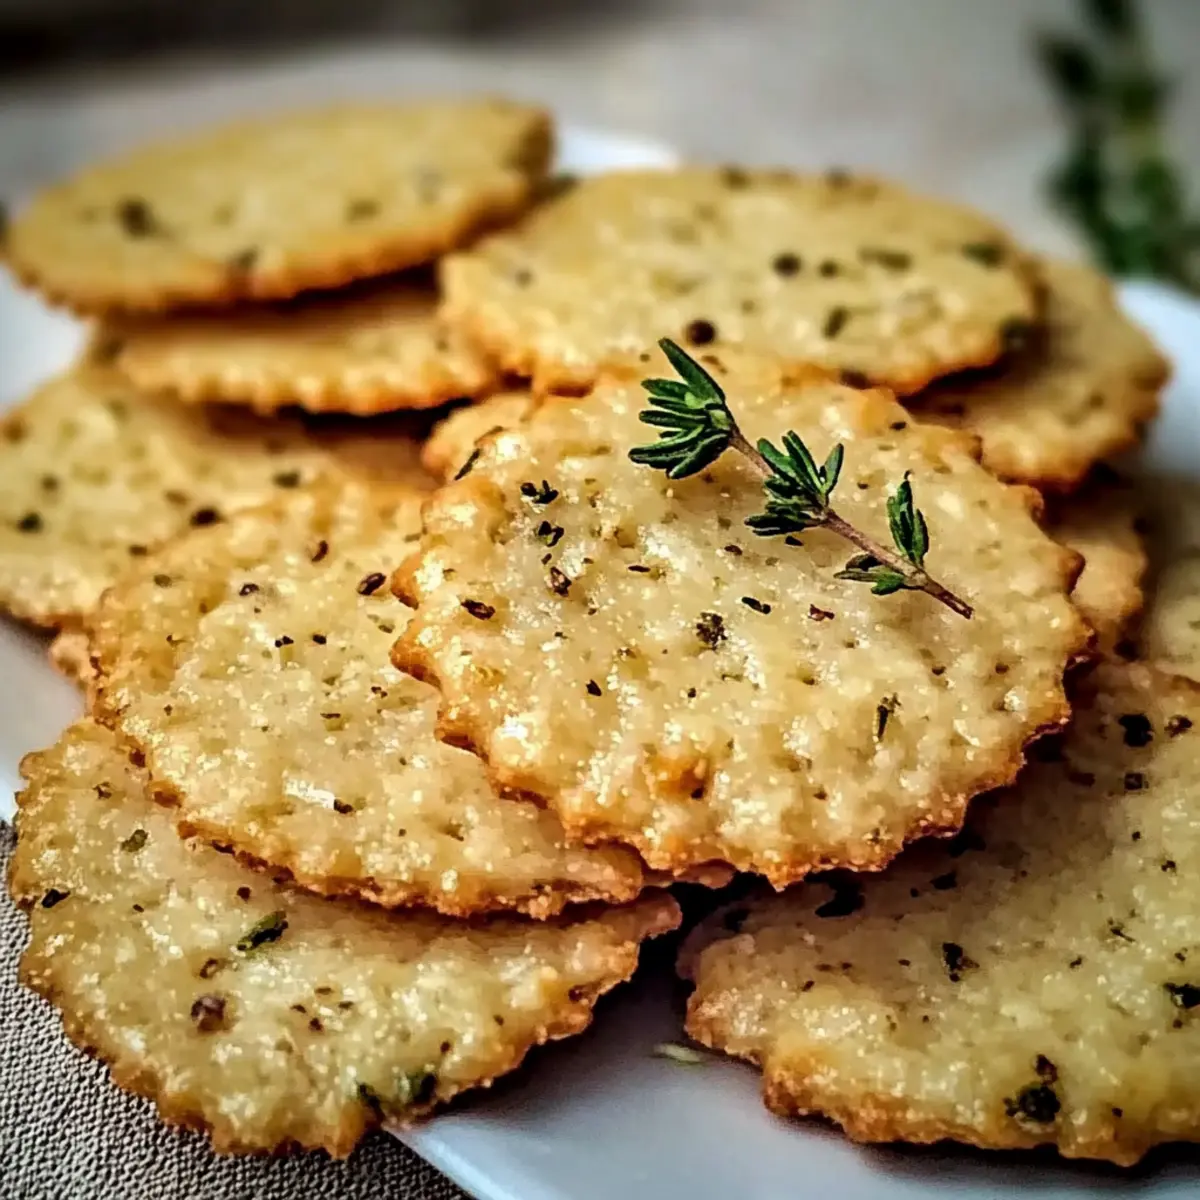
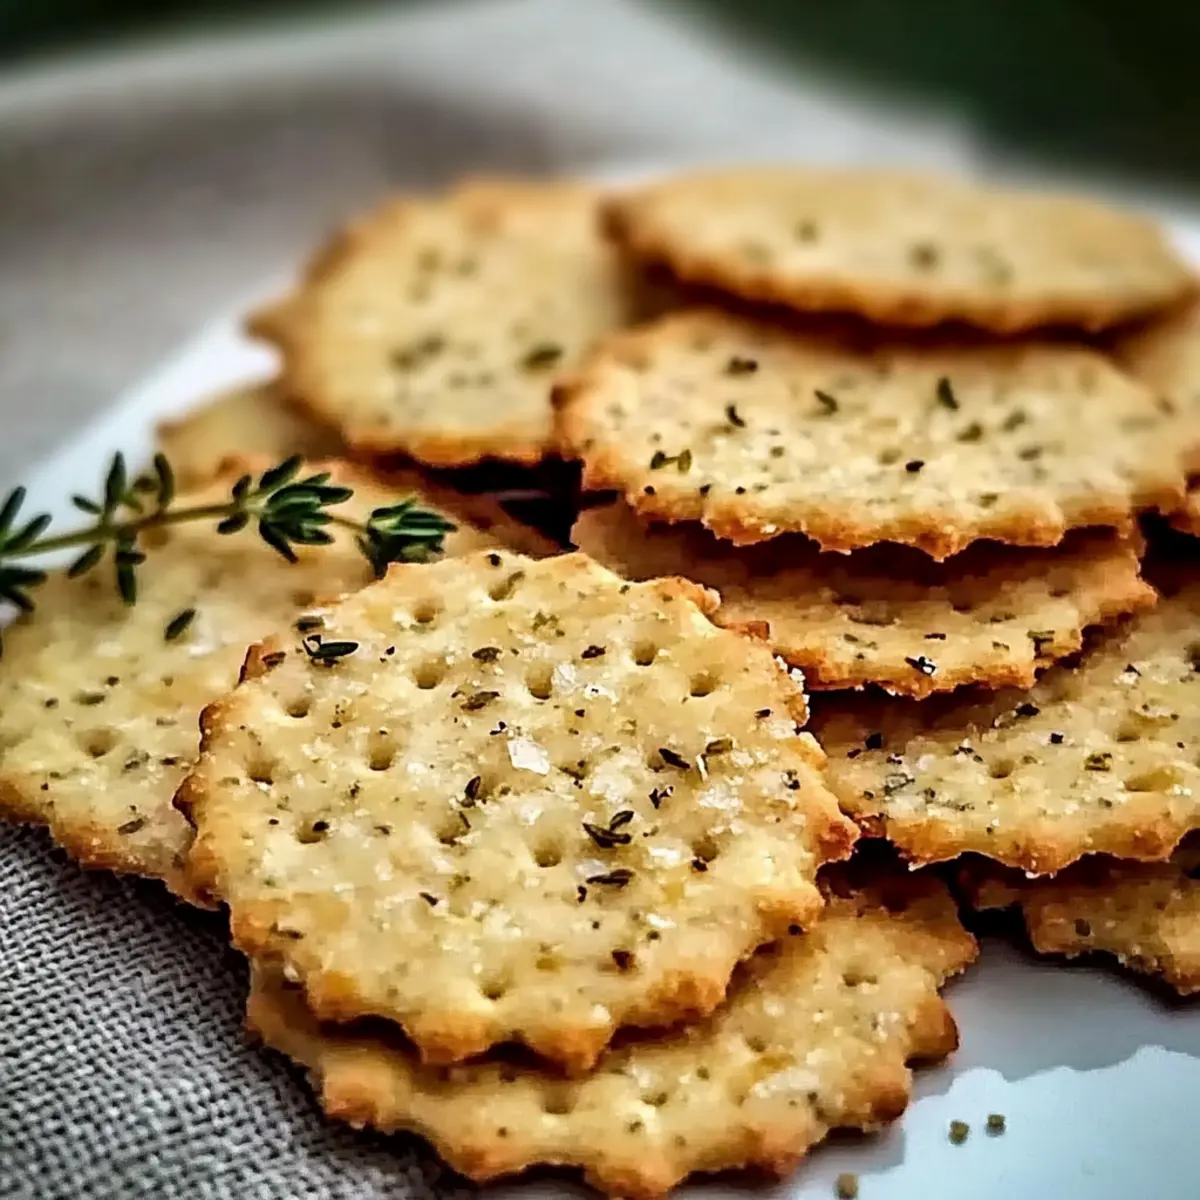
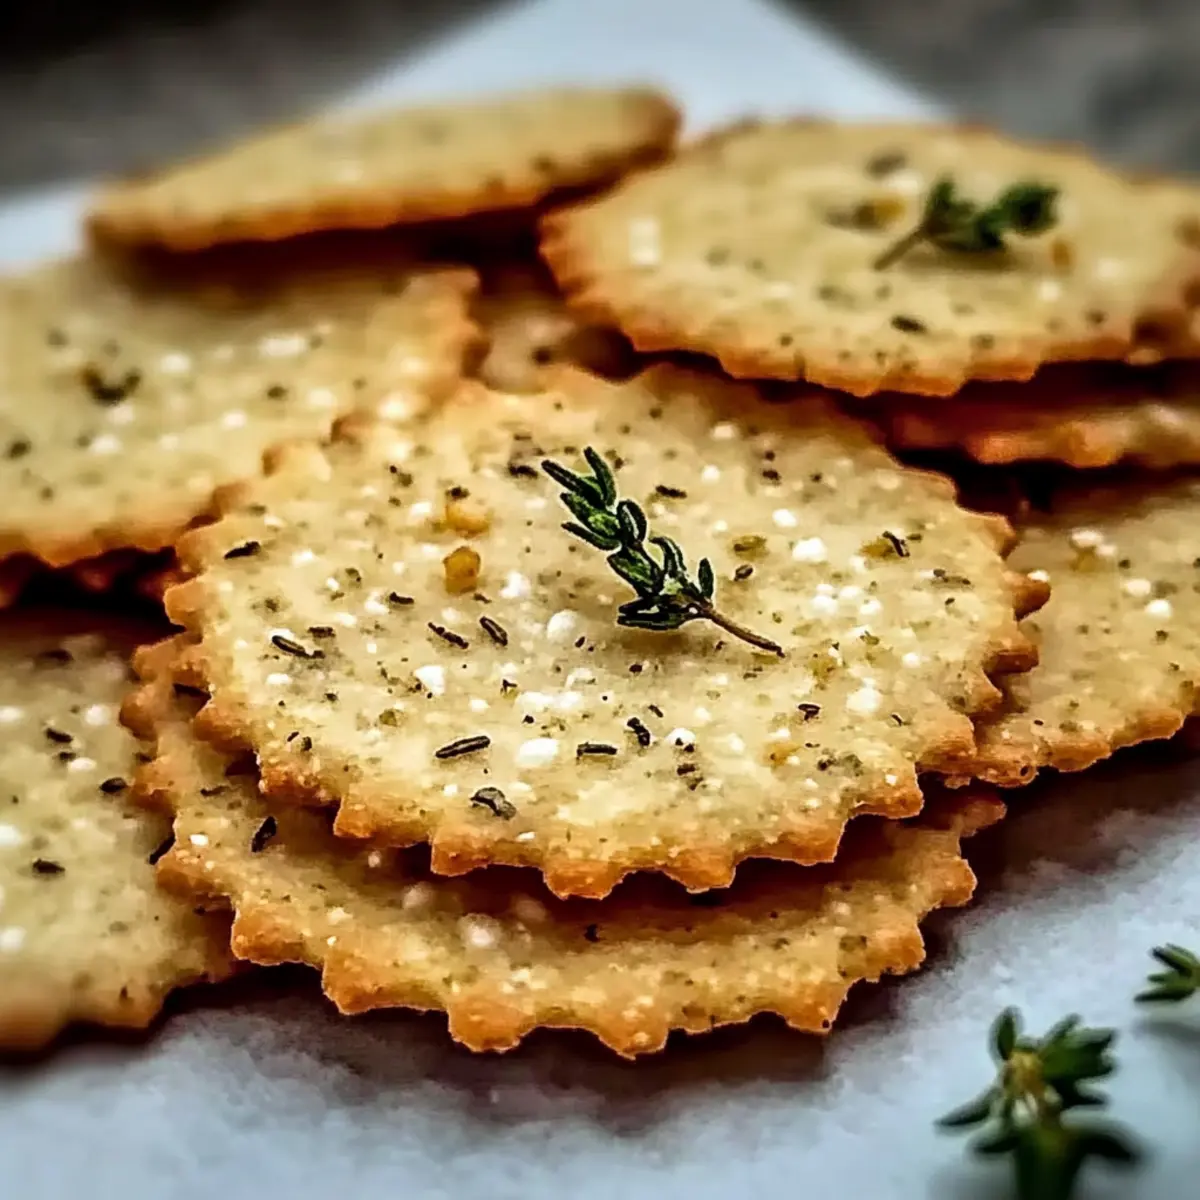
While rummaging through my pantry, I stumbled upon a bag of chickpea flour, which immediately sparked a culinary adventure. Thus began my quest for the perfect snack—a recipe for Crispy Homemade Chickpea Crackers that combines crunch with flavor. These delightful little bites are not just gluten-free and vegan; they’re also a fantastic protein-rich option that quickly transforms any gathering into a gourmet affair. Imagine serving them warm, perhaps alongside a homemade hummus, or simply enjoying them straight from the oven—each bite elevated by hints of garlic and aromatic herbs. With their easy prep time, you can whip up a batch in no time, making them a must-have for busy snackers and health-conscious foodies alike. Ready to elevate your snacking game? Join me as we dive into this irresistible recipe!
Why are Chickpea Crackers a must-try?
Healthy Snacking: These Crispy Homemade Chickpea Crackers are not only gluten-free and vegan but also rich in protein, making them a nourishing choice for any time of day.
Endless Flavor Options: With multiple flavor profiles to explore—try adding nutritional yeast, za’atar, or even sun-dried tomato for a unique twist!
Quick and Easy: This recipe is perfect for busy schedules, requiring minimal prep and cooking time, so you can satisfy your cravings without the fuss.
Versatile Pairing: Whether you enjoy them with hummus, baba ganoush, or on their own, they are sure to impress at your next gathering!
Customizable: Create your own perfect blend of spices and herbs tailored to your taste, just like with Garlic Roast Potatoes or Parmesan Roast Potatoes.
Get ready to enjoy a snacking experience that’s both delectable and guilt-free!
Crispy Homemade Chickpea Crackers Ingredients
For the Crackers
- Chickpea Flour (Besan) – The star ingredient, providing a nutty flavor and structure for the perfect Crispy Homemade Chickpea Crackers; you can substitute with almond flour if needed.
- Water – Essential for hydrating the flour; adjust to achieve the right consistency.
- Olive Oil – Adds richness and promotes crispiness; feel free to swap for another oil if you prefer.
- Dried Mixed Herbs (Rosemary, Thyme, Oregano) – These herbs infuse delightful Mediterranean flavors; switch to fresh herbs for a fresher profile, adjusting the quantity.
- Garlic Powder – Brings a savory punch to your crackers; use fresh minced garlic for an intensified flavor.
- Salt – Enhances the overall taste; feel free to adjust according to your preferences.
- Black Pepper – Offers a touch of spice and flavor depth; optional for those who prefer milder snacks.
- Optional Toppings (e.g., Sesame Seeds, Flaky Sea Salt) – Texture and flavor boosters; sprinkle as desired for added flair.
Step‑by‑Step Instructions for Crispy Garlic Herb Chickpea Flour Crackers
Step 1: Preheat the Oven
Begin by preheating your oven to 350°F (175°C). While the oven warms up, grab a baking sheet and line it with parchment paper to prevent the crackers from sticking. This simple step ensures that your Crispy Homemade Chickpea Crackers will bake evenly and achieve that delightful, golden crunch.
Step 2: Mix the Dry Ingredients
In a large mixing bowl, whisk together the chickpea flour, dried mixed herbs, garlic powder, salt, and black pepper. Make sure to combine these ingredients until they’re uniform and clump-free, allowing the flavors to meld. This dry mixture is the foundation of your crispy cracker goodness, so give it a good stir!
Step 3: Form the Dough
Create a well in the center of your flour mixture and add in the olive oil. Pour in half of the water, and begin stirring with a spoon. Gradually add more water as needed, mixing until a cohesive dough forms. The dough should feel smooth and slightly tacky—adjust the moisture as necessary for the perfect consistency to make your Crispy Homemade Chickpea Crackers.
Step 4: Knead the Dough
Transfer the dough to a lightly chickpea flour-dusted surface and knead it gently for about 2-3 minutes until it’s smooth and pliable. This step allows the gluten-free flour to develop, making your crackers perfectly crispy. Once you’re satisfied with the texture, you’re ready to roll it out!
Step 5: Roll Out the Dough
Place the kneaded dough between two sheets of parchment paper. Using a rolling pin, gently roll it out to about ⅛ inch (3mm) thickness. Aim for an even thickness to ensure that all your crackers bake uniformly, achieving those crispy edges every snacker will love!
Step 6: Score the Crackers
With a sharp knife or pizza cutter, score the rolled-out dough into your desired shapes. Squares, rectangles, or triangles—all work beautifully! Scoring not only helps with portioning but also allows for easy grabbing when your Crispy Homemade Chickpea Crackers are baked and ready to eat.
Step 7: Add Toppings
Brush the surface of the scored dough with water or a light drizzle of olive oil. Sprinkle your choice of optional toppings, such as sesame seeds or flaky sea salt, pressing them gently to adhere. These toppings will add extra texture and flavor, enhancing the overall snacking experience.
Step 8: Bake the Crackers
Transfer the scored dough onto the prepared baking sheet and place it in the preheated oven. Bake for about 15-20 minutes, keeping a close eye, starting at the 12-minute mark. Look for golden-brown edges to know when your Crispy Homemade Chickpea Crackers are perfectly baked to crunchy perfection.
Step 9: Cool Down
Once the crackers are done baking, remove the baking sheet from the oven and allow them to cool completely on the sheet. This cooling step is vital for enhancing the crispiness, giving you that satisfying crunch with every bite of your freshly made chickpea crackers.
Expert Tips for Crispy Homemade Chickpea Crackers
-
Watch the Time: Start checking your crackers at the 12-minute mark; they can brown quickly due to the chickpea flour.
-
Dough Thickness Matters: Aim for ⅛ inch; if the dough is too thick, you’ll end up with chewy crackers instead of the desired crispy texture.
-
Cooling Essentials: Let the crackers cool completely on the baking sheet to achieve maximum crispiness. Avoid transferring them too soon!
-
Flavor Boost: Consider adding nutritional yeast or spices like smoked paprika to the dough for an extra flavor punch in your Crispy Homemade Chickpea Crackers.
-
Experiment with Shapes: Don’t hesitate to get creative with the shapes you cut—fun shapes make snacking even more enjoyable!
Make Ahead Options
These Crispy Homemade Chickpea Crackers are fantastic for meal prep, allowing you to save time during busy weeks! You can prepare the dough in advance and refrigerate it for up to 3 days; just wrap it tightly in parchment paper to prevent it from drying out. When you’re ready to bake, simply roll out the chilled dough, score it into shapes, and add your favorite toppings before popping them in the oven. If you prefer, you can also bake the crackers ahead of time, and they will stay crisp in an airtight container at room temperature for about 1 week. Enjoy freshly baked crackers whenever you like, knowing they’ll be just as delicious!
What to Serve with Crispy Garlic Herb Chickpea Flour Crackers
These delightful chickpea flour crackers are the perfect starting point for a cozy and satisfying meal, bursting with flavor and crunch.
-
Creamy Hummus: A classic pairing, creamy hummus enhances the nutty flavors of the crackers while adding a boost of protein. It’s a match made in snacking heaven!
-
Savory Baba Ganoush: The smoky notes of baba ganoush pair beautifully with the herb-infused crackers. Serve it warm for a comforting treat that will impress your guests.
-
Fresh Vegetable Crudités: Pair with a colorful array of fresh veggies like cucumbers, bell peppers, and cherry tomatoes. This adds a refreshing crunch that balances the rich flavor of the crackers.
-
Cheese Plate: An assortment of cheese complements the crispness of chickpea flour crackers, inviting guests to enjoy a delightful spread. Consider adding olives and nuts for extra texture and taste.
-
Zesty Guacamole: The creamy texture of guacamole paired with crispy crackers creates a wonderful contrast that’s hard to resist. The freshness of lime perfectly lifts the overall flavor.
-
Olive Tapenade: This robust Mediterranean spread harmonizes with the savory nature of the crackers. It’s an indulgent option that can elevate any gathering with its rich, briny flavors.
-
Crisp White Wine: A chilled glass of crisp white wine pairs perfectly, enhancing the snack experience while cooling down spicy flavors from any accompanying dips.
-
Fruit Salad: A light fruit salad adds a refreshing sweetness, making it an ideal contrast to the savory crackers. Think watermelon, mint, and feta for a delightful twist.
-
Dark Chocolate Squares: For a sweet finish, serve with dark chocolate. Its intense richness pairs surprisingly well, creating a delectable balance with savory snacks.
Crispy Homemade Chickpea Crackers Variations
Feel free to get creative and customize your crackers to suit your taste buds!
-
Cheesy Delight: Add nutritional yeast to the dough for a cheesy flavor that brings an irresistible umami touch.
Nutritional yeast transforms these crackers into a flavorful treat everyone will love. Perfect for snack time or movie nights! -
Spicy Twist: Incorporate a pinch of cayenne pepper for a delightful kick that elevates the snack to new heights.
A little heat can tantalize your taste buds, making these crackers a standout party snack! -
Smoky Flavor: Mix in smoked paprika to introduce a deeper, smoky flavor that pairs wonderfully with dips.
The rich, smoky essence will surprise your guests and keep them coming back for more! -
Herb Explosion: Experiment with fresh herbs like basil or cilantro for a fresh, vibrant twist.
Fresh ingredients can elevate the flavor profile, perfect for a spring gathering or picnic! -
Italian Infusion: Add sun-dried tomato powder and dried basil to the mix for a mini Italian getaway in each bite.
These Italian-inspired crackers will transport you to Mediterranean shores while enjoying their warm crunch. -
Sweet Sesame: Sprinkle sesame seeds on top for added crunch and a subtle nutty flavor.
This texture twist takes these crackers to the next level, enticing both savory and sweet snack lovers alike! -
Zesty Kick: Incorporate za’atar seasoning into the dough for a Middle-Eastern flair packed with flavor.
Za’atar gives the crackers an aromatic and zesty lift, perfect for pairing with your favorite dips.
Don’t forget, you can also serve these delightful crackers alongside a zesty homemade hummus or complement them with the flavors of Duchess Potatoes Elegance for a truly gourmet snacking experience!
Storage Tips for Crispy Homemade Chickpea Crackers
Room Temperature: Store the cooled crackers in an airtight container at room temperature for up to 1 week to maintain their crispiness.
Freezer: For longer storage, wrap the uncooked dough tightly in parchment paper and place it in a freezer bag. It can be frozen for up to 3 months.
Reviving Crackers: If your Crispy Homemade Chickpea Crackers lose their crunch, reheat them in a preheated oven at 300°F for 3-5 minutes to restore their fabulous texture.
Labeling: Always label your storage containers with the date, so you know when to enjoy your delicious treats!
Crispy Garlic Herb Chickpea Flour Crackers Recipe FAQs
How do I choose the right chickpea flour?
Absolutely! When selecting chickpea flour, look for a fine, smooth texture without any clumps. You can generally find it in health food stores or international markets. If you’re experimenting, almond flour is a good alternative, but the dough’s moisture ratio may need adjusting due to differing absorbencies.
What’s the best way to store leftover chickpea crackers?
For optimal freshness, store your cooled Crispy Homemade Chickpea Crackers in an airtight container at room temperature for up to one week. Make sure to keep them away from direct sunlight. This way, they retain their delightful crunch and flavor!
Can I freeze the dough for later use?
Yes, you can! To freeze the uncooked dough, wrap it tightly in parchment paper, then place it into an airtight freezer bag. It can be stored in the freezer for up to three months. When you’re ready to bake, simply thaw in the refrigerator overnight before rolling and baking.
What if my crackers turn out soft?
Very! If your crackers end up chewy or soft, they might not have been rolled thin enough. Aim for about ⅛ inch thickness when rolling out your dough. Also, ensure to cool them completely on the baking sheet after baking, as this helps firm up their crispiness.
Are these chickpea crackers suitable for pets?
While chickpea flour itself isn’t harmful to pets, it’s best to avoid giving them any recipes that contain added salt, spices, or other ingredients that could upset their stomachs. Always stick to plain, unseasoned snacks if you’re considering sharing with your furry friends!
What are some allergy considerations with this recipe?
This recipe is naturally gluten-free, vegan, and dairy-free, making it suitable for those with common dietary restrictions. However, always verify any allergies with included ingredients, like spices or optional toppings, particularly sesame seeds, which can cause reactions in some individuals.
Crispy Homemade Chickpea Crackers for Guilt-Free Snacking
Ingredients
Equipment
Method
- Preheat your oven to 350°F (175°C) and line a baking sheet with parchment paper.
- In a large mixing bowl, whisk together the chickpea flour, dried mixed herbs, garlic powder, salt, and black pepper.
- Create a well in the center of your flour mixture and add in the olive oil. Pour in half of the water, and begin stirring with a spoon. Gradually add more water as needed to make a cohesive dough.
- Transfer the dough to a lightly chickpea flour-dusted surface and knead gently for about 2-3 minutes until it’s smooth and pliable.
- Place the kneaded dough between two sheets of parchment paper and roll it out to about ⅛ inch (3mm) thickness.
- Score the rolled-out dough into your desired shapes with a sharp knife or pizza cutter.
- Brush the surface of the scored dough with water or olive oil and sprinkle optional toppings, pressing them gently to adhere.
- Transfer the scored dough to the prepared baking sheet and bake for about 15-20 minutes, checking at the 12-minute mark for golden-brown edges.
- Once baked, cool the crackers on the baking sheet completely before serving.
Leave a Reply