
As the aroma of chocolate fills the air, I can’t help but smile—a little magic is about to happen in my kitchen. This Homemade Chocolate Pudding recipe shares the simple joy of creating an indulgent dessert from beloved pantry staples. Not only is it incredibly easy to whip up, but it also allows for delightful personal twists, making it versatile for any occasion. Whether you’re yearning for a creamy comfort food fix or seeking a special treat that’s gluten-free or even vegan, this recipe has you covered. As I blend the smooth ingredients together, I’m reminded that a quick, homemade dessert can bring everyone together. Curious about how this silky delight can elevate your dessert game? Let’s dive into the details!
Why is Homemade Chocolate Pudding Irresistible?
Decadent, rich flavor: This homemade chocolate pudding bursts with chocolatey goodness, creating a dessert that offers pure indulgence with every spoonful.
Simple process: With just a few pantry ingredients, you can whip up this creamy treat without any fuss.
Customizable delights: Personalize your pudding by adding your favorite flavors like mint, cinnamon, or even fresh fruit for an exciting twist.
Versatile for all diets: Whether you prefer traditional, vegan, or gluten-free options, this recipe ensures everyone can enjoy a bowl of chocolatey bliss.
Perfect for gatherings: Impress your friends and family with a stunning dessert that’s sure to please. For more delicious dessert ideas, don’t miss the White Chocolate Cranberry or explore savory options with our Breakfast Finger Foods!
Chocolate Pudding Ingredients
Dive into the creamy goodness with these essentials.
For the Pudding Base
- Milk – Provides the base and creamy texture; can substitute with almond or coconut milk for a vegan option.
- Granulated Sugar – Sweetens the pudding; adjust the quantity based on your sweetness preference.
- Cocoa Powder – Adds deep chocolate flavor; ensure using unsweetened cocoa for best results.
- Cornstarch – Acts as a thickening agent; no substitutes are recommended for achieving the desired thickness.
- Salt – Enhances flavor balance; essential for taste, so don’t skip it.
For Extra Richness
- Butter – Adds richness and a glossy finish; can be replaced with margarine or a vegan butter alternative.
- Vanilla Extract – Provides aromatic flavor; use high-quality vanilla for the best results.
- Instant Coffee Granules (optional) – Enhances the chocolate flavor; omit if desired or reduce for less intensity.
Now that you have gathered all the ingredients for your delightful chocolate pudding, let’s get ready to create some sweetness at home!
Step‑by‑Step Instructions for Chocolate Pudding
Step 1: Combine Dry Ingredients
In a medium saucepan set over medium heat, whisk together granulated sugar, cocoa powder, cornstarch, salt, and optional instant coffee granules until well combined. This mixture should be evenly blended to avoid any clumps, forming a dry base for your chocolate pudding. Pay attention to ensure that the cocoa powder is fully integrated with the other dry ingredients.
Step 2: Add Milk Gradually
Gradually pour in the milk, whisking continuously to create a smooth, lump-free mixture. It’s important to incorporate the milk slowly at first to maintain that silky texture. Stir until everything is fully combined, and the mixture takes on a rich, chocolatey hue, reminding you that a tasty homemade treat is just moments away.
Step 3: Simmer the Mixture
Increase the heat slightly and bring the pudding mixture to a gentle simmer, stirring constantly. Allow it to heat for about 1-2 minutes, or until it thickens significantly. You’ll know it’s ready when it starts to bubble gently, transforming into a beautifully creamy chocolate pudding base that envelops your senses in its aroma.
Step 4: Incorporate Butter and Vanilla
Once the pudding has thickened, remove it from heat and immediately stir in the butter and vanilla extract. Continue to stir until the butter is completely melted and the mixture is glossy, ensuring that all of that rich flavor is seamlessly integrated. This final step adds a luxurious touch to your chocolate pudding.
Step 5: Transfer and Cool
Pour the finished chocolate pudding into a storage container, optionally using individual cups for a more elegant presentation. Press a piece of plastic wrap directly onto the surface of the pudding to prevent a skin from forming. This allows it to cool without compromising on texture while maintaining that decadent chocolate flavor.
Step 6: Chill Before Serving
Place the pudding in the refrigerator and let it chill for at least 2 hours before serving. This waiting period is crucial, as it allows the pudding to firm up to the perfect creamy consistency. When you’re ready to indulge, you’ll uncover a silky-smooth chocolate pudding that’s simply irresistible for any dessert occasion.

Expert Tips for Chocolate Pudding
- Use Unsweetened Cocoa: Ensure you’re using unsweetened cocoa powder for the best flavor; sweetened varieties can alter the pudding’s taste.
- Whisk Consistently: Stir continuously while the mixture is simmering to prevent scorching; this ensures a smooth, velvety chocolate pudding.
- Fix Lumps Easily: If you encounter lumps, strain the pudding through a fine mesh sieve before chilling to achieve that silky texture.
- Perfect Cooling: Cover the pudding directly with plastic wrap to avoid skin formation, keeping it creamy and smooth on top.
- Experiment with Flavors: Feel free to personalize your chocolate pudding with spices or flavored extracts for a delightful twist!
Make Ahead Options
These delightful homemade chocolate puddings are perfect for busy weeknights, allowing you to prepare ahead and enjoy creamy indulgence at your convenience! You can make the pudding mixture up to 24 hours in advance, storing it in the refrigerator once cooled. Just follow the standard recipe instructions, and after it reaches room temperature, press plastic wrap directly onto the surface to prevent skin formation. When you’re ready to serve, simply give the pudding a gentle stir to restore its silky texture and pour it into individual cups for an elegant presentation. This way, you’ll have a comforting dessert ready to impress, all with minimal effort!
How to Store and Freeze Chocolate Pudding
Fridge: Store chocolate pudding in an airtight container for up to 1 week. Ensure to press plastic wrap directly onto the surface to prevent skin formation.
Freezer: Chocolate pudding can be frozen for up to 3 months. Portion into freezer-safe containers, leaving space for expansion. Thaw in the fridge before serving.
Reheating: To enjoy chilled pudding, simply take it from the fridge. If you prefer it warm, heat gently in a saucepan, stirring until heated through.
Leftovers: If you have leftover pudding, make sure to use airtight storage methods like plastic wrap or a tight lid to maintain its creamy texture and flavor.
Chocolate Pudding Variations & Substitutions
Feel free to get creative and customize your chocolate pudding to suit your tastes!
- Dairy-Free: Substitute regular milk with almond or coconut milk for a creamy vegan option that doesn’t skimp on flavor.
- Sweetener Swap: Try using maple syrup or honey instead of granulated sugar for a natural sweetness that’s equally delicious. This switch can introduce a lovely depth to your pudding.
- Fruity Addition: Incorporate fruit puree, such as raspberry or banana, into the pudding for a fresh twist, or serve it alongside fresh berries for a delightful contrast.
- Nutty Flavor: Add a tablespoon of peanut butter or almond butter for a rich, nutty flavor that complements the chocolate beautifully. The creaminess of the nut butters adds a unique touch.
- Spicy Kick: Introduce warmth by adding a pinch of cinnamon or even cayenne pepper for a surprising flavor burst. This can elevate your pudding to a whole new level of deliciousness!
- Coffee Lover’s Dream: For those who adore coffee, increase the coffee granules for a stronger coffee flavor that enhances the chocolate. This can give your pudding a delightful lift!
- Texture Boost: Want to add a fun texture? Mix in some mini chocolate chips or crushed cookies before chilling, adding extra layers of delight with each spoonful.
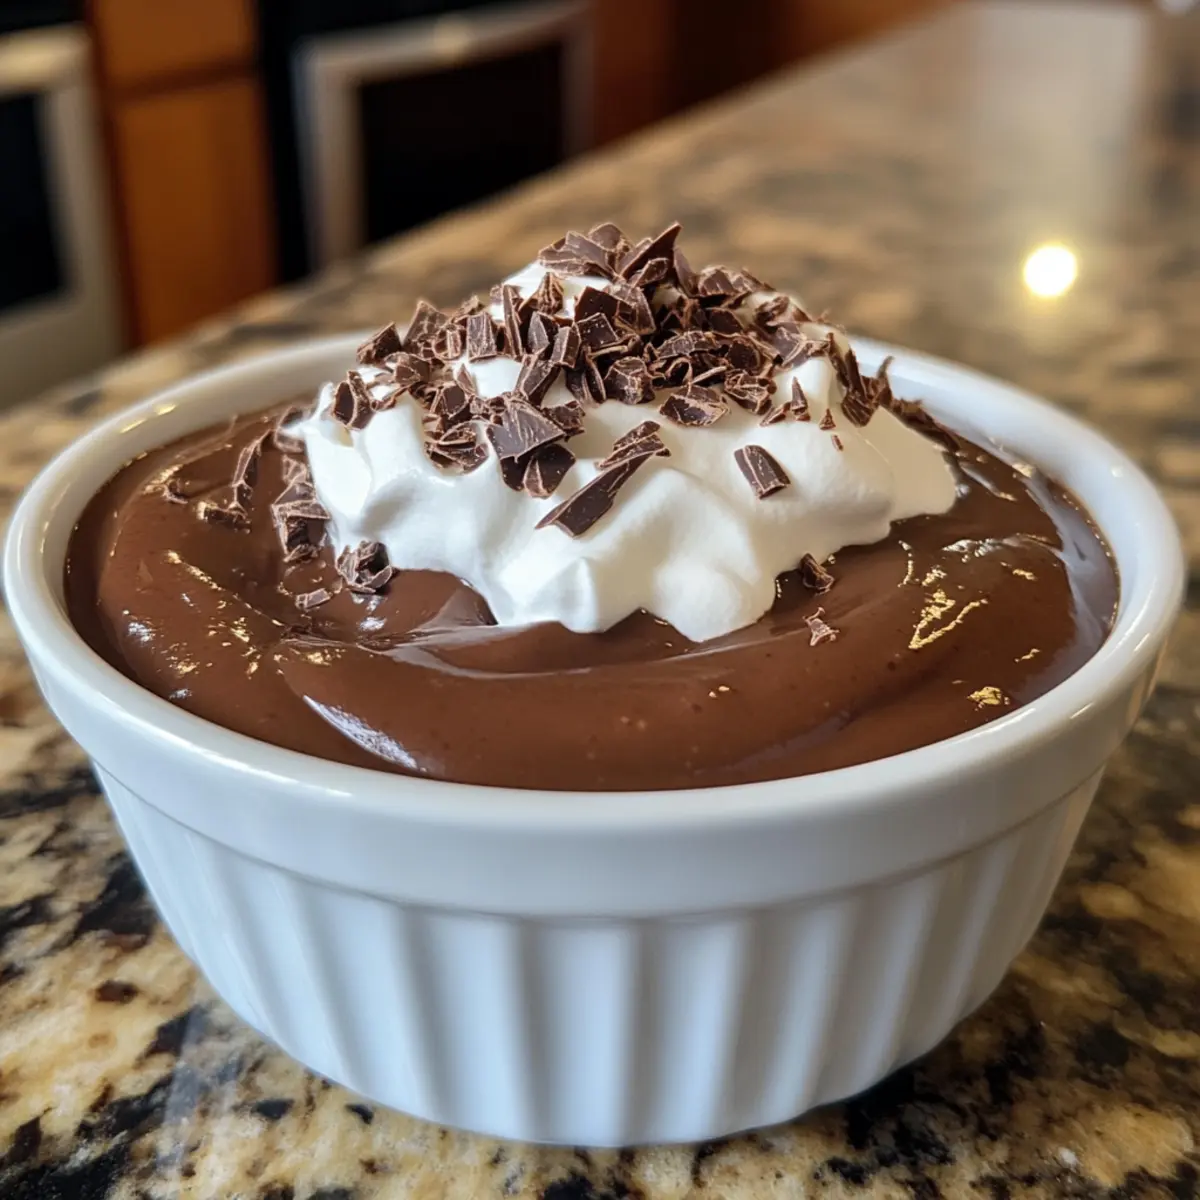
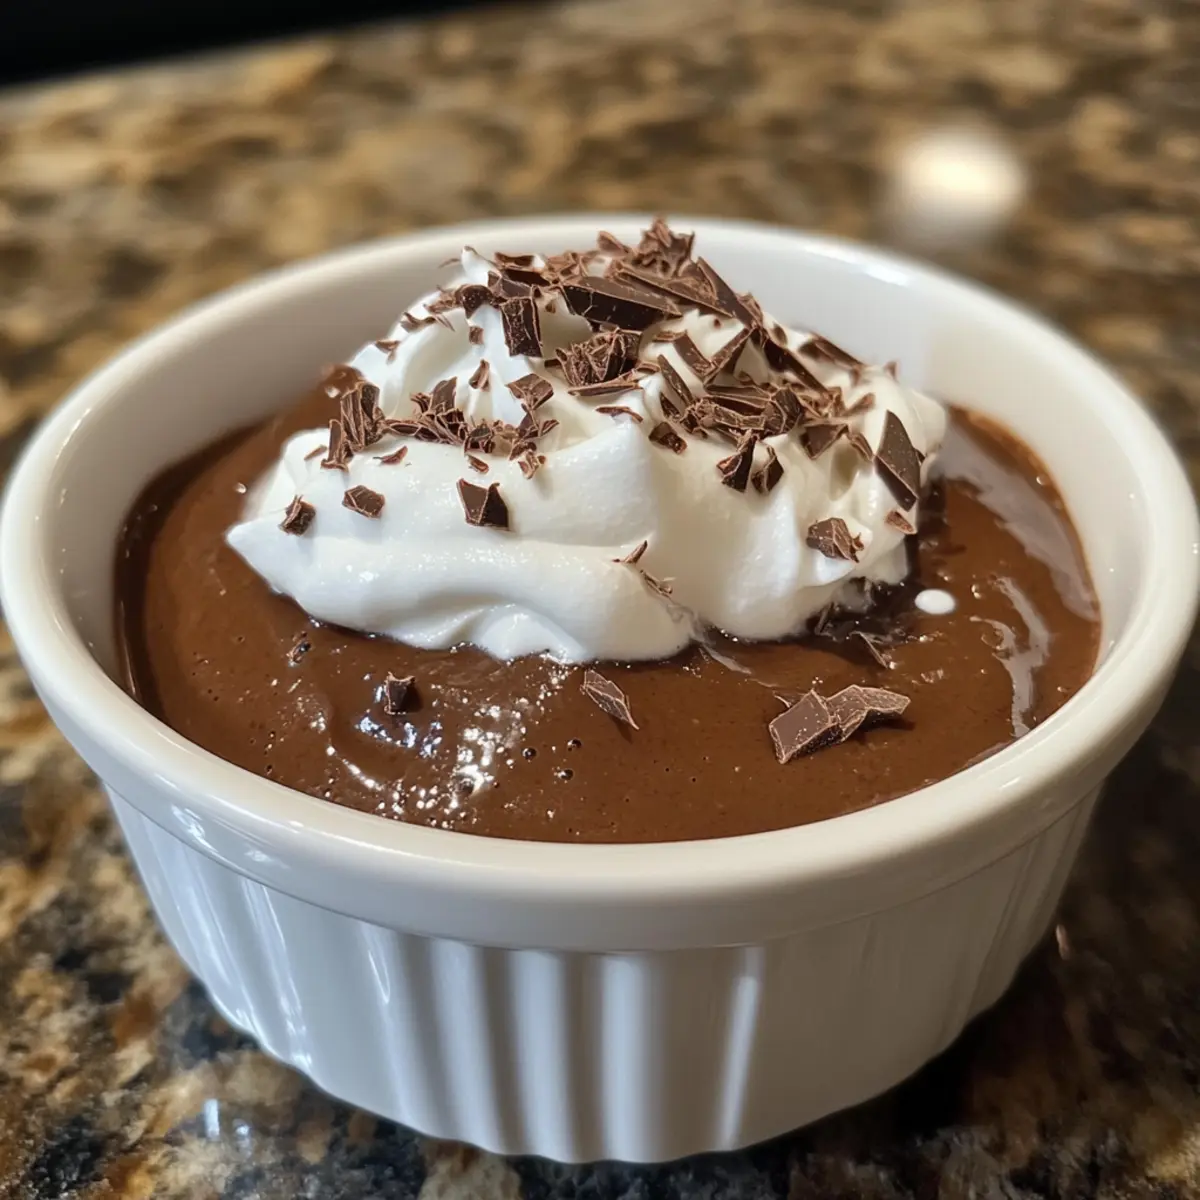
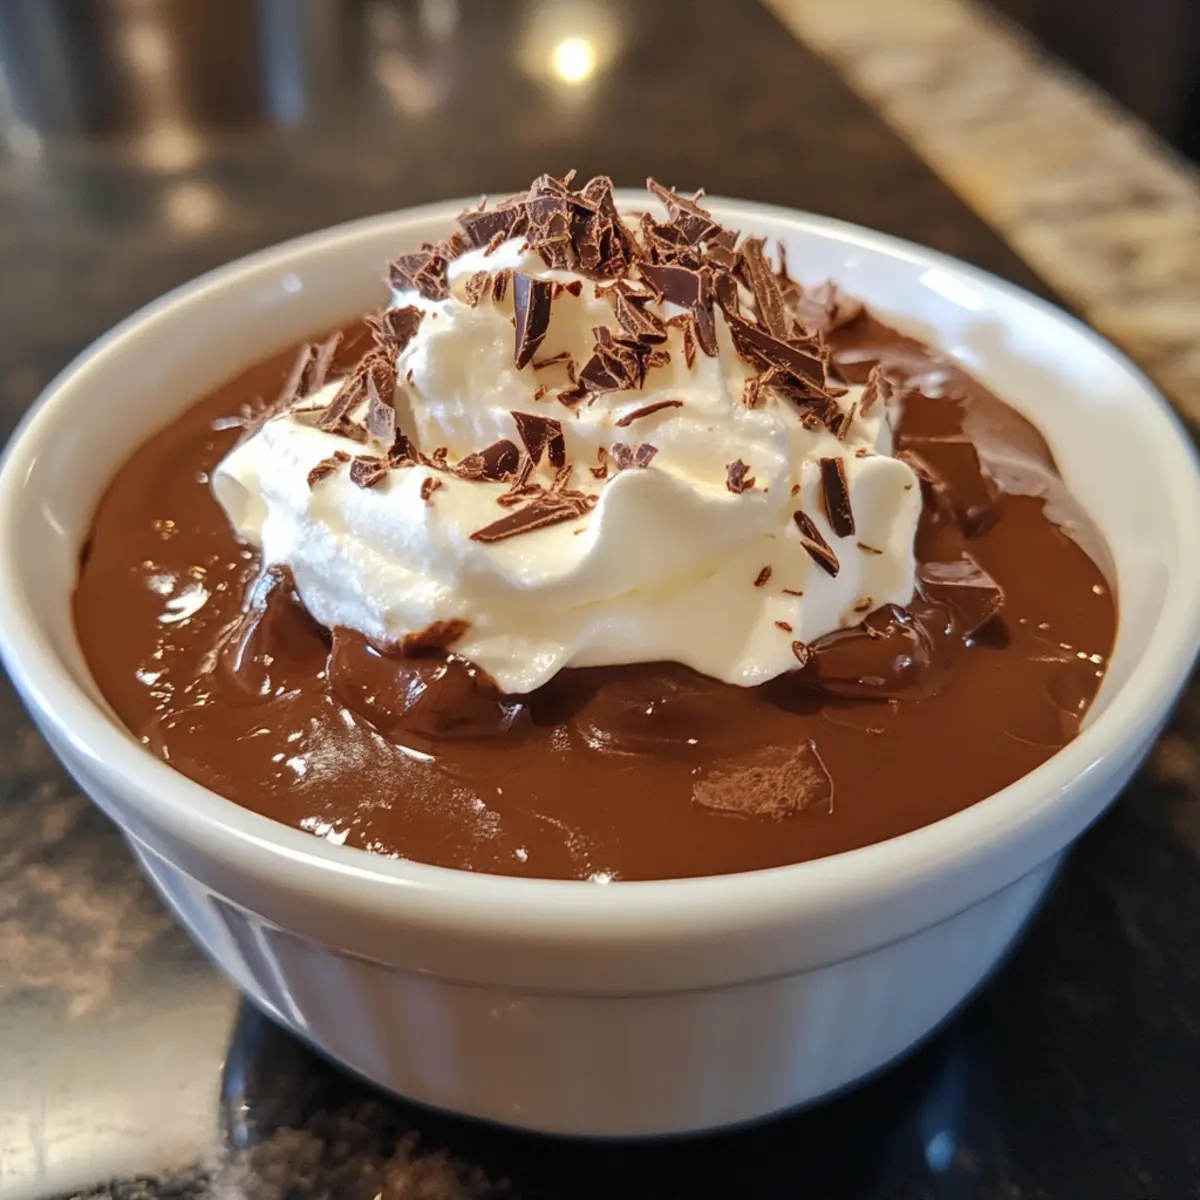
- Elegant Presentation: Serve the chocolate pudding in elegant cups topped with whipped cream and drizzled chocolate. Pairing it with your favorite Breakfast Finger Foods can turn your dessert into a delightful brunch treat.
What to Serve With Homemade Chocolate Pudding
Imagine the joy of creating a memorable meal that perfectly complements your velvety, chocolatey creation.
- Fresh Berries: Their tartness harmonizes with the rich chocolate, adding a delightful contrast both in flavor and color.
- Whipped Cream: A dollop of freshly whipped cream enhances the pudding’s creaminess while adding a light, airy texture.
- Chocolate Shavings: A sprinkle of luxurious chocolate shavings on top elevates presentation and deepens the chocolate experience.
- Salted Caramel Sauce: The sweet and salty notes of caramel create an indulgent flavor pairing that takes your dessert to new heights.
- Coffee or Espresso: Serve with a steaming cup of coffee, which perfectly complements the chocolate notes, enhancing the overall experience.
- Almond Biscotti: Their crunchy texture provides a delightful contrast to the smoothness of the pudding, making each bite interesting.
- Vanilla Ice Cream: Accompanying the pudding with a scoop of vanilla ice cream adds richness and creaminess that everyone will love.
- Mint Leaves: A sprinkle of fresh mint brightens up the dessert, adding a refreshing touch that balances the sweetness.
- Pecan Topping: Chopped pecans add a crunchy texture and a nutty flavor that pairs beautifully with the chocolate creaminess.
Chocolate Pudding Recipe FAQs
How do I choose the right cocoa powder for this recipe?
Absolutely! For the best results in your chocolate pudding, opt for unsweetened cocoa powder. It provides a deep, rich chocolate flavor essential for this dessert. Sweetened cocoa can lead to an overly sweet pudding, so stick with unsweetened for a balanced taste that truly shines.
How long can I store chocolate pudding in the refrigerator?
You can store chocolate pudding in an airtight container in the refrigerator for up to 1 week. Just be sure to press plastic wrap directly onto the surface of the pudding to prevent any skin from forming. This ensures your chocolatey delight stays as smooth and creamy as when you first made it!
Can chocolate pudding be frozen, and how do I do it?
Very! Chocolate pudding can be frozen for up to 3 months. To freeze, pour the pudding into freezer-safe containers, leaving some space at the top to allow for expansion as it freezes. When you’re ready to enjoy, simply thaw it in the refrigerator overnight. For a quick reheat, stir gently in a saucepan over low heat until warmed through.
What should I do if my pudding turns lumpy during cooking?
No worries! If you encounter lumps, you can easily fix this. After cooking, simply strain the pudding through a fine mesh sieve before chilling. This will remove any lumps and give you that silky-smooth texture that makes homemade chocolate pudding so delightful!
Is this chocolate pudding safe for those with dietary restrictions?
Absolutely! The recipe can be modified to accommodate various dietary needs. For a gluten-free version, ensure your cornstarch is certified gluten-free. If you want it vegan, you can substitute regular milk with almond or coconut milk and use vegan butter. Just keep an eye out for any additional allergens in your specific ingredient choices to be safe.
Can I add other flavors to the chocolate pudding?
The more the merrier! You can personalize your chocolate pudding by adding a pinch of cinnamon, a splash of mint extract, or even some peanut butter powder for a unique twist. Feel free to mix in fresh fruit or berries before serving for a delicious fruity variation.
Decadent Chocolate Pudding for Your Sweetest Moments
Ingredients
Equipment
Method
- In a medium saucepan set over medium heat, whisk together granulated sugar, cocoa powder, cornstarch, salt, and optional instant coffee granules until well combined.
- Gradually pour in the milk, whisking continuously to create a smooth, lump-free mixture.
- Increase the heat slightly and bring the pudding mixture to a gentle simmer, stirring constantly.
- Once the pudding has thickened, remove it from heat and immediately stir in the butter and vanilla extract.
- Pour the finished chocolate pudding into a storage container, optionally using individual cups and press plastic wrap onto the surface.
- Place the pudding in the refrigerator and let it chill for at least 2 hours before serving.
Leave a Reply