
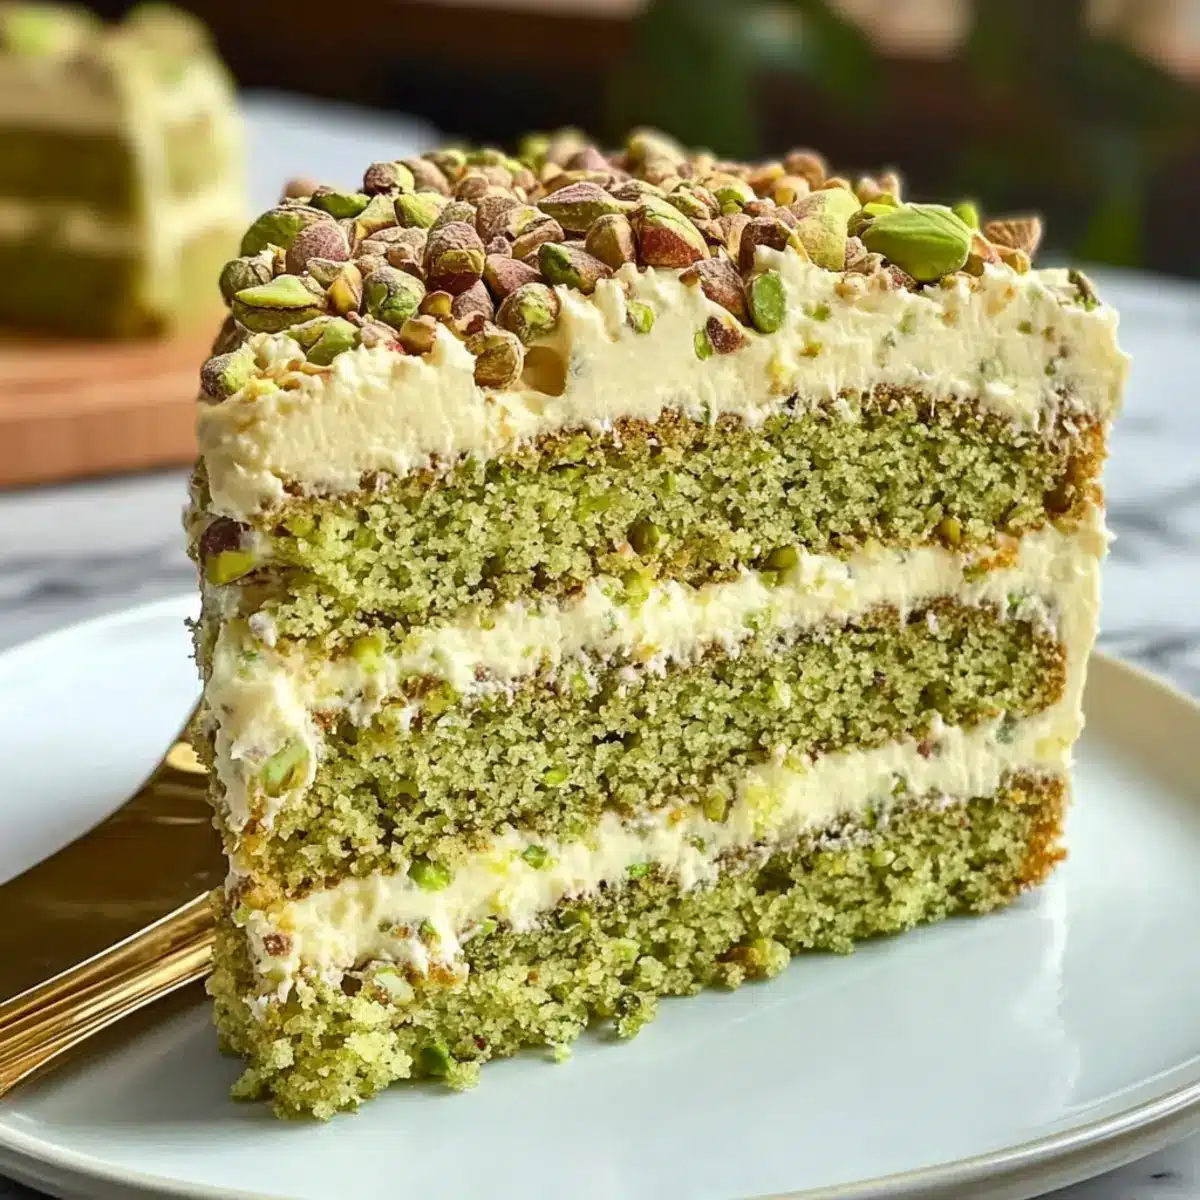
The soft sound of pistachios crunching under my fingertips always brings a sense of joy, and it’s precisely this joyous crunch that sets the stage for my Pistachio Mascarpone Layer Cake. This delightful dessert, perfect for celebrations or simply indulging a sweet tooth, features layers of moist pistachio sponge embraced by a creamy mascarpone frosting that just glides over your palate. The beauty of this cake lies not only in its elegant flavor profile but also in its effortless preparation—yes, even a beginner can manage this masterpiece! With its nutty essence and velvety texture, it’s a guaranteed crowd-pleaser that will elevate any gathering. Ready to discover the secrets behind this show-stopping treat? Let’s dive into the recipe!
Why choose Pistachio Mascarpone Layer Cake?
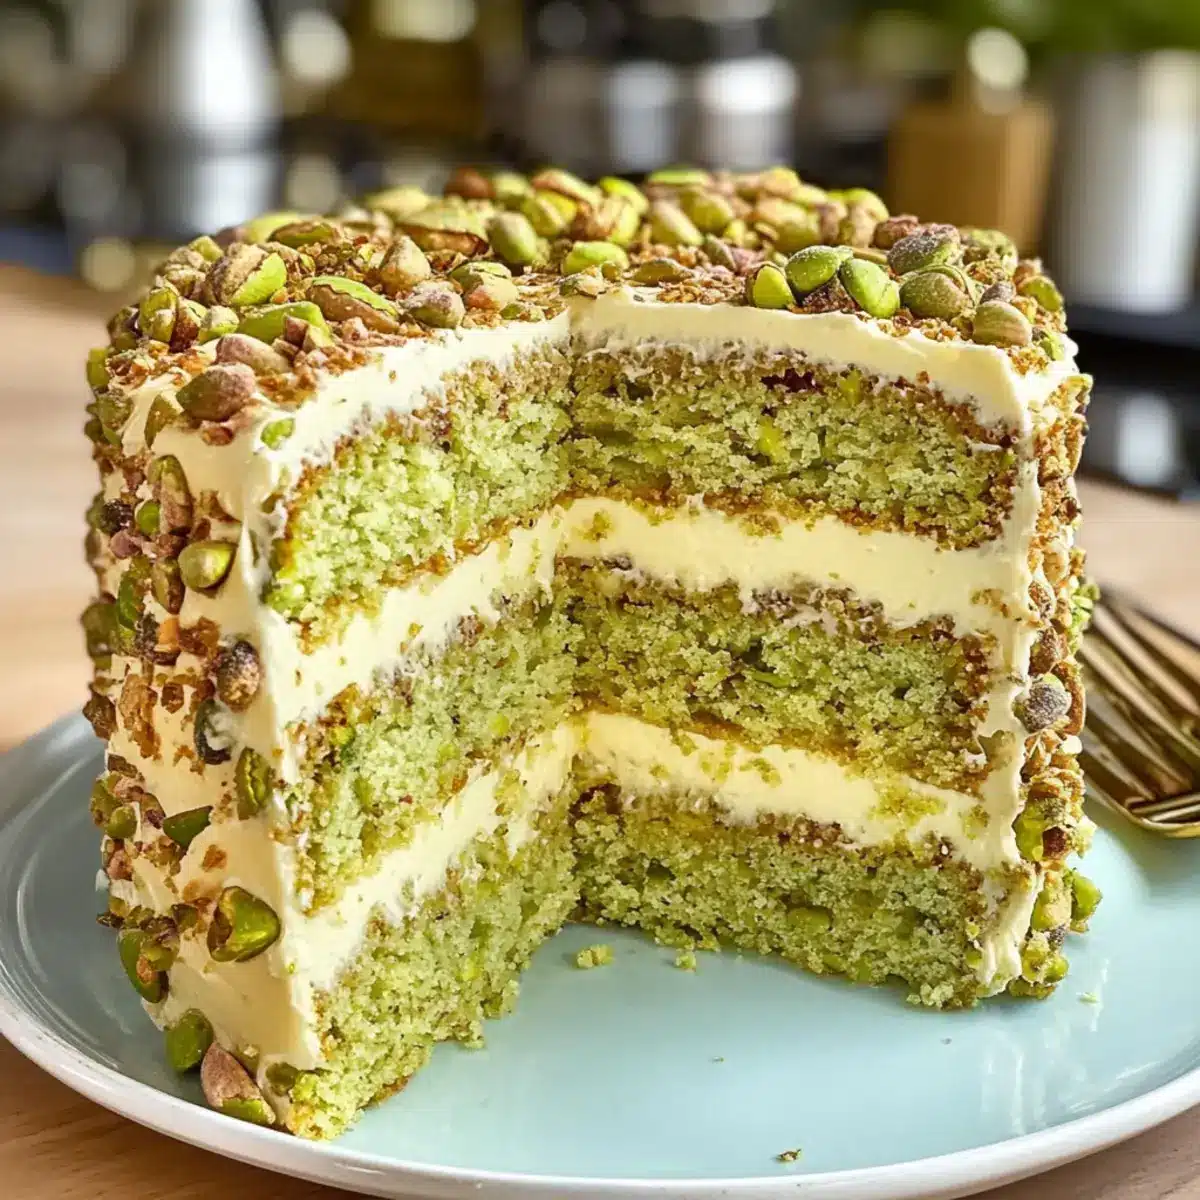
Decadently creamy: The silky mascarpone frosting perfectly complements the moist pistachio layers, creating a delightful balance of textures that leaves every bite utterly irresistible.
Beginner-friendly: Don’t shy away from baking! This recipe is straightforward, making it accessible for even novice bakers looking to impress without complicated steps.
Versatile delight: Serve it at birthdays, holidays, or whenever a sweet craving strikes. It pairs wonderfully with coffee or sparkling wine, making it suitable for any occasion.
Nutty nostalgia: With its rich pistachio flavor, this cake brings an elegant touch that evokes memories of classic Italian desserts, ensuring you savor each moment.
Make-ahead magic: Bake the layers in advance and assemble when ready, saving you time during busy celebrations. You can even enjoy the enhanced flavors after a short chill!
Whether you’re in the mood for luxurious treats or simply want to try something new, our Pistachio Mascarpone Layer Cake is a scrumptious choice.
Pistachio Mascarpone Layer Cake Ingredients
For the Cake Layers
- Shelled Pistachios – Adds nutty richness; can substitute with almonds for a different flavor if desired.
- All-Purpose Flour – Provides structure; feel free to use a gluten-free flour blend to accommodate dietary needs.
- Baking Powder – Acts as a leavening agent for the cake rise; ensure it’s fresh for the best fluffiness.
- Salt – Enhances overall flavors; Kosher or sea salt works best.
- Unsalted Butter – Contributes to tenderness and moisture; consider dairy-free options for a vegan cake.
- Granulated Sugar – Sweetens the batter beautifully; coconut sugar is a great alternative for a less refined option.
- Eggs – Essential for moisture and structure; a flax egg can be used for an egg-free version.
- Whole Milk – Adds richness to the batter; almond milk can be substituted for a dairy-free version.
- Vegetable Oil – Ensures moisture; melted coconut oil is an excellent alternative.
- Vanilla Extract – Enhances the cake’s flavor; opt for pure vanilla for a superior taste.
- Almond Extract (optional) – Adds a unique flavor touch; omit if nut allergies are a concern.
For the Mascarpone Cream
- Heavy Cream – Necessary for creating a smooth, luxurious mascarpone cream.
- Mascarpone Cheese – Provides a rich and creamy layer; can be substituted with a cream cheese and heavy cream blend if needed.
- Powdered Sugar – Sweetens the mascarpone frosting; adjust amount for a less sweet mix if preferred.
For Garnish
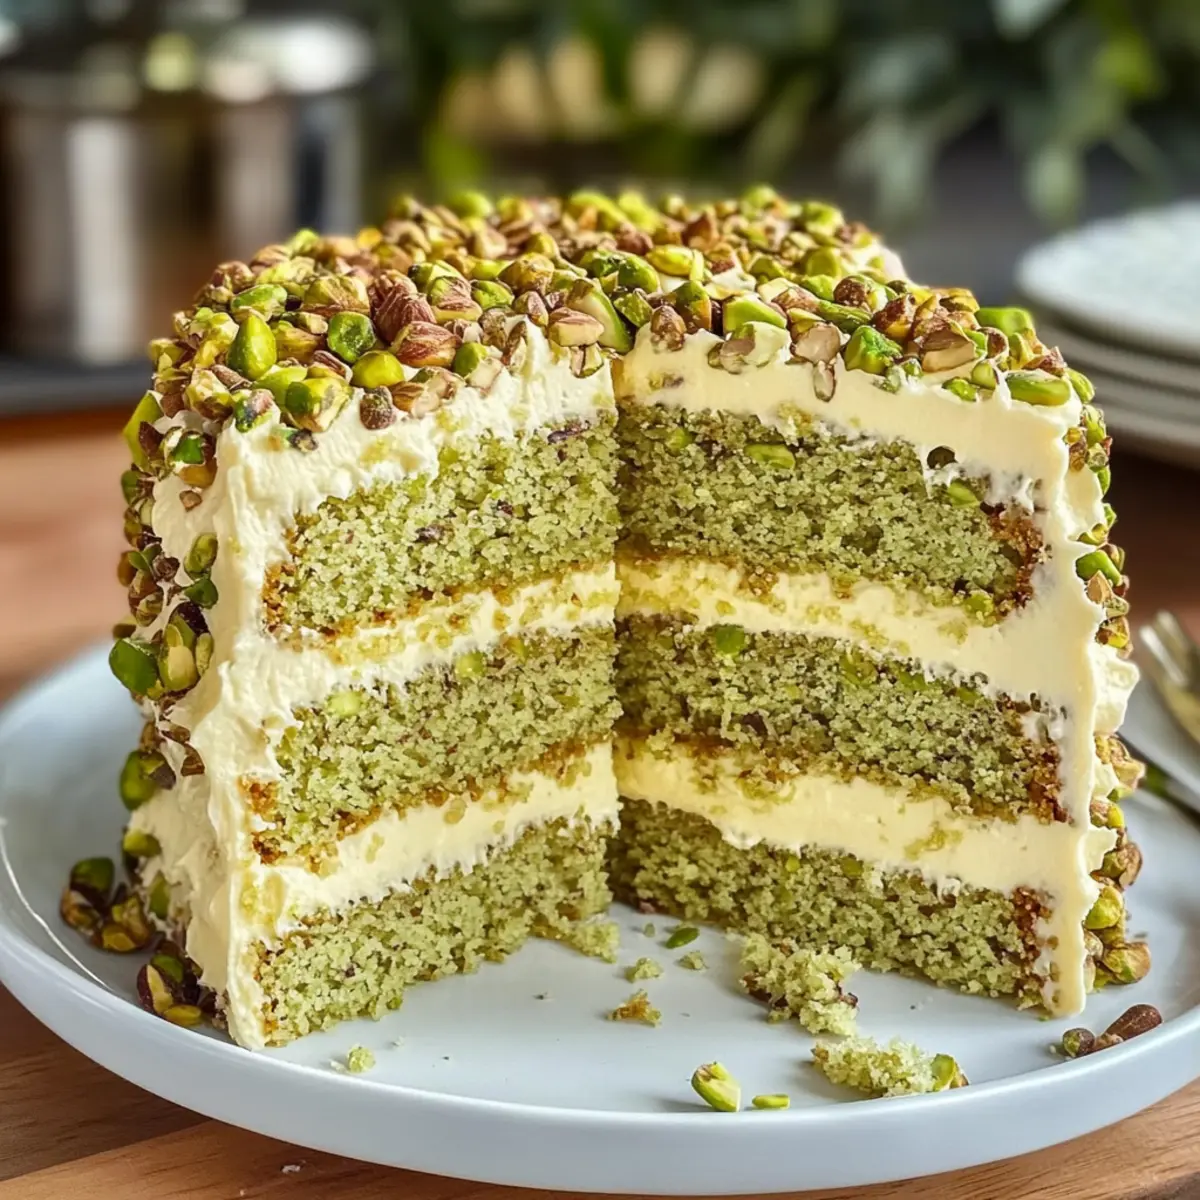
- Chopped Pistachios – Adds a delightful crunch and visual appeal; optional but highly recommended for decoration.
Get ready to impress your guests and elevate your dessert table with this delicious Pistachio Mascarpone Layer Cake!
Step‑by‑Step Instructions for Pistachio Mascarpone Layer Cake
Step 1: Prepare Cake Batter
Start by preheating your oven to 175°C (350°F). Finely grind the shelled pistachios and combine them with all-purpose flour, baking powder, and salt in a bowl. In a separate large bowl, beat softened unsalted butter and granulated sugar until light and fluffy. Add eggs one at a time, mixing well after each addition, then incorporate the milk, vegetable oil, and vanilla extract. Gently fold in the dry mixture until just combined.
Step 2: Bake
Grease three 8-inch round cake pans and evenly divide your cake batter among them. Bake the cakes in the preheated oven for 22-25 minutes or until a toothpick inserted into the center comes out clean. As they bake, the aroma of pistachios will fill your kitchen, providing a delightful prelude to the Pistachio Mascarpone Layer Cake.
Step 3: Cool
Once baked, remove the cake layers from the oven and allow them to cool in the pans for about 10 minutes. Then, gently transfer the layers onto a wire rack to cool completely. This step is crucial, as the layers must be fully cooled before frosting to ensure the mascarpone cream stays fluffy and does not melt.
Step 4: Make Mascarpone Cream
While the cake layers cool, prepare the mascarpone cream. In a chilled bowl, whip heavy cream until soft peaks form. Gradually fold in the mascarpone cheese, powdered sugar, and vanilla extract, mixing until the cream becomes smooth and fluffy. The result should be a rich, creamy texture that will beautifully complement your Pistachio Mascarpone Layer Cake.
Step 5: Assemble Cake
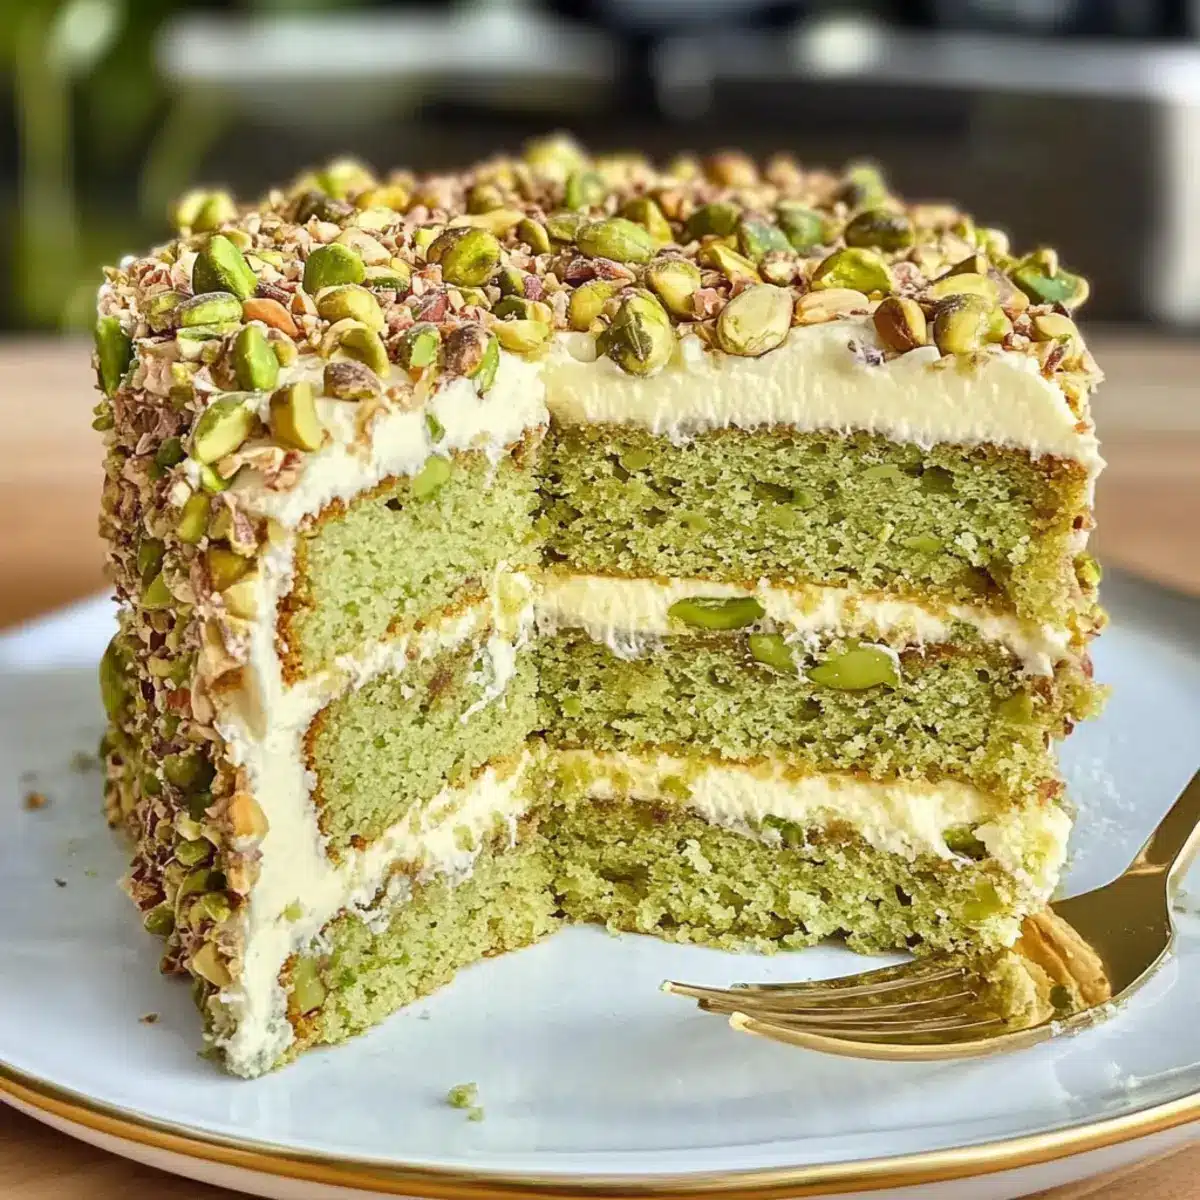
Once the cake layers are completely cooled, place one layer on a serving plate. Spread a generous layer of mascarpone cream on top, then place the second layer of cake on it and repeat the process. Finally, add the last cake layer on top and frost the sides and top with the remaining mascarpone cream, creating a lovely, smooth finish.
Step 6: Chill
After assembling your Pistachio Mascarpone Layer Cake, refrigerate it for at least 2 hours to allow the layers to set and the flavors to meld beautifully. During this time, the cake will become even more delectable, making it a perfect choice for your next celebration.
What to Serve with Pistachio Mascarpone Layer Cake
The perfect dessert deserves equally delightful pairings that enhance the overall experience and celebrate the flavors.
-
Fresh Berries: Bright, juicy berries like raspberries or strawberries add a refreshing tartness that contrasts beautifully with the creamy cake.
-
Vanilla Ice Cream: A scoop of smooth vanilla ice cream balances the nutty richness of the cake, making each bite feel indulgently soft and creamy. It’s a comforting touch everyone loves.
-
Herbal Tea: A fragrant cup of chamomile or mint tea complements the rich flavors of the cake while offering a light, refreshing finish to your meal.
-
Pistachio Crumble Topping: Adding a toasty pistachio crumble on the side introduces extra texture and heightens the pistachio flavor, creating a delightful crunch with every bite.
-
Sparkling Wine: Serve with a glass of sparkling wine to elevate your celebration. The bubbles cleanse the palate and enhance the cake’s luxurious taste.
-
Lemon Sorbet: For a zesty contrast, lemon sorbet cleanses the palate and adds a citrus flair that brightens the dessert experience.
-
Dark Chocolate Drizzle: A drizzle of melted dark chocolate brings a decadent richness to the cake, enhancing the nutty and creamy elements while offering a touch of elegance.
-
Coconut Cream: Light and airy coconut cream adds a tropical twist, complementing the cake’s flavors with a creamy consistency that’s simply irresistible.
-
Espresso: A rich, bold espresso beverage pairs perfectly with dessert, enhancing the flavors of the cake while providing that delightful caffeine kick for a perfect end to your meal.
Variations & Substitutions for Pistachio Mascarpone Layer Cake
Feel free to embark on your culinary adventure and customize this cake to match your taste buds!
-
Nutty Swap: Replace pistachios with almonds or walnuts for a different flavor experience. Each nut brings its unique richness, creating a delightful surprise with every bite!
-
Gluten-Free Option: Use a gluten-free flour blend instead of all-purpose flour. This allows those with gluten sensitivities to enjoy this decadent dessert without missing out on the flavor.
-
Citrus Burst: Add lemon zest to the mascarpone cream for a refreshing citrus twist. This brightens the cake, balancing the nuttiness with a delightful zing.
-
Chocolate Lovers: Mix in cocoa powder into the batter and switch to chocolate mascarpone for a luscious chocolate version. Indulge your cravings while still enjoying that creamy texture!
-
Dairy-Free Delight: Substitute heavy cream with coconut cream and use dairy-free mascarpone. This makes the cake accessible for vegan friends while still delivering that rich creaminess.
-
Sweetness Adjustment: Opt for coconut sugar instead of granulated sugar for a less refined sweetness. This can deepen the flavor profile even further.
-
Spiced Up: Introduce cinnamon or cardamom in the batter for a warm spice note. This unexpected twist adds depth and warmth that pairs beautifully with the nutty essence.
-
Decorative Touch: For an artistic flair, drizzle a pistachio-infused syrup over the top before serving. It adds both flavor and a stunning visual appeal that will impress your guests.
To make your dessert tables even more exciting, consider surrounding this delightful cake with an array of options like Salted Caramel Cake or the festive Thanksgiving Bundt Cake. Each one is a celebration in itself!
Make Ahead Options
These Pistachio Mascarpone Layer Cakes are perfect for meal prep enthusiasts! You can bake the cake layers up to 24 hours in advance; simply cool them completely, wrap each layer in plastic wrap, and refrigerate to keep them fresh. The mascarpone cream can also be prepared 1-2 days ahead; just store it in an airtight container in the fridge to maintain its lovely texture. When you’re ready to serve, assemble the cake by layering the chilled mascarpone cream between the cake layers, frost the top and sides, and let the assembled cake chill in the refrigerator for at least 2 hours. This way, not only do you save time, but you’ll also enjoy a cake that tastes just as delicious, if not better, after a short rest!
How to Store and Freeze Pistachio Mascarpone Layer Cake
Fridge: Keep the assembled Pistachio Mascarpone Layer Cake in an airtight container for up to 3 days to maintain its freshness and creamy texture.
Freezer: If you want to freeze it, slice the cake into portions and wrap each piece tightly in plastic wrap, then place it in a freezer-safe bag. It can be frozen for up to 2 months.
Reheating: For best results, thaw the cake in the fridge overnight before serving it. You can enjoy it chilled or allow it to come to room temperature for a softer bite.
Storage Tip: If you’ve baked the layers in advance, they can be stored in the fridge (wrapped) for up to 1 day before frosting, which helps enhance the flavors!
Helpful Tricks for Pistachio Mascarpone Layer Cake
Perfectly Softened Butter: Make sure your unsalted butter is softened to room temperature to achieve a light and fluffy batter, which is crucial for your Pistachio Mascarpone Layer Cake.
Fresh Baking Powder: Always check the freshness of your baking powder for optimal rising. An expired agent may result in a dense cake.
Measure Accurately: Use a kitchen scale for precise measurements. This will ensure consistency and perfect texture, avoiding common baking pitfalls.
Gentle Mixing: When combining wet and dry ingredients, mix gently to maintain air in the batter, preventing a dense final product.
Cool Completely: Allow your layers to cool completely on a wire rack for ideal frosting application; otherwise, you may risk melting your creamy mascarpone frosting.
Pistachio Mascarpone Layer Cake Recipe FAQs
How do I select the right pistachios for my cake?
Absolutely! Look for shelled pistachios that are bright green and free from any dark spots or blemishes. Make sure they smell fresh; if there’s a stale or off odor, it’s best to choose another batch. Fresh, high-quality nuts will greatly enhance the nutty richness of your Pistachio Mascarpone Layer Cake!
How should I store my Pistachio Mascarpone Layer Cake?
For short-term storage, keep your assembled cake in an airtight container in the refrigerator for up to 3 days. If you need to enjoy it later, consider slicing the cake into portions, wrapping each piece tightly in plastic wrap, and placing it in a freezer-safe bag, where it can last up to 2 months. This ensures you maintain the lovely creamy texture of the mascarpone.
Can I freeze my Pistachio Mascarpone Layer Cake?
Yes, you can! To freeze your cake, I recommend slicing it first into individual portions. Wrap each slice tightly with plastic wrap, and then place them in a durable freezer-safe bag. When you’re ready to enjoy a slice, just thaw it in the fridge overnight or at room temperature for about 30 minutes. It will taste just as delightful as when it was first made!
What should I do if my cake layers are not rising as expected?
Very common! If your cake layers don’t rise, consider checking your baking powder’s freshness; it might be expired. Also, ensure that when you mix the wet and dry ingredients, you do so gently to maintain air pockets in the batter. Finally, avoid overmixing once you combine these ingredients, as this can also lead to a denser final product.
Is the Pistachio Mascarpone Layer Cake suitable for those with nut allergies?
While this recipe features pistachios, if you need a nut-free version, you can substitute them with sunflower seeds or omit them altogether. Just remember to avoid using almond extract and ensure your other ingredients are also allergy-friendly. This way, you can still enjoy a creamy, delightful cake without the nutty elements!
Can I make the cake layers ahead of time?
Absolutely! You can bake the layers a day in advance. After they cool completely, wrap them in plastic wrap and store them in the refrigerator until you’re ready to frost. This not only saves time during busy celebrations but also allows the flavors of the pistachios to develop even more intensively.
Pistachio Mascarpone Layer Cake: Creamy, Nutty Celebration Delight
Ingredients
Equipment
Method
- Preheat your oven to 175°C (350°F). Finely grind the shelled pistachios and combine with flour, baking powder, and salt.
- In a large bowl, beat softened butter and sugar until light and fluffy. Add eggs one at a time, mixing well after each addition.
- Incorporate milk, oil, and vanilla extract, then gently fold in the dry mixture until just combined.
- Grease three 8-inch round cake pans and divide the batter evenly among them.
- Bake for 22-25 minutes or until a toothpick comes out clean. Allow to cool in pans for 10 minutes.
- Transfer layers to a wire rack to cool completely.
- While cooling, whip heavy cream until soft peaks form, then fold in mascarpone, sugar, and vanilla until smooth.
- Place one layer on a plate. Spread mascarpone cream on top, add the second layer, and repeat. Frost the top and sides with remaining cream.
- Refrigerate the assembled cake for at least 2 hours before serving.
Leave a Reply