
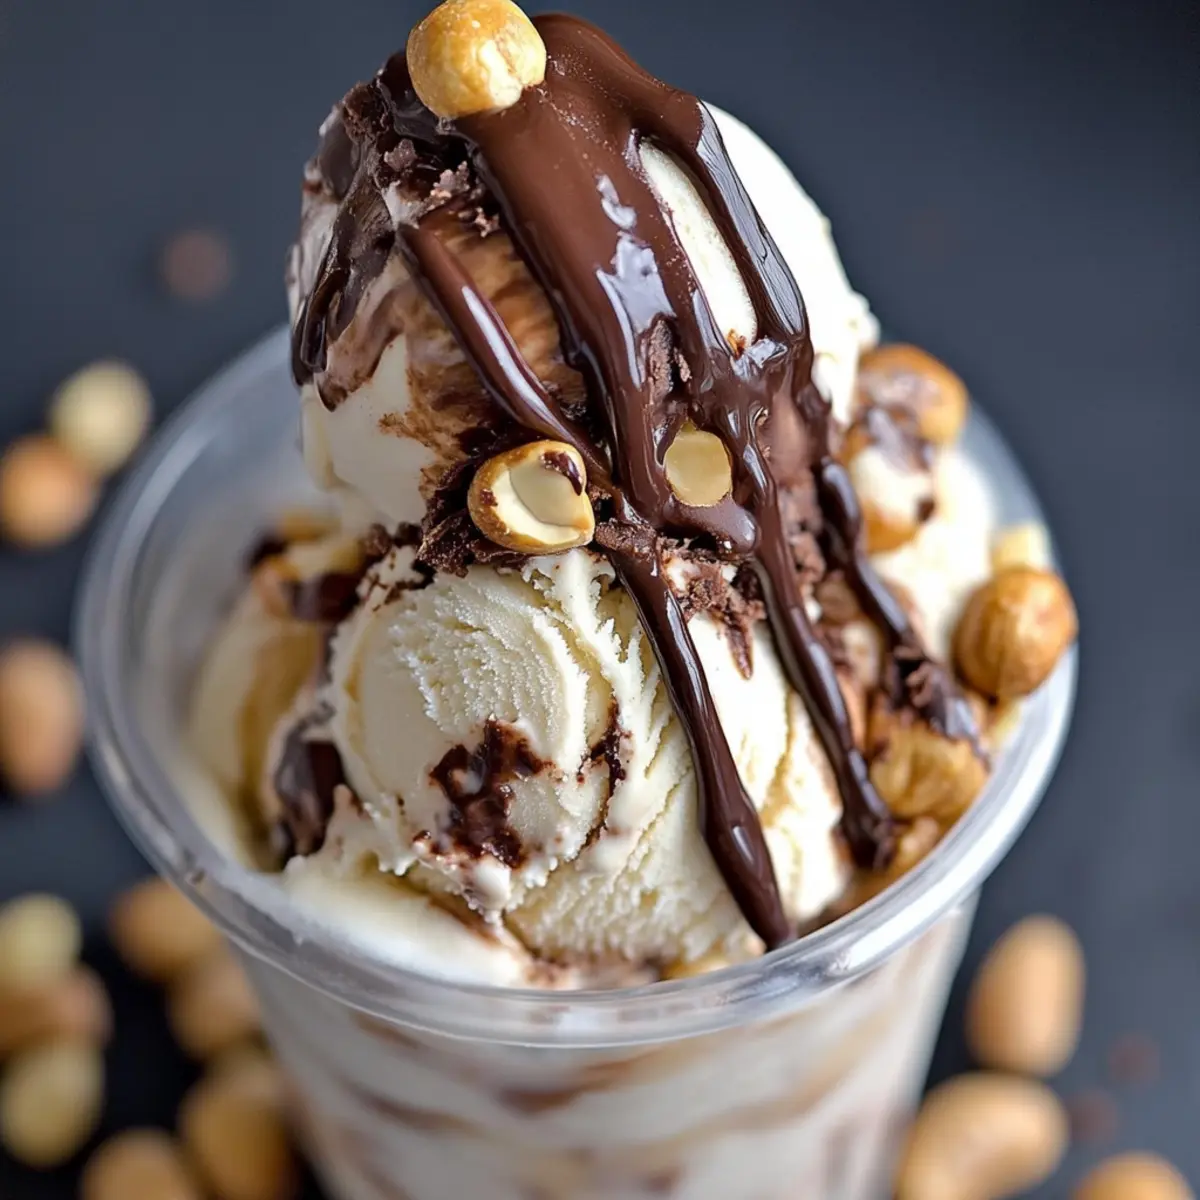
With the sun shining and the days growing warmer, there’s nothing quite like a scoop of homemade ice cream to bring joy to any occasion. Enter my irresistible Tin Roof Ice Cream with Crushed Waffle Cone, a delightful twist on a classic that combines a creamy vanilla base, luscious fudge swirls, and crunchy chocolate-covered peanuts. This dessert is not only incredibly easy to whip up, but it also transports you back to childhood summers with each spoonful, making it a crowd-pleaser for both kids and adults alike. Plus, it’s gluten-free and vegetarian, so you can indulge in a sweet escape without any guilt. Gather your favorite toppings, and get ready to discover why this lovely treat is destined to become a staple in your kitchen. Are you ready to embark on this delicious journey?
Why is Tin Roof Ice Cream a must-try?
Decadent Flavor Experience: The luxurious blend of rich fudge and crunchy chocolate-covered peanuts elevates this ice cream beyond ordinary desserts. Versatile Delight: Perfect for any occasion, enjoy it in bowls, waffle cones, or as a topping for your favorite pie! Quick and Simple: With easy-to-follow steps, you’ll have homemade delight within hours—no ice cream maker? No problem! Try it with store-bought goodies. Nostalgic Enjoyment: Each blissful scoop evokes childhood summer memories, making it the ideal treat for family gatherings or BBQs. Dive into your ice cream-filled life with a hint of the indulgent goodness found in Cranberry Cream Cheese or switch it up with some delightful Scalloped Potatoes Comforting.
Tin Roof Ice Cream with Crushed Waffle Cone Ingredients
• Explore the key flavors in your homemade indulgent treat!
For the Ice Cream Base
- Whole Milk – Provides creaminess to the ice cream base; use full-fat for best results.
- Heavy Cream – Creates a rich, velvety texture; divide the amount as required in the recipe.
- Granulated Sugar – Adds sweetness and enhances flavor; consider coconut sugar for a lower glycemic index option.
- Salt – Balances sweetness and enhances flavors; use sea salt for a more complex taste.
- Egg + Egg Yolks – Contributes to the creamy texture; for a vegan option, use a commercial egg replacer.
- Vanilla Bean Paste – Infuses deep vanilla flavor; scrape a vanilla bean or use pure vanilla extract as alternatives.
For the Fudge Swirl and Add-Ins
- Chocolate Covered Peanuts – Introduces a crunchy texture and chocolatey sweetness; homemade could be an option, but store-bought works perfectly.
- Hot Fudge Sauce – Provides a rich swirl throughout the ice cream; homemade is preferred for intense chocolate flavor.
- Waffle Cones (crushed, optional) – Adds a crispy texture; freeze crushed cones beforehand to avoid sogginess.
This rich and delightful Tin Roof Ice Cream with Crushed Waffle Cone is about to become a favorite in your household!
Step‑by‑Step Instructions for Tin Roof Ice Cream with Crushed Waffle Cone
Step 1: Heat the Base
In a medium saucepan, combine 1 cup of whole milk, ½ cup of heavy cream, ¾ cup of granulated sugar, and ¼ teaspoon of salt. Heat the mixture over medium-low heat for about 5 minutes, stirring occasionally until warm but not boiling. Look for the sugar to dissolve completely, creating a sweet, inviting aroma that fills your kitchen.
Step 2: Prepare the Egg Mixture
In a separate small bowl, whisk together 1 large egg and 2 egg yolks until well combined. Slowly pour the warm milk mixture into the egg mixture in a steady stream while whisking vigorously. This technique helps to temper the eggs, preventing them from scrambling. Your mixture should be smooth and cohesive, signaling that it’s ready for the next step.
Step 3: Thicken the Mixture
Return the combined egg and milk mixture to the saucepan and place over medium heat. Continuously whisk for about 5-7 minutes, or until the mixture thickens slightly and reaches a temperature of 165°F (74°C). Keep an eye out for a custard-like consistency that coats the back of a spoon, showcasing that your ice cream base is coming together beautifully.
Step 4: Cool the Base
Once thickened, strain the mixture through a fine-mesh sieve into a clean bowl to remove any cooked egg bits. Stir in the remaining ½ cup of heavy cream and 2 teaspoons of vanilla bean paste. Set the bowl over an ice bath, stirring occasionally for about 10-15 minutes until the mixture is cool to the touch, which prepares it perfectly for churning.
Step 5: Refrigerate the Mixture
Cover the cooled mixture and refrigerate it for at least 2 hours or ideally overnight. This chilling step allows the flavors to meld beautifully and ensures a creamy texture when frozen. By the time you pull it out, it will be ready to transform into the decadent Tin Roof Ice Cream with Crushed Waffle Cone.
Step 6: Churn the Ice Cream
Pour the chilled mixture into your ice cream maker and churn according to the manufacturer’s instructions, typically around 20-25 minutes. As it churns, you’ll witness the transformation into a thick, frosty delight. The texture should be smooth and slightly soft, perfect for folding in your add-ins.
Step 7: Fold in the Goodies
Once churned, gently fold in 1 cup of chopped chocolate-covered peanuts, swirling in ½ cup of hot fudge sauce and ½ cup of crushed, frozen waffle cones (if using). This step elevates your Tin Roof Ice Cream, adding delightful crunch and rich layers of flavor. Be careful not to over-mix; the ribbons of fudge should remain visible!
Step 8: Freeze the Ice Cream
Transfer your mixed ice cream into a freezer-safe container, smoothing out the top with a spatula. Cover tightly and freeze for at least 3-4 hours or until firm. As it freezes, the combination of chocolate, fudge, and waffle cones melds together, creating a delightful treat that’s ready for scooping and serving.
Make Ahead Options
These Tin Roof Ice Cream with Crushed Waffle Cone preparations are perfect for busy weeknights or spontaneous gatherings! You can prepare the ice cream base up to 24 hours in advance by cooling it and refrigerating it overnight. Additionally, the chocolate-covered peanuts and hot fudge sauce can be prepped ahead and stored in airtight containers for up to 3 days in the refrigerator. When you’re ready to enjoy, simply churn the mixture, fold in the add-ins, and freeze for 3-4 hours until firm. This way, you’ll have a delightful homemade dessert waiting for you with minimal effort, ensuring it tastes just as delicious as if made fresh!
Storage Tips for Tin Roof Ice Cream with Crushed Waffle Cone
-
Fridge: Store any leftover Tin Roof Ice Cream in an airtight container and consume within 2-3 days for best flavor and texture.
-
Freezer: For longer storage, freeze in a freezer-safe container for up to 2 weeks. Be mindful that the texture may change slightly after this period.
-
Thawing: When ready to enjoy, let the ice cream sit at room temperature for about 10-15 minutes before scooping. This will soften it nicely.
-
Reheating Fudge: If your fudge swirl has thickened too much, gently warm it in the microwave for a few seconds to make it easy to drizzle over your ice cream.
What to Serve with Tin Roof Ice Cream with Crushed Waffle Cone
Indulging in a scoop of homemade ice cream calls for the perfect accompaniments to enhance its rich flavors and creamy texture.
-
Fresh Berries: Juicy strawberries, blueberries, or raspberries add a vibrant tartness that beautifully contrasts the sweetness of the ice cream.
-
Chocolate Syrup: Drizzle this decadently rich syrup for an extra chocolatey experience that delights the taste buds and enhances the fudge swirl.
-
Nuts Galore: Crushed almonds or pecans not only add a lovely crunch but also a nutty flavor that rounds out the sweetness of the ice cream.
-
Whipped Cream: A dollop of fluffy whipped cream brings a lightness to each bite, creating a delightful balance of textures that you simply can’t resist.
-
Cookies: Serve with chocolate chip or peanut butter cookies to create an indulgent ice cream sandwich, marrying flavors that everyone loves.
-
Banana Slices: The creamy and sweet layers of banana harmonize well with the ice cream, adding natural sweetness and a familiar comfort.
-
Coffee: A warm cup of brewed coffee complements the creamy richness, offering a delightful contrast and perfect for a late-night treat.
Combining any of these options with your Tin Roof Ice Cream with Crushed Waffle Cone will elevate your dessert experience!
Expert Tips for Tin Roof Ice Cream
-
Chill the Base Quickly: Rapidly cooling the mixture in an ice bath helps prevent ice crystals and ensures a creamy Tin Roof Ice Cream texture.
-
Watch the Temperature: Use a kitchen thermometer to monitor that the mixture reaches 165°F (74°C) during thickening; this ensures safe and smooth custard.
-
High-Quality Ingredients: Opt for premium chocolate-covered peanuts and hot fudge sauce. Quality impacts flavor in this indulgent dessert, making each scoop memorable.
-
Mind the Freezer: A deep freezer is ideal for final freezing. Avoid storing your homemade ice cream in a standard freezer for longer than two weeks to maintain the texture.
-
Serve with Flair: Get creative when serving! Top with additional hot fudge, whipped cream, or even a sprinkle of crushed waffle cones for an extra crunch.
Tin Roof Ice Cream Variations & Substitutions
Customize this delightful Tin Roof Ice Cream to suit your taste buds or dietary preferences with these fun swaps!
- Nut-Free: Swap chocolate-covered peanuts for crispy rice cereal for a different crunch and a nut-free treat that everyone can enjoy.
- Vegan Delight: Use coconut milk and a vegan cream replacement to create a rich, plant-based version that’s just as creamy and delicious.
- Flavor Twist: Infuse the ice cream base with espresso or coffee for a delightful mocha flavor that pairs perfectly with chocolate.
- Fruit Addition: Toss in fresh berries like strawberries or raspberries right before freezing for a fruity contrast and vibrant color.
- Spicy Kick: Add a pinch of cayenne or some chili powder into the hot fudge for a surprising burst of heat that complements the sweetness beautifully.
- Chocolate Lover’s Dream: Fold in brownie chunks or chocolate chips alongside the peanuts for a double-chocolate experience that’s irresistible.
- Sugar-Free Version: Use a sugar substitute like erythritol or monk fruit sweetener to reduce calories while keeping the deliciousness intact.
- Lower Fat Option: Try using a combination of Greek yogurt and light cream to maintain creaminess while trimming back on fat content.
You can explore more ideas to elevate your dessert experience by checking out our guide on Waffle Bar Create and consider adding a touch of Cranberry Cream Cheese for a unique flavor twist!
Tin Roof Ice Cream with Crushed Waffle Cone Recipe FAQs
What type of milk is best for this ice cream?
Absolutely! For the best creamy texture in your Tin Roof Ice Cream, I recommend using full-fat whole milk. It provides the rich base necessary to achieve that indulgent mouthfeel. If you’re looking for a lighter version, you could consider using a lower-fat milk, but the flavor and creaminess will be noticeably different.
How can I store my homemade Tin Roof Ice Cream?
To keep your ice cream fresh and delicious, store it in an airtight, freezer-safe container. It’s best to consume it within 2 weeks. For longer storage, you can freeze it for up to 3 months, though keep in mind that the texture may become slightly grainy after this period due to ice crystal formation.
Can I freeze leftover fudge sauce?
Yes, you can absolutely freeze fudge sauce! To do this, simply pour any leftover hot fudge sauce into a freezer-safe container and make sure to leave some room at the top for expansion. It can last in the freezer for up to 3 months. When ready to use, thaw it in the fridge overnight or gently heat it in the microwave for a few seconds, stirring until smooth.
What if my ice cream isn’t freezing properly?
If your Tin Roof Ice Cream isn’t setting correctly, it might be due to the base not being cold enough before churning. Ensure your mixture has chilled for at least 2 hours in the refrigerator and that you are using a properly chilled ice cream maker. Additionally, if you’ve inadvertently added too much air during mixing, this can affect the freezing process and texture. If problems persist, try placing the churned ice cream in the freezer for a few hours longer to achieve that perfect scoop.
Is this recipe safe for those with egg allergies?
No worries! For egg allergy concerns, you can replace the eggs in the recipe with a commercial egg replacer, which works well in custard-based recipes. Additionally, you could try using canned coconut milk as a base for a delicious, creamy, and egg-free version of Tin Roof Ice Cream. Just remember, ensuring the vanilla and chocolate-coated peanuts you’re using are also free from allergens is crucial!
How can I incorporate crushed waffle cones into the ice cream?
For the perfect crunchy texture, you can crush the waffle cones beforehand and freeze them to avoid sogginess. Just fold the frozen crushed cones into your ice cream mixture right before transferring it to the freezer container. This ensures they maintain their crispness while adding a delightful crunch to every scoop!
Tin Roof Ice Cream with Crushed Waffle Cone Bliss
Ingredients
Equipment
Method
- In a medium saucepan, combine whole milk, heavy cream, granulated sugar, and salt. Heat over medium-low for 5 minutes until warm.
- In a separate bowl, whisk together egg and egg yolks. Slowly pour in the warm milk mixture while whisking vigorously.
- Return the mixture to the saucepan and whisk continuously over medium heat for 5-7 minutes until it thickens slightly.
- Strain the mixture through a fine-mesh sieve, stir in remaining heavy cream and vanilla bean paste, then cool in an ice bath for 10-15 minutes.
- Refrigerate the mixture for at least 2 hours or overnight for best results.
- Pour the chilled mixture into an ice cream maker and churn according to instructions, about 20-25 minutes.
- Gently fold in chopped chocolate-covered peanuts, hot fudge sauce, and crushed waffle cones, taking care not to over-mix.
- Transfer to a freezer-safe container and freeze for at least 3-4 hours until firm.
Leave a Reply